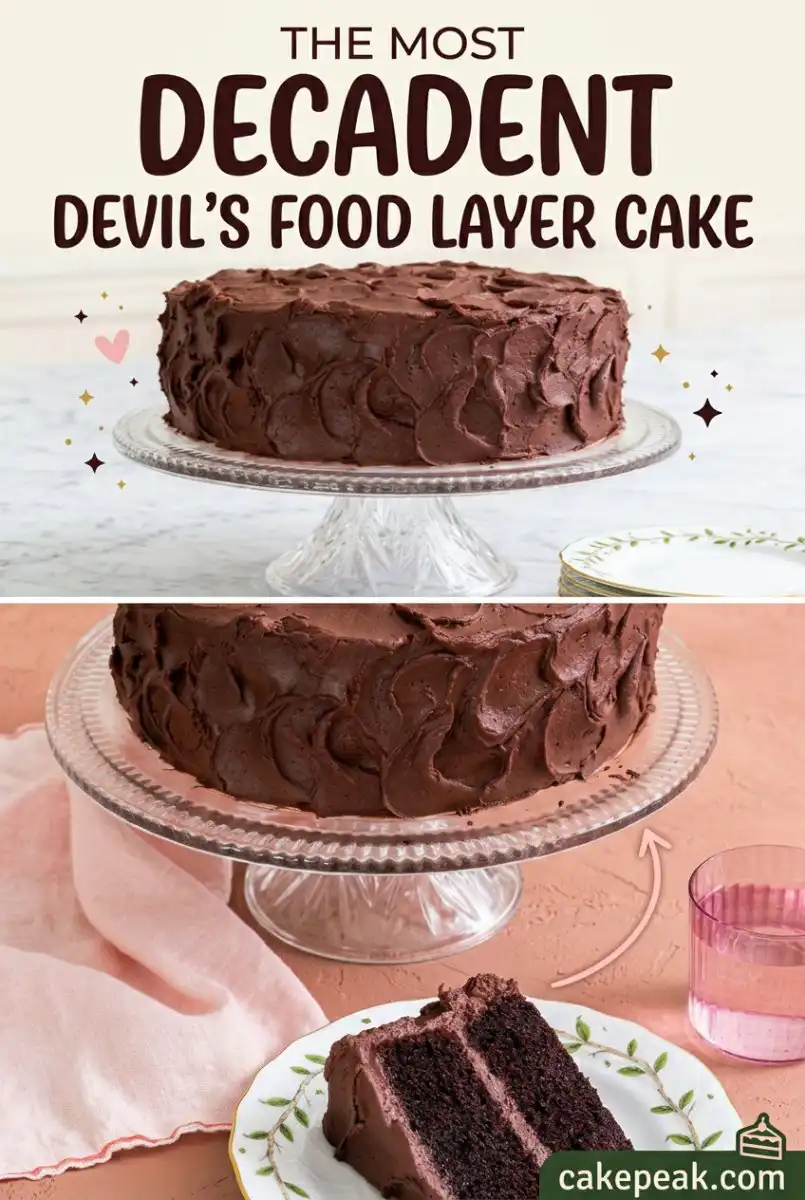
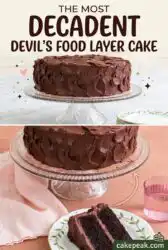
Sunlight catches the deep mahogany crumb of this cake, its surface slightly crackled and edges left honest and unadorned on a heavy wooden board.

In my farmhouse kitchen, this Devil’s Food Layer Cake is the standard for deep, dark cocoa flavor and a texture that remains remarkably tender. The recipe relies on the quiet science of Dutch-processed cocoa and hot coffee to bloom the chocolate oils to their fullest potential. Every slice tells the story of careful sifting and slow, steady mixing during a quiet Saturday afternoon of baking. Honest ingredients, honest cake is the foundation of every layer we build here at the farmhouse.
The Beauty of This Devil’s Food Layer Cake\n\nPrep: 20 min · Serves: 12 · Difficulty: Medium\n\n* Deep cocoa flavor from Dutch powder.\n* Tender crumb that stays moist.\n* Honest ingredients from the pantry.\n* Simple assembly with rustic charm.\n\nThis devils food cake is the only chocolate recipe you will ever need for a quiet celebration.
Get The Full Cake Recipe
Print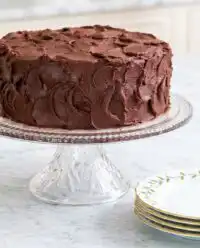
Devil’s Food Layer Cake
- Total Time: 1 hour 5 mins
- Yield: 12 servings
- Diet: Vegetarian
Description
This classic Devil’s Food Layer Cake features a rich, mahogany-colored crumb achieved through Dutch-processed cocoa and hot coffee. It delivers a deeply chocolatey, moist experience that is perfect for any celebration or quiet afternoon of baking.
Ingredients
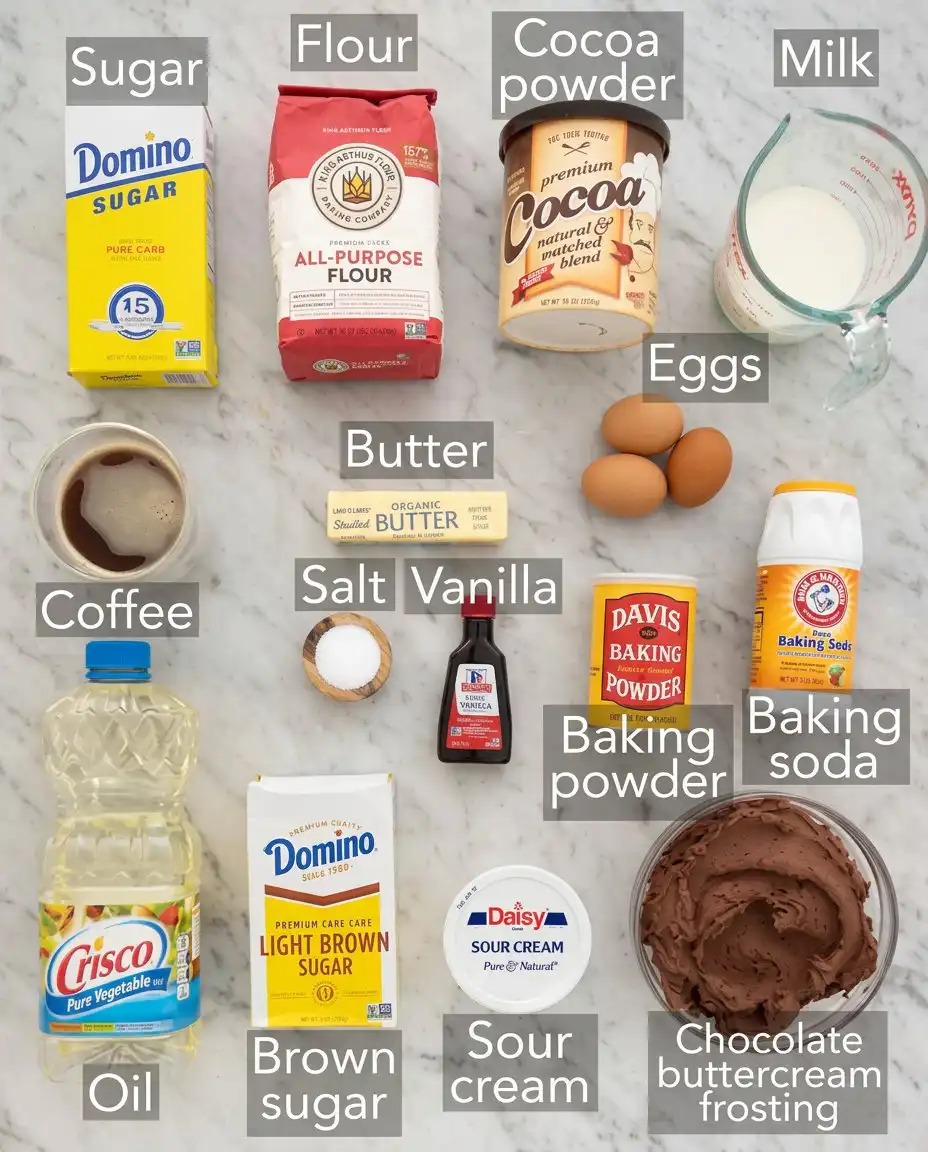
- 2 cups all-purpose flour
- 1 teaspoon baking soda
- 1/2 teaspoon baking powder
- 1/2 teaspoon salt
- 1/2 cup butter, softened
- 3/4 cup Dutch-processed cocoa powder
- 1/2 cup vegetable oil
- 1 cup granulated sugar
- 1 cup light brown sugar
- 3 large eggs, room temperature
- 1 teaspoon vanilla extract
- 1/2 cup sour cream
- 1/2 cup milk
- 1 cup hot brewed coffee
Instructions
- Prepare the equipment. Preheat oven to 350°F and grease two 9-inch round cake pans with butter and parchment paper.
- Sift dry ingredients. Combine the flour, baking soda, baking powder, and salt in a bowl and whisk to remove clumps.
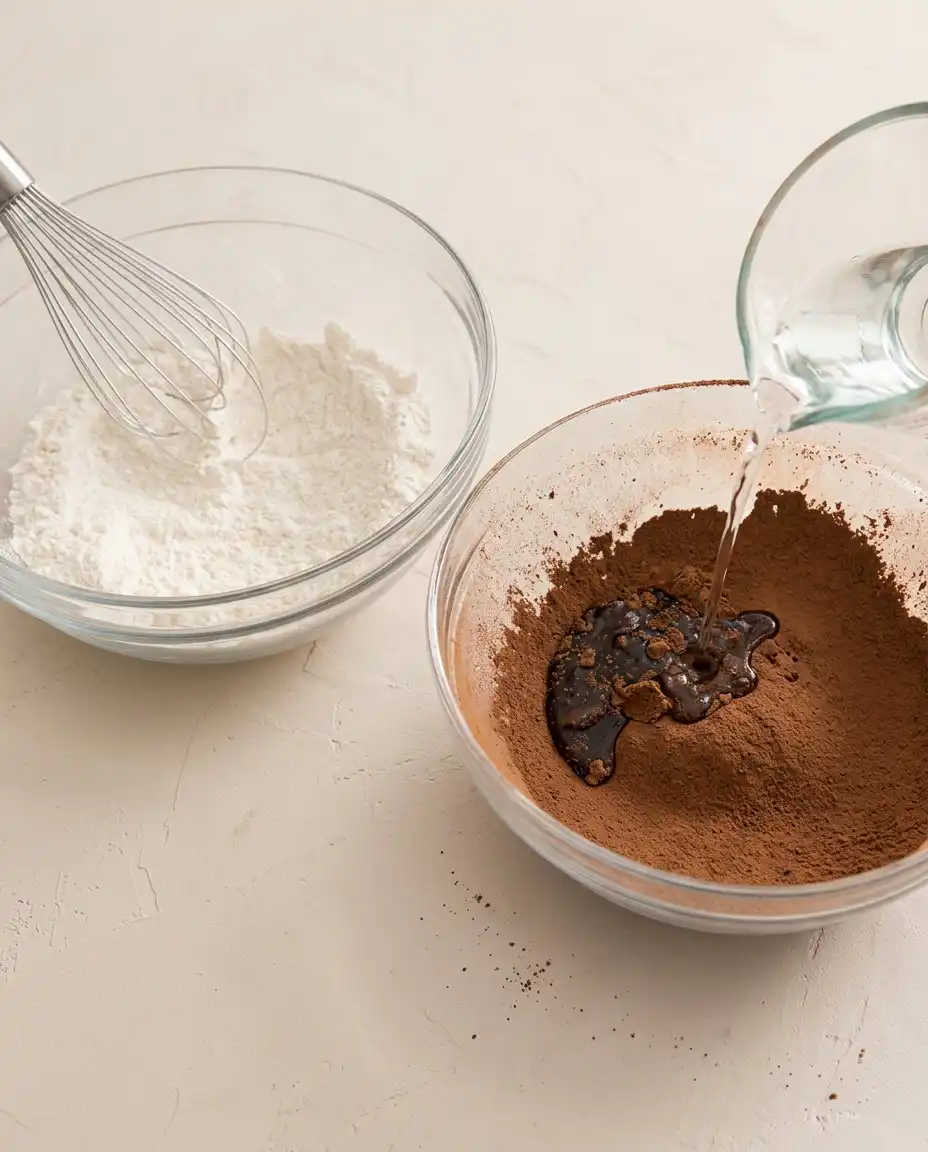
- Bloom the cocoa. Whisk the cocoa powder and vegetable oil together in a small bowl until a smooth, dark paste forms.
- Cream butter and sugars. Beat the softened butter with both sugars in a stand mixer until the mixture is light and fluffy.
- Add wet ingredients. Incorporate the eggs one at a time, followed by the vanilla extract, beating until the batter is smooth and glossy.
- Alternate dry and wet. Add one-third of the flour mixture followed by half of the milk and sour cream, repeating until all is combined.
- Stir in coffee. Whisk the hot coffee into the batter by hand or on low speed until the consistency is thin and uniform.
- Bake the layers. Divide the batter between pans and bake for 40 to 45 minutes until the centers spring back when pressed.
- Cool completely. Allow the cakes to sit in the pans for 20 minutes before inverting onto a wire rack to cool fully.
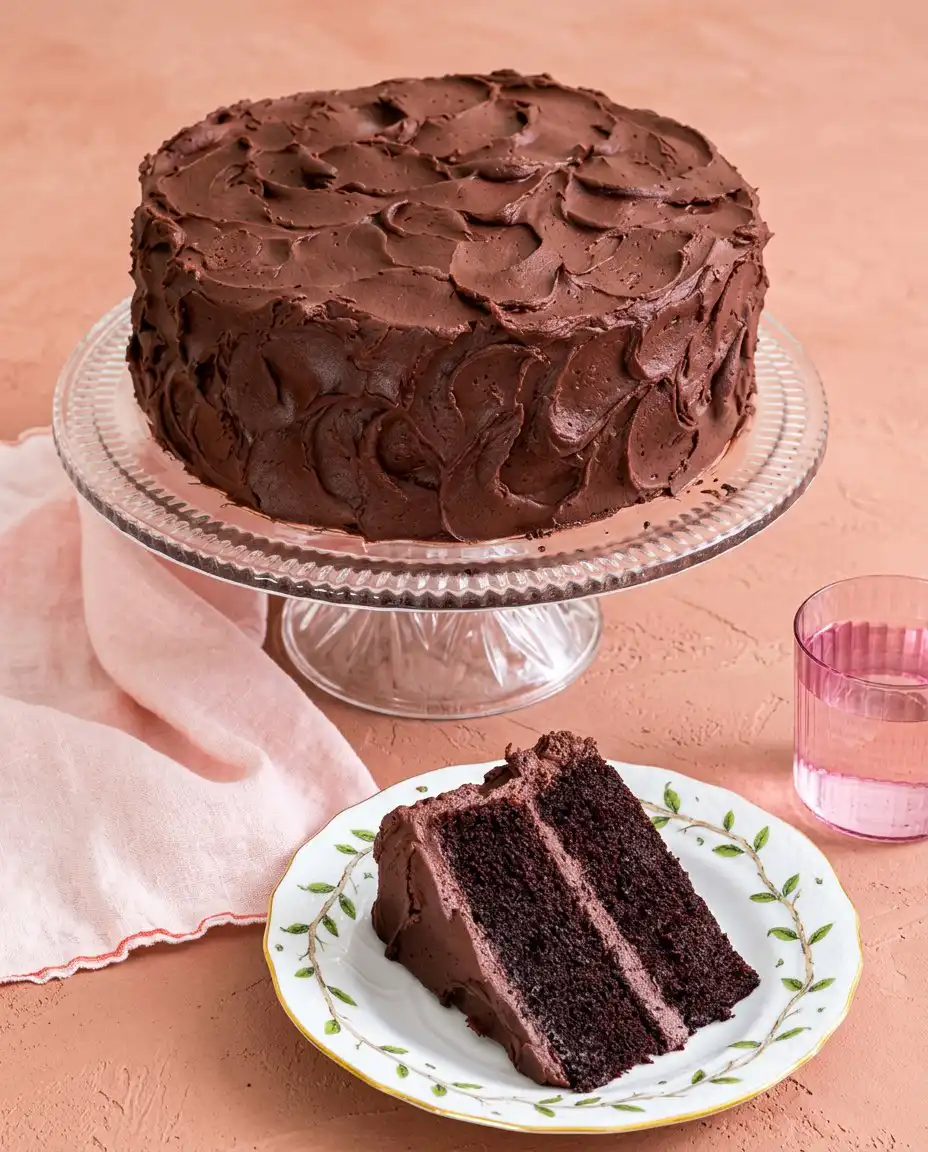
- Frost the cake. Spread chocolate buttercream between the layers and over the exterior using an offset spatula for a rustic finish.
Notes
- Ensure all dairy and eggs are at room temperature to prevent the batter from seizing during mixing.
- Use a kitchen scale to measure your flour to avoid over-packing, which can lead to a dry or crumbly cake texture.
- The hot coffee must be steaming when added to properly activate the leavening agents and cocoa flavor.
- Avoid opening the oven door during the first 30 minutes of baking to prevent the centers from collapsing.
- Prep Time: 20 mins
- Cook Time: 45 mins
- Category: Dessert
- Method: Baking
- Cuisine: American
Seasonal Ingredient List\n\nA great bake begins with respect for the basics sitting on your counter. The success of this Devil’s Food Layer Cake depends on temperature and quality rather than complicated techniques. When the chocolate is this rich, we let the ingredients speak for themselves.\n\n* Dutch-processed Cocoa Powder: This provides the signature dark color and smooth, non-acidic chocolate profile that defines the classic flavor.\n* Hot Coffee: Using liquid heat blooms the cocoa, releasing deep aromatics that water alone cannot reach in a standard batter.\n* Sour Cream: This adds a subtle tang and ensures the crumb remains velvety and thick throughout the baking process.\n* Vegetable Oil: Paired with butter, oil guarantees the cake stays soft and pliable even when stored in a cool pantry.\n* Room Temperature Eggs: These emulsify properly into the fats, creating a stable and airy structure that supports the heavy layers.\n* Light Brown Sugar: The molasses content adds moisture and a hint of caramel depth that complements the dark chocolate notes.\n\n| Ingredient | Why It Matters |\n| :— | :— |\n| Dutch Cocoa | Creates the deep mahogany color and smooth finish |\n| Hot Coffee | Extracts maximum flavor from the cocoa particles |\n| Sour Cream | Adds moisture and delicate acidity for tender crumbs |\n| Butter and Oil | Provides a balance of rich flavor and lasting softness |\n| Baking Soda | Reacts with cocoa and coffee for a high, light rise |
The Method, Step by Step\n\n### Step 1: Preparing the Pans and Oven\nThe first step in any farmhouse bake is to warm the kitchen and prepare your tools with care. Preheat your oven to 350°F and take the time to butter and flour two 9-inch round cake pans. I always prefer to line the bottom of each pan with a circle of parchment paper to ensure the delicate cake releases without any trouble. Let your butter sit near the warm stove to soften naturally until it is pliable and ready for creaming. Organize your ingredients on a clean counter so you can work with an unhurried mind throughout the process.\n\n### Step 2: Sifting the Dry Components\nIn a large bowl, sift together the all-purpose flour, baking soda, baking powder, and salt. Sifting is a quiet, meditative task that aerates the flour and removes any stubborn clumps for a smoother batter finish. The dry mixture should look uniform and light before you set it aside to wait for the wet ingredients. This step ensures that the leavening agents are distributed evenly, which is vital for an even rise across the entire pan. Take your time here to ensure no pockets of salt or soda remain in the mix.\n\n### Step 3: Mixing the Butter and Cocoa\nAdd the room temperature butter to your mixer and beat on medium speed until it appears creamy and pale on the sides of the bowl. In a separate small bowl, whisk the sifted cocoa powder with the vegetable oil until it forms a smooth, dark paste. This method helps the cake achieve its deep color by coating the cocoa particles in fat early in the mixing process. You will notice the aroma of the chocolate becoming more intense as it blends with the oil. This paste will provide the base for the rich color we look for in a traditional bake.\n\n### Step 4: Creaming the Sugars and Fats\nAdd the granulated and light brown sugars to the butter and cocoa mixture in the stand mixer bowl. Beat on medium speed for about five minutes until the texture becomes very light and fluffy. Stop the mixer a few times to scrape down the sides with a flexible spatula to ensure every grain of sugar is incorporated. You are looking for a mixture that has expanded in volume and looks like a dark, aerated cloud. This aeration is what gives the finished crumb its characteristic lightness despite the heavy chocolate content.\n\n### Step 5: Incorporating the Eggs and Vanilla\nWith the mixer running at a low speed, add the room temperature eggs one at a time to the bowl. Beat well after each addition to ensure the protein and fats emulsify correctly into the batter. Add the vanilla extract once the eggs are fully integrated, letting the sweet scent fill the kitchen air. If the batter looks slightly curdled at this stage, continue mixing for a minute longer until it becomes smooth and glossy again. The eggs provide the essential structure that allows the cake to hold its shape once it enters the hot oven.\n\n### Step 6: Alternating the Dry and Wet Ingredients\nTurn the mixer to its lowest setting and add a third of the flour mixture, followed by half of the milk and sour cream. Continue this alternating pattern, finishing with the remaining flour to keep the batter stable and prevent over-mixing. Use a slow and steady pace to avoid developing too much gluten, which would result in a tough and dense texture. Scrape the bowl one final time to make sure there are no hidden streaks of white flour at the bottom. The batter should look thick, creamy, and deeply chocolatey at this stage of the process.\n\n### Step 7: Blooming the Cocoa with Hot Coffee\nPour the hot coffee into the bowl and carefully whisk it into the batter by hand or on the lowest mixer setting. The hot liquid will thin the batter considerably, which is perfectly normal for this specific style of cake. This heat blooms the cocoa, releasing the last bits of flavor and activating the baking soda for a powerful rise. You will see small bubbles beginning to form on the surface as the leavening agents react to the warmth. Ensure the coffee is fully incorporated until the batter is a uniform, dark, and liquid consistency.\n\n### Step 8: Baking the Devil’s Food Layer Cake Layers\nDivide the thin batter evenly between your two prepared 9-inch pans and place them in the center of the preheated oven. Bake for 40 to 45 minutes, or until the centers spring back when gently pressed with a fingertip. You will notice the kitchen filling with a deep, toasted chocolate scent as the cakes reach their peak. The cakes are done when they start to pull away slightly from the edges of the pans, showing a hint of golden brown. Avoid opening the oven door too early, as a sudden draft of cool air can cause the delicate centers to collapse.\n\n### Step 9: Cooling and Releasing the Cakes\nLet the pans cool on a wire rack for at least twenty minutes before attempting to remove the cakes. The structure of this Devil’s Food Layer Cake is very tender while warm, so patience is a virtue during this cooling period. Carefully invert the pans onto the rack and peel away the parchment paper from the bottom of each layer. Allow the cakes to cool completely to room temperature before you even think about starting the frosting process. A warm cake will melt the buttercream, leading to a messy and unstable assembly that lacks the rustic beauty we desire.\n\n### Step 10: Frosting and Final Assembly\nPlace the first cooled layer on a heavy wooden board or a simple cake stand and spread a generous layer of chocolate buttercream over the top. Position the second layer carefully on top and use the remaining frosting to cover the exterior of the cake. I like to leave the edges a bit uneven, as the edges crack and that is rustic charm in my eyes. Use an offset spatula to create soft swoops and swirls that catch the light and highlight the rich color of the frosting. Your cake is now ready to be shared with friends and family at the farmhouse table.
Notes From the Kitchen\n\nEnsure your eggs and milk are truly at room temperature before you begin mixing. Cold ingredients will cause the butter to seize, resulting in an uneven batter that won’t rise properly in the oven. This small attention to detail makes a significant difference in the final crumb of your bake.\n\nIf your cake turns out dry or crumbly, it is often due to over-measuring the flour by scooping directly with a measuring cup. Learn how to properly measure flour for baking by using a scale or the spoon-and-level method to keep the crumb tender. Accuracy in measurement is the secret to a professional result in a home kitchen.\n\nIf your cake layers are domed and cracked excessively on top, it usually indicates that the oven temperature was too high. This causes the outside to set before the center has finished rising, forcing the middle to burst through the crust. Using an oven thermometer can help you verify the actual heat inside your appliance.\n\nThe hot coffee should be freshly brewed and steaming when you whisk it into the final batter. This heat is what activates the baking soda and allows the cocoa to bloom fully for that rich, dark finish we love in a double chocolate layer cake. Do not use cold or lukewarm coffee, as it will not provide the same chemical reaction.\n\nWhen sifting your cocoa powder, do not skip the step even if it looks fine in the container. Cocoa is notorious for holding small, bitter lumps that will not dissolve once the liquid is added to the bowl. A clean, fine-mesh sieve is your best friend when working with high-quality Dutch cocoa.\n\nA cake that sinks in the middle often suffered from a premature oven door opening or under-baking. Ensure the center is firm to the touch and a wooden skewer comes out clean before removing the pans from the heat. Resistance to checking too early will reward you with a flat, even surface for frosting.
Frequently Asked Questions
How should I store the leftover Devil’s Food Layer Cake?
The assembled cake can be covered and stored at room temperature for up to five days. If your kitchen is particularly warm or humid, you may want to move it to a cool pantry to keep the frosting stable. Always use a cake dome or a large inverted bowl to prevent the sponge from drying out over time.
Can I substitute the hot coffee with another liquid?
If you prefer not to use coffee, you can substitute it with hot water or a dark, steeped black tea. The coffee does not leave a distinct flavor but rather enhances the cocoa profile. Hot liquid is necessary to bloom the chocolate and activate the leavening agents correctly for the best rise.
What is the difference between Dutch-processed and natural cocoa?
Dutch-processed cocoa has been treated with an alkalizing agent to reduce acidity, resulting in a darker color and smoother taste. This recipe is specifically balanced for Dutch-processed cocoa due to the amount of baking soda used. Natural cocoa is more acidic and may react differently, potentially altering the rise and final texture of the crumb.
Can I freeze the cake layers before frosting them?
Yes, these layers freeze beautifully when wrapped tightly in plastic wrap and a layer of aluminum foil. I recommend freezing them before frosting so they stay firm during the assembly process and release less crumbs. They will keep well in the freezer for up to three months if properly protected from air.
Why did my cake layers sink in the middle after cooling?
A cake often sinks if the leavening agents were expired or if the oven door was opened too frequently during the bake. It can also happen if the batter was over-mixed, leading to an excess of air that collapses as the cake cools. Ensure your baking soda is fresh and keep the oven door closed until the final minutes.
Can I use 8-inch pans instead of 9-inch pans?
You can use 8-inch pans, but you will need to increase the baking time by about five to ten minutes. The layers will be thicker and taller, so be careful not to overfill the pans to avoid batter spilling over. Always fill cake pans no more than two-thirds of the way to the top for a safe and even bake.
Make It Your Own\n\nFor a deeper, more complex flavor, try adding a teaspoon of espresso powder to the dry ingredients before sifting. This doesn’t make the cake taste like coffee, but it intensifies the chocolate notes to a darker level that feels quite sophisticated. You might also enjoy an easy chocolate cake for simpler afternoons when time is short.\n\nIf you have a garden full of summer fruit, consider filling the layers with fresh raspberries or a simple blackberry compote. The tartness of the berries cuts through the richness of the chocolate buttercream and adds a pop of seasonal color. This variation is a wonderful way to let the season write the recipe for your dessert.\n\nFor an autumn twist, replace the vanilla extract with a small splash of dark rum or bourbon. These aged spirits pair naturally with the Dutch cocoa and brown sugar, providing a warm depth that suits a cooling kitchen as the leaves begin to turn. The alcohol burns off in the oven, leaving behind only the rich, woody notes of the spirit.
At the Table\n\nThis cake is at its best when served on a plain white plate that lets the dark crumb stand out. I like to keep the frosting simple, using a small offset spatula to create soft swoops rather than aiming for professional perfection. A linen tea towel draped nearby adds to the farmhouse feel of the table as you slice into the moist layers.\n\nAn old fashioned chocolate cake like this pairs wonderfully with a glass of cold, farm-fresh milk or a strong cup of black tea. If you are serving a crowd, try adding a dollop of lightly sweetened whipped cream to the side of each slice. The cool cream balances the intensity of the Dutch cocoa and makes for a truly honest dessert experience.\n\nWhen the fruit is this good, keep it simple by serving a few fresh berries on the side of the plate. Strawberries or blackberries bring a brightness to the table that contrasts with the deep mahogany color of the Devil’s Food Layer Cake. Serve it in the afternoon sun or by the light of a kitchen candle for the most unhurried and peaceful enjoyment.