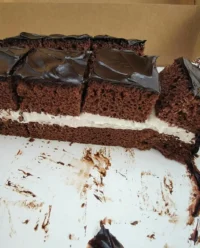
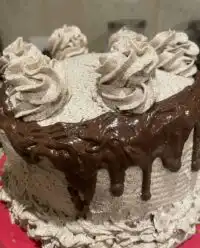
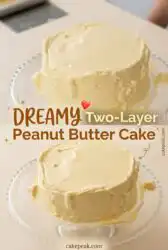
There is a quiet beauty in a cake that does not try too hard, where the frosting sits in honest swirls and the layers show their true, unadorned crumb.

When the afternoon sun hits the kitchen counter in late September, I like to pull my wooden mixing bowls from the shelf and begin a bake that feels grounded. This Two-Layer Peanut Butter Cake is exactly that kind of dessert, relying on the deep, comforting flavor of pantry staples rather than fancy decorations. It is a cake meant for sharing on a quiet weekend, cooled on a linen towel and sliced without fuss. By letting the rich, salty-sweet character of real peanut butter lead the way, we create something that feels both nostalgic and deeply satisfying.
Why Rustic Wins with a Two-Layer Peanut Butter Cake
Prep: 15 min · Serves: 12 · Difficulty: Medium
Baking in a farmhouse kitchen means embracing the natural weight and texture of your ingredients. This recipe does not ask you to spend hours piping fancy rosettes or shaving chocolate curls. Instead, it celebrates the rich, nutty warmth of creamed butter and peanut butter, turning simple pantry items into a dessert that feels generous and true. The edges crack — that’s rustic charm, and it is exactly what makes this bake so inviting.
While some bakers prefer the airy lightness of a classic chiffon cake, there is something unmatched about the dense, comforting crumb of this peanut butter creation. It is a cake that holds its own, offering a rich texture that pairs beautifully with a quiet afternoon. We do not need to hide our work behind layers of artificial colors or elaborate garnishes when the natural golden hue of the cake layers speaks for itself.
- Deep peanut butter flavor in every single bite.
- Soft, tender crumb from real cultured buttermilk.
- Silky frosting that is easy to spread.
- Honest ingredients that you already have on hand.
- A beautiful centerpiece for any farmhouse table.
I promise this humble bake will become a favorite in your kitchen.
Get The Full Cake Recipe
Print
Two-Layer Peanut Butter Cake
- Total Time: 1 hour 50 mins
- Yield: 12 slices
- Diet: Vegetarian
Description
A rustic, tender Two-Layer Peanut Butter Cake made with real buttermilk and topped with a silky, whipped peanut butter buttercream frosting. Perfect for weekend baking and family gatherings.
Ingredients
- 1⅔ cups (210 g) all purpose flour
- 3 tbsp (24 g) cornstarch
- ½ tsp baking soda
- 2 tsp baking powder
- ½ tsp salt (omit if using salted butter)
- ⅓ cup (80 g) unsalted butter, room temperature
- ⅓ cup (75 g) unflavored vegetable oil
- ½ cup (100 g) white granulated sugar
- ¾ cup (150 g) soft brown sugar
- ⅔ cups (150 g) smooth unsweetened peanut butter
- 3 large eggs, room temperature
- 1½ tsps vanilla extract
- 1 cup (225 g) buttermilk, room temperature
- 1½ cups (340 g) unsalted butter, room temperature (for frosting)
- 3 cups (375 g) powdered sugar (for frosting)
- 2 tsps vanilla extract (for frosting)
- ½ cup (120 g) heavy cream, room temperature (for frosting)
- ½ tsp salt (for frosting)
- 1 cup (250 g) smooth unsweetened peanut butter (for frosting)
Instructions
- Prep: Preheat oven to 180°C (350°F) or 160°C (320°F) for convection. Grease and line two 8-inch cake tins.
- Sift: Sift together flour, cornstarch, baking soda, baking powder, and salt in a bowl. Whisk to combine and set aside.
- Cream: Cream butter, vegetable oil, granulated sugar, brown sugar, and peanut butter on medium speed for 3 minutes until light and fluffy.
- Eggs: Add eggs one at a time on low speed, mixing well between additions. Add vanilla and buttermilk, mixing until smooth.
- Fold: Gently fold in the pre-sifted dry ingredients by hand using a spatula until just combined. Do not overmix.
- Bake: Divide batter between the tins. Tap to release air bubbles. Bake for 30-35 minutes until a toothpick comes out clean.
- Cool: Cool in tins for 15-20 minutes, then turn out onto a wire rack to cool completely.
- Frosting: Combine frosting ingredients. Mix on low for 1 minute, then whip on medium-high for 10 minutes until silky smooth. Assemble and frost the cooled cake.
Notes
- Peanut Butter Choice: Use a traditional smooth, creamy peanut butter that does not separate. Avoid natural varieties with oil on top.
- Oven Temperature: If using a convection oven with a fan, reduce the temperature to 160°C (320°F).
- Frosting Fix: If the frosting is too firm, microwave in 5-second bursts and re-whip. If too soft, chill for 30 minutes and re-whip.
- Prep Time: 15 mins
- Cook Time: 35 mins
- Category: Dessert
- Method: Baking
- Cuisine: American
Honest Ingredients
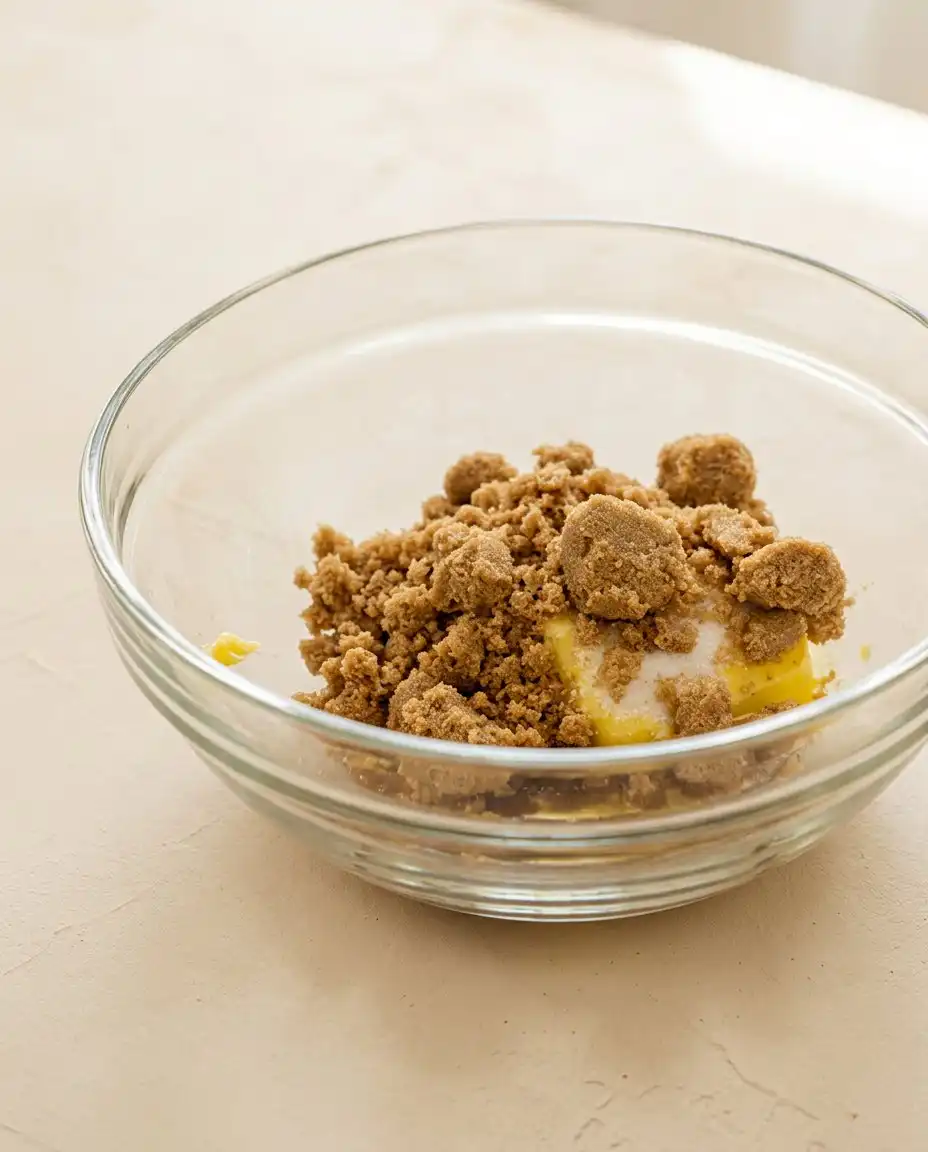
Every ingredient in this recipe has a specific role to play, working together to create a crumb that is both sturdy and remarkably tender. I always recommend gathering your ingredients on the counter an hour before you begin, allowing the butter, eggs, and buttermilk to reach room temperature. This simple step makes sure that your batter emulsifies smoothly without separating during the mixing process. When we let quality ingredients lead the way, we get out of their way and let the natural flavors shine.
- Unsweetened Peanut Butter: The heart of the cake, providing a deep, roasted nut flavor and a rich fat profile that keeps the crumb moist. I prefer a classic smooth variety that does not require stirring, as the natural oils in some brands can make the cake greasy.
- Buttermilk: Its natural acidity reacts with the baking soda to create a gentle rise, resulting in an incredibly soft and tender texture. It also balances the sweetness of the sugars with a subtle, pleasant tang.
- Soft Brown Sugar: This sugar adds a hint of caramel sweetness and essential moisture, making sure the layers do not dry out in the oven. It creates a deeper flavor profile than white sugar alone.
- Cornstarch: By replacing a small portion of the all-purpose flour, cornstarch weakens the gluten structure to give us a delicate, melt-in-your-mouth bite. It is a simple farmhouse trick for simulating cake flour.
- Unflavored Vegetable Oil: Working alongside the butter, oil provides reliable moisture that keeps the cake fresh for days. It guarantees that the crumb remains soft even after cooling.
- Farm-Fresh Eggs: Deep orange yolks enrich the batter, adding structure, color, and a beautiful richness to the finished crumb. They are the binders that hold our rustic masterpiece together.
- Unsalted Butter: Creaming the butter with the sugars incorporates tiny air pockets that help the cake rise beautifully. It also provides that classic, comforting dairy flavor we love.
- Powdered Sugar: This fine sugar dissolves easily into the frosting, creating a smooth and spreadable texture without any grittiness. It sweetens the buttercream just enough to balance the salty peanut butter.
| Ingredient | Why It Matters |
|---|---|
| Smooth Peanut Butter | Provides the core roasted flavor and essential fats for a tender crumb. |
| Buttermilk | Tenderizes the gluten and activates the leavening agents for a soft rise. |
| Soft Brown Sugar | Adds moisture and a subtle caramel undertone that complements the nuttiness. |
| Cornstarch | Lightens the flour mixture to make sure the cake is never dense or heavy. |
| Unsalted Butter | Delivers classic rich flavor and structure when creamed with the sugars. |
Choosing the right peanut butter is the most important decision you will make for this bake. I prefer a classic, creamy commercial peanut butter that does not separate, as natural varieties with oil floating on top can make the batter greasy and unpredictable. The stable emulsion of a traditional smooth peanut butter integrates beautifully with the creamed butter and sugar, creating a uniform batter that bakes evenly. If you choose to use a sweetened brand, you can adjust the sugar levels in the recipe to keep the sweetness balanced.
Our flour mixture also benefits from a gentle hand and careful measuring. I always use a kitchen scale to measure my flour and cornstarch, as even a tablespoon too much can make a cake dry and heavy. Sifting the dry ingredients together twice not only removes any lumps but also aerates the mixture, allowing it to fold effortlessly into the wet ingredients without overworking the gluten.
A Slow, Steady Bake
Step 1: Prepare the Oven and Cake Tins
Begin by preheating your oven to 180 degrees Celsius, or 350 degrees Fahrenheit, making sure the rack is positioned in the center. If you are using an oven with a fan function, reduce the temperature to 160 degrees Celsius to prevent the outer edges from baking too quickly. Lightly grease two eight-inch cake tins with your favorite cake release or butter, then line the bottoms with parchment paper. This preparation guarantees that your cake layers will release cleanly without leaving their golden edges behind.
Step 2: Sift the Dry Ingredients
In a large enamel bowl, combine the all-purpose flour, cornstarch, baking soda, baking powder, and salt. Pass these dry ingredients through a fine-mesh sifter to remove any clumps and distribute the leavening agents evenly. Use a wire whisk to stir the mixture gently, making sure the cornstarch is completely integrated into the flour. Set this bowl aside on your counter, ready to be folded into the wet ingredients later.
Step 3: Cream the Butter, Oil, and Peanut Butter
In your stand mixer fitted with the paddle attachment, or using a large mixing bowl with a hand mixer, combine the room-temperature unsalted butter, vegetable oil, granulated sugar, soft brown sugar, and smooth peanut butter. Turn the mixer to medium speed and let it run for a full three minutes until the mixture turns pale, light, and creamy. This step is crucial, as creaming incorporates tiny air pockets into the fats, which will expand in the oven to create a light, tender crumb. You will know it is ready when the heavy, comforting scent of roasted peanuts fills your kitchen.
Step 4: Incorporate the Eggs and Aromatics
With the mixer running on low speed, add the room-temperature eggs one at a time, allowing about fifteen seconds of mixing between each addition. This slow process prevents the batter from curdling and makes sure the eggs are fully emulsified into the fat. Once the eggs are incorporated, pour in the vanilla extract and the room-temperature buttermilk, mixing on medium speed until the batter is smooth and uniform. The batter may look slightly textured at this stage, which is completely normal as the acidic buttermilk meets the rich peanut butter.
Step 5: Fold the Batter by Hand for the Two-Layer Peanut Butter Cake
Remove the bowl from your mixer and set your mechanical tools aside, as the remaining work must be done by hand to protect the delicate structure of the cake. Pour the pre-sifted dry ingredients into the wet batter all at once. Using a wide rubber spatula, gently fold the flour into the liquid using a figure-eight motion, scraping the bottom of the bowl to make sure no dry pockets remain. Stop folding the very moment the last streak of flour disappears, as overmixing will develop the gluten and make your cake tough instead of tender.
Step 6: Bake the Cake Layers
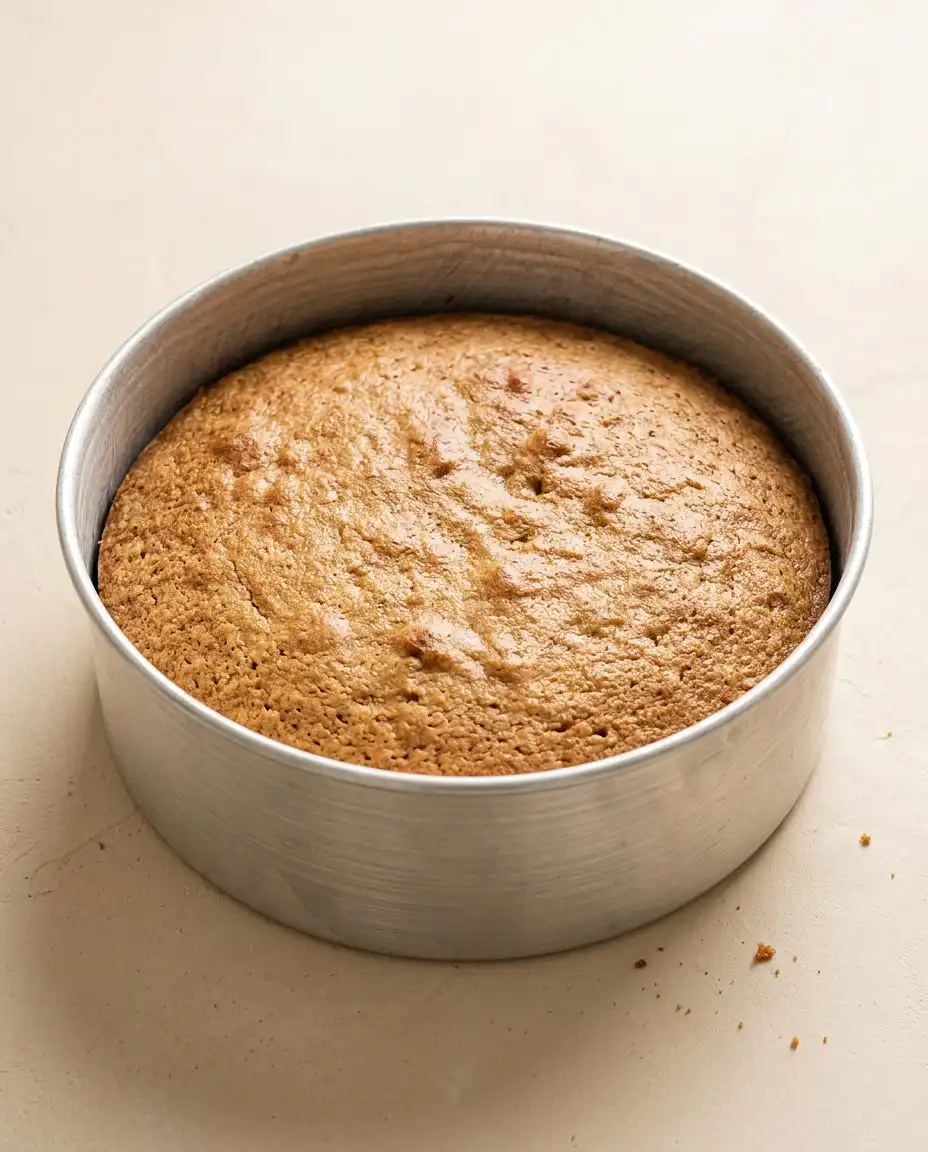
Divide the smooth batter evenly between your two prepared eight-inch cake tins, using your spatula to smooth the tops. Gently tap the tins once or twice on your wooden cutting board to release any large air bubbles trapped inside. Place the tins on the center rack of your preheated oven and bake for thirty to thirty-five minutes. You will know the cakes are finished when the tops are golden brown, the edges begin to pull away slightly from the sides, and a wooden toothpick inserted into the center comes out clean or with a few moist crumbs.
Step 7: Cool on the Windowsill
Remove the baked cakes from the oven and place the tins on a wire cooling rack or a heatproof surface. Let them rest in their tins for fifteen to twenty minutes, allowing the structure to firm up as the temperature drops. Carefully run a thin knife around the edges, then invert the cakes onto the wire rack, peeling away the parchment paper. Let the layers cool completely, which should take about an hour, before you begin applying the frosting.
Step 8: Whip the Peanut Butter Frosting
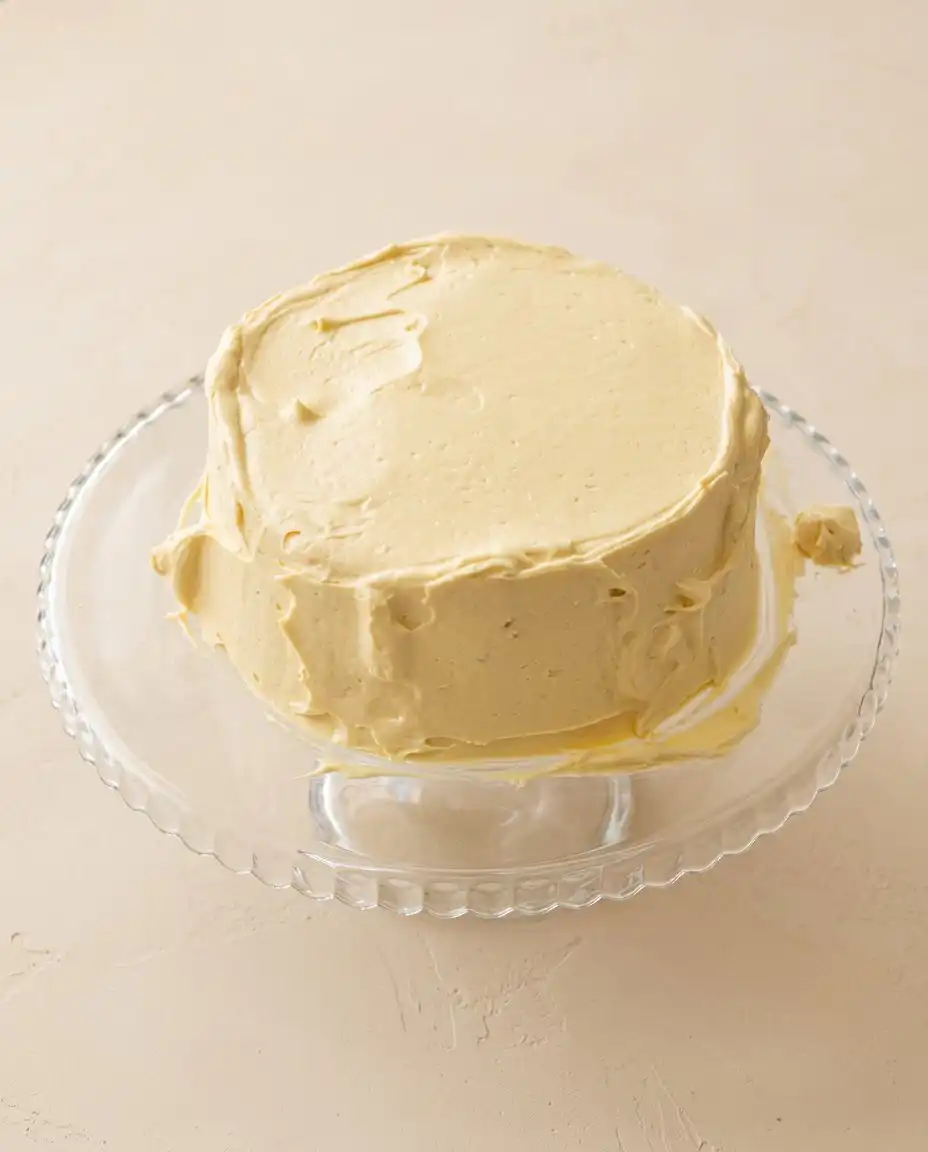
While the cake layers cool, prepare the silky frosting by combining the room-temperature butter, powdered sugar, vanilla, heavy cream, smooth peanut butter, and salt in a clean bowl. Start your mixer on the lowest speed to prevent a cloud of sugar from escaping, mixing for about one minute until the ingredients are combined. Increase the speed to medium-high and whip the frosting for a full ten minutes, stopping halfway through to scrape down the sides of the bowl. The frosting will transform into a pale, incredibly smooth, and spreadable consistency, ready to be swirled onto your cooled cake layers.
What I’ve Learned at the Counter
Always make sure your dairy and eggs are truly at room temperature before you begin mixing. Cold buttermilk or cold eggs will cause the creamed butter and peanut butter to seize, resulting in a broken batter that bakes unevenly. If you are in a hurry, you can warm cold eggs by placing them in a bowl of warm water for ten minutes, and warm your buttermilk slightly in the microwave for only a few seconds.
Avoid using natural, oil-separating peanut butter for both the cake and the frosting. The excess oil in natural peanut butter is highly unstable under heat and will separate during the baking process, leaving you with a greasy cake that has a sunken center. A traditional, homogenized creamy peanut butter provides the reliable fat structure needed for a beautiful rise.
Invest in a simple digital kitchen scale to measure your dry ingredients. Measuring flour by volume with a cup can vary wildly depending on how packed the flour is, often leading to adding too much flour and drying out the cake. Weighing your ingredients in grams makes sure you get consistent results every single time you bake.
If your peanut butter frosting is too stiff or filled with stubborn air bubbles, here is why and how to fix it. This common issue happens when your butter or heavy cream was slightly too cold, preventing them from whipping smoothly. To fix this, gently warm the frosting in your microwave in five-second bursts, stirring between each burst, then re-whip it on medium speed for a few minutes until it becomes silky and pliable. Conversely, if your kitchen is warm and the frosting is too soft, place the bowl in the refrigerator for thirty minutes before whipping it again.
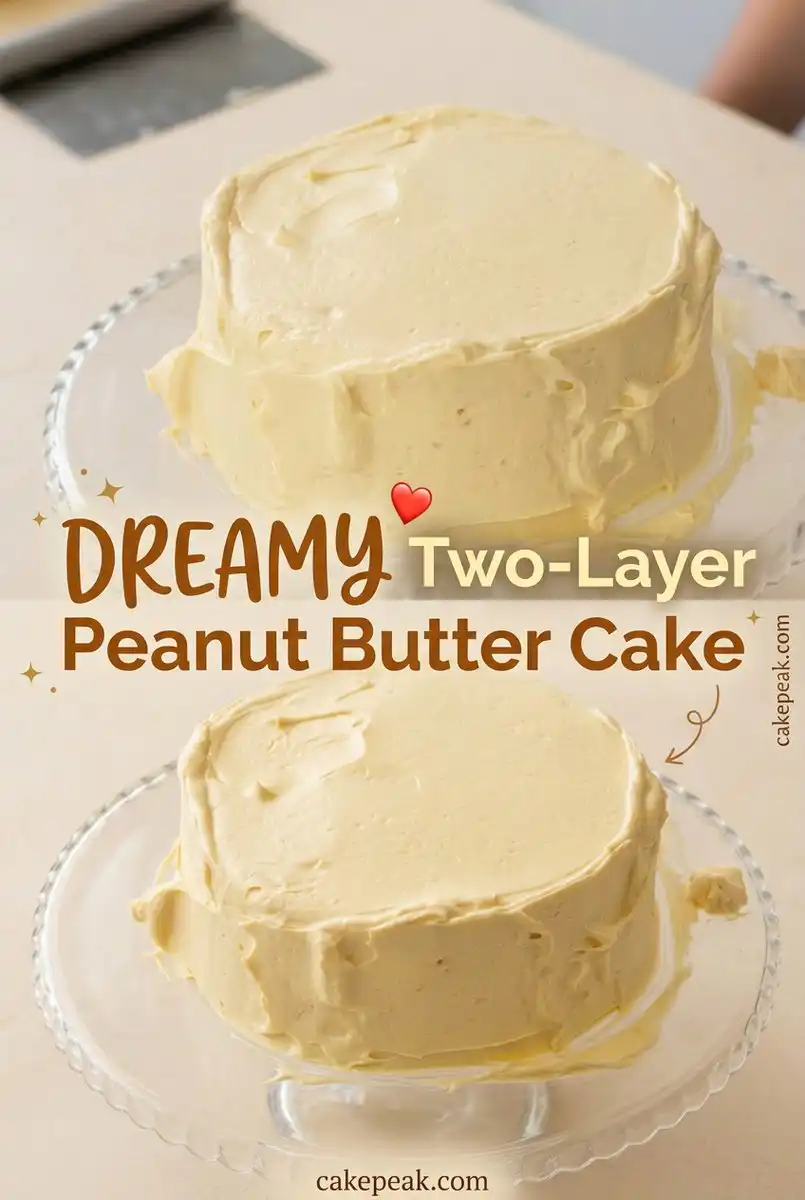
When it comes to assembling your layers, do not worry about achieving a smooth, bakery-style finish. A rustic, hand-swirled frosting looks beautiful and honest on a farmhouse table. If you want to learn more about simple techniques for finishing your bakes, you can read our guide on cake decorating to build your confidence at the counter.
For clean, beautiful slices of cake, use a long, sharp knife dipped in hot water and wiped dry before each cut. The warm blade will glide effortlessly through the rich peanut butter frosting without dragging the crumbs along with it. Wipe the blade clean after every single slice to keep the presentation neat and tidy.
Frequently Asked Questions
Can I use natural peanut butter in a cake?
It is best to avoid natural peanut butter that requires stirring, as the separated oil can make the cake batter greasy and cause the cake to sink in the middle. Traditional, homogenized smooth peanut butter provides a stable emulsion that integrates perfectly with the butter and sugars, making sure you get a consistent rise and a tender crumb.
Should a peanut butter cake have peanut butter or chocolate frosting?
While chocolate frosting is a popular and delicious choice, a rich peanut butter frosting creates a deeply satisfying, double-peanut experience that allows the nutty flavor to truly shine. If you prefer a contrast, you can use a simple chocolate fudge frosting, but for a true celebration of peanut butter, we highly recommend our whipped peanut butter buttercream.
Why is my peanut butter cake dry?
A dry peanut butter cake is usually the result of overmeasuring the flour or overbaking the layers. Peanut butter contains solids that can absorb moisture, so accurate measurement by weight is essential. Be sure to check your cakes with a toothpick starting at thirty minutes, and remove them from the oven as soon as the toothpick comes out clean or with a few moist crumbs.
How do you prevent peanut butter frosting from becoming too stiff?
To prevent your frosting from becoming too stiff, make sure that your butter, heavy cream, and peanut butter are all at room temperature before you begin mixing. If the frosting still feels too firm, you can add an extra tablespoon of heavy cream or gently warm the bowl in the microwave for a few seconds to soften the fats before re-whipping.
How do you decorate a two-layer peanut butter cake?
Embrace a simple, rustic style by using an offset spatula to create beautiful, organic swirls and swoops in the frosting. You can leave the sides semi-naked to let the golden cake layers peek through, or cover them completely and finish the top with a handful of chopped, roasted peanuts for a simple, elegant look that belongs on any farmhouse table.
Can I freeze this cake?
Yes, you can freeze both the unfrosted cake layers and the fully assembled cake. Wrap the cooled, unfrosted layers tightly in plastic wrap and foil, then freeze them for up to three months. To freeze a frosted cake, place it in the freezer for an hour to set the frosting, then wrap it securely; thaw overnight in the refrigerator before serving.
Can I make this cake gluten-free?
You can adapt this recipe for a gluten-free diet by substituting the all-purpose flour with a high-quality, 1-to-1 gluten-free baking flour blend that contains xanthan gum. Keep the cornstarch in the recipe, as it will continue to help soften the texture of the gluten-free crumb, making sure your cake remains wonderfully tender.
What can I use if I do not have buttermilk?
If you do not have buttermilk on hand, you can easily make a quick farmhouse substitute by adding one tablespoon of lemon juice or white vinegar to a liquid measuring cup, then filling it with whole milk to the one-cup line. Let the mixture sit on the counter for ten minutes to curdle slightly before using it in your batter.
Ways to Adapt It
For those who love the classic combination of chocolate and peanut butter, you can easily adapt this recipe by adding a layer of rich chocolate ganache between the cake layers. Spread a thin layer of ganache over the first cake round, let it set slightly, and then cover it with the peanut butter frosting. If you enjoy rich, chocolate-filled desserts, you might also love our decadent nutella cake for your next weekend baking project.
You can bring a touch of the kitchen garden to this bake by adding sliced, ripe bananas between the layers. Slice two ripe bananas thinly and arrange them in a single layer over the frosting on the bottom cake round before placing the second layer on top. The natural sweetness of the bananas pairs beautifully with the salty-sweet notes of the peanut butter, creating a comforting, rustic dessert reminiscent of a classic farmhouse breakfast.
If you prefer texture in your bakes, you can substitute a portion of the smooth peanut butter in the cake batter with a high-quality crunchy peanut butter. This adds small, toasted peanut pieces throughout the crumb, offering a delightful contrast to the soft, tender cake. You can also sprinkle chopped, roasted salted peanuts over the top of the frosted cake to emphasize its rustic, homemade character.
For a lighter variation, you can experiment with different cake bases while keeping the rich peanut butter frosting. If you want a base with a completely different texture, consider pairing this frosting with a delicate chiffon cake. The airy, sponge-like crumb of a chiffon cake provides a wonderful contrast to the dense, creamy frosting, creating a unique dessert that is perfect for spring gatherings. If you want to compare different ratios for a moist peanut butter crumb, you can read this moist peanut butter cake recipe to see how other farmhouse bakers approach this classic dessert.
Serving It Simply
When it is time to bring this cake to the table, I prefer to keep the presentation as simple and honest as possible. Place the frosted cake on a plain white ceramic platter or a simple wooden cake stand, letting the natural beauty of the swirled frosting take center stage. Slice the cake at the table while it is slightly cool, allowing the rich peanut butter flavors to open up as it warms to room temperature.
This dessert pairs beautifully with a hot mug of black coffee or a strong black tea, which cuts through the richness of the peanut butter frosting. For a late autumn gathering, it makes a wonderful alternative to traditional fruit desserts, standing proud alongside other seasonal favorites like our warm pumpkin spice cake. No matter the occasion, serve it with a relaxed spirit and let your guests enjoy every rustic crumb.
If you are hosting a larger gathering, you can serve this cake alongside a bowl of freshly whipped cream or a bowl of seasonal berries. The tartness of fresh berries can provide a lovely contrast to the deep, nutty richness of the cake. It is a wonderful way to bring the feeling of the Saturday farmers market directly to your dessert table.
The Quiet Goodbye
There is a simple joy in spending a quiet Saturday afternoon in the kitchen, measuring flour, creaming butter, and watching a cake rise in the oven. This peanut butter cake is a reminder that we do not need complicated techniques or exotic ingredients to create something truly memorable. Honest ingredients, honest cake — that is the philosophy we live by here at Cake Peak, and we hope this recipe brings a sense of warmth and comfort to your home.
When you bake this cake, I invite you to share a slice with a neighbor or gather your family around the kitchen island for an afternoon treat. Let the crumbs fall where they may, and enjoy the beauty of a dessert made entirely by hand. Sharing food is one of the oldest ways we connect with one another, and a homemade cake is the perfect excuse to slow down and enjoy the company of those we love.
If you enjoyed this recipe, please share your baking journey with us and connect with our community on Pinterest or join our friendly discussion on Facebook. We love seeing your rustic creations and sharing in your kitchen successes. Until next time, may your kitchen always smell of warm butter and roasted peanuts.