Growing up in Virginia, my grandmother used to say that the biggest joys often come in the smallest packages. We used to bake tiny “tasting cakes” from the extra batter of her Sunday pound cakes, just enough for a few bites for us children. These little treats taught me that you don’t need a grand three-tier centerpiece to share your heart; sometimes, a cake that fits right in the palm of your hand says everything it needs to.

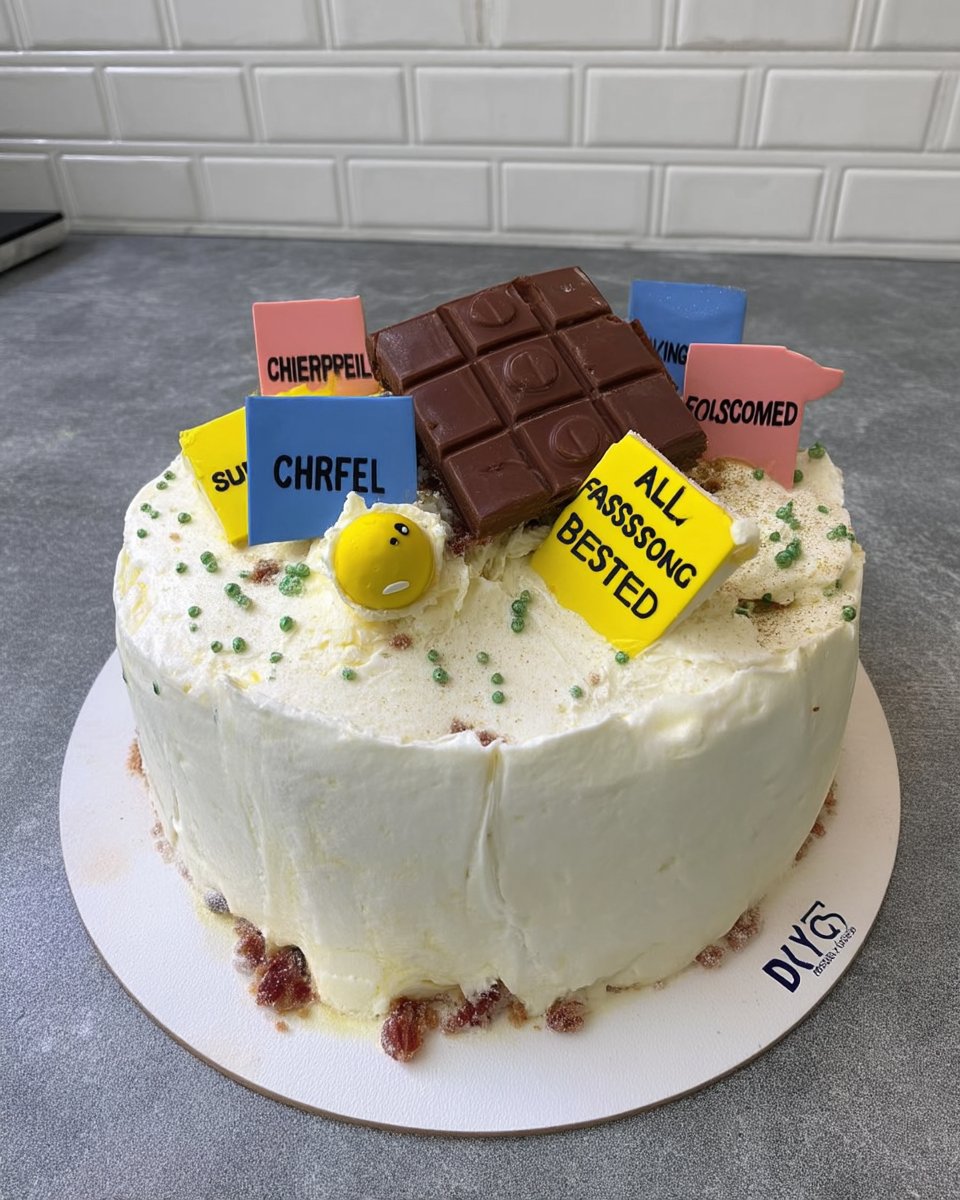
The Bento Cake is the modern version of those precious childhood memories, and it has become a favorite for anyone who loves a personal touch. This recipe uses a traditional genoise sponge to give you that light, airy texture we call the perfect crumb, paired with a rich Oreo-flavored buttercream. It is the ideal size for a sweet gift or a small celebration that brings folks together without any fuss.
Why This Bento Cake is a True Treasure
There is something incredibly special about a cake designed just for one or two people. In the world of Southern baking, we often think big, but this tiny treat allows us to focus on the fine details and that signature moisture that defines a quality bake. You will love this recipe because it combines professional technique with the simple comfort of a home-made snack.
First, the genoise sponge is a marvel of physics and flavor. Instead of relying on heavy chemical leaveners, we use the power of whisked eggs to create a lift that is as light as a summer breeze. This results in a texture that is tender yet sturdy enough to hold up to beautiful decorations. It is a baker’s cake, one that shows off your skill in every bite.
Second, the size is perfectly practical. We have all had those moments where we want to bake something sweet but do not want a massive cake sitting on the counter for a week. This Bento Cake solves that beautifully. It is a thoughtful way to show someone you are thinking of them, packaged up in a cute little box that makes the act of giving just as sweet as the cake itself.
Print
Bento Cake
- Total Time: 75 mins
- Yield: 2 mini cakes
- Diet: Vegetarian
Description
This delightful Bento Cake features a light, airy genoise sponge paired with a decadent Oreo-flavored buttercream. Perfectly sized for gifting or intimate celebrations, this recipe brings professional pastry techniques into the home kitchen for a truly special miniature treat.
Ingredients
- Fresh large eggs
- Granulated sugar
- All-purpose flour
- Pure liquid vanilla
- Buttercream mix
- Unsalted butter
- Oreo flavoring
- Water
Instructions
- Preheat your oven to 180°C (350°F) and line 4-inch round cake tins with parchment paper.
- Whisk room temperature eggs and sugar on high speed for 8 to 10 minutes until the mixture reaches the thick, pale ribbon stage.
- Gently fold in sifted flour in several additions using a spatula, then stir in the vanilla until just combined.
- Fill prepared pans two-thirds full and bake for 12 to 15 minutes until the tops spring back when touched.
- Allow cakes to cool completely on a wire rack before frosting.
- Hydrate the buttercream mix with water, then whip into soft pommade butter until pale and fluffy.
- Fold in the Oreo flavoring and assemble the cakes with a crumb coat and a final layer of smooth buttercream.
Notes
To ensure the best volume for your genoise sponge, place your mixing bowl in a warm water bath briefly while whisking the eggs and sugar. This helps the sugar dissolve and allows the proteins in the eggs to stretch further, resulting in an even lighter crumb. Avoid over-folding the flour, as maintaining the air bubbles is crucial since this recipe does not use chemical leaveners.
- Prep Time: 60 mins
- Cook Time: 15 mins
- Category: Dessert
- Method: Baking
- Cuisine: Southern American
The Foundation of Your Mini Masterpiece

To get that professional result at home, we start with simple, high-quality ingredients. In my kitchen, we always use room temperature eggs and butter to make sure everything incorporates smoothly. Here is what you will need to gather on your counter:
- Fresh Large Eggs: These are the heart of your genoise. They provide the structure and the lift, so make sure they are fresh and at room temperature for the best volume.
- Granulated Sugar: This sweetens the sponge and helps stabilize the egg foam as you whisk it to perfection.
- All-Purpose Flour: Sifted carefully, this provides the framework for our perfect crumb without making the cake heavy or dense.
- Pure Liquid Vanilla: A good quality vanilla makes all the difference, giving the sponge that classic, nostalgic aroma.
- Buttercream Mix: We use a reliable base to keep things consistent, which allows us to focus on the texture of the butter.
- Unsalted Butter: You want this at a “pommade” consistency—soft enough to spread like silk but not melted.
- Oreo Flavoring: This adds a deep, chocolatey crunch and a hint of creaminess that pairs beautifully with the vanilla sponge.
Having your ingredients ready and measured out is the first secret to a successful bake. When we treat our ingredients with respect, the cake always tastes better.
How to Create Your Bento Cake
Step 1: Prepare Your Kitchen Space
Start by preheating your oven to 180°C (350°F). Line a small baking sheet or a few 4-inch round tins with parchment paper. In the South, we know that a little preparation goes a long way in making sure our cakes come out of the pan clean and beautiful.
Step 2: Whisk the Eggs and Sugar
Place your room temperature eggs and sugar in a large bowl. Using a stand mixer or hand beaters, whisk them on high speed for about 8 to 10 minutes. You are looking for the “ribbon stage,” where the mixture is pale, thick, and leaves a trail when you lift the whisk. This air is what makes the genoise so light.
Step 3: Incorporate the Flour and Vanilla
Sift your flour over the egg mixture in two or three additions. Use a spatula to fold it in very gently. You want to use a light hand here so you do not pop all those lovely air bubbles you just worked so hard to create. Stir in the vanilla right at the end until just combined.
Step 4: Bake to Perfection
Pour the batter into your prepared pans, filling them about two-thirds of the way. Bake for about 12 to 15 minutes, or until the tops are golden and spring back when lightly touched. Let them cool completely on a wire rack before you even think about frosting them.
Step 5: Prepare the Buttercream Base
While the cakes cool, mix your buttercream preparation with water as directed. Let it sit for a moment to hydrate. This step makes sure your frosting is as smooth as possible, which is vital for decorating these tiny canvases.
Step 6: Whip in the Butter and Oreo Flavor
Beat your soft pommade butter until it is pale and fluffy. Gradually add your buttercream base, whipping constantly. Once it is light and airy, fold in that delicious Oreo flavoring. This gives the frosting a wonderful depth that contrasts perfectly with the light vanilla sponge.
Step 7: Assemble and Decorate
Slice your mini cakes to even them out. Place a small dollop of frosting on your cake board or a piece of parchment. Layer the sponge and frosting, then give the whole thing a thin “crumb coat.” Chill for 15 minutes, then apply your final layer of smooth, Oreo-flecked buttercream and add your creative designs.
Jesse’s Secrets for Success

One of the most important things to remember when making a genoise is to never skip the sifting. Sifting the flour twice makes it much easier to fold into the delicate egg foam without creating lumps. If you find your batter is losing too much volume, try using your clean hand to fold the flour in; it is a classic French technique that gives you a better feel for the texture of the batter.
Temperature is your best friend in the kitchen. If your butter is too cold, the buttercream will be lumpy. If it is too warm, it will be greasy. For more help with getting the basics right, you might want to look at our guide on a classic vanilla cake to master the foundations of sponge baking. Also, when preparing dough, always work in a cool environment so the fats in your recipe stay exactly where they should be.
Creative Twists on the Classic
While I love the Oreo and vanilla combination, there are so many ways to make this recipe your own. For a Southern summer feel, try folding a little lemon zest into the sponge batter and using a tart lemon curd between the layers. It adds a bright pop of flavor that is so refreshing during a garden party.
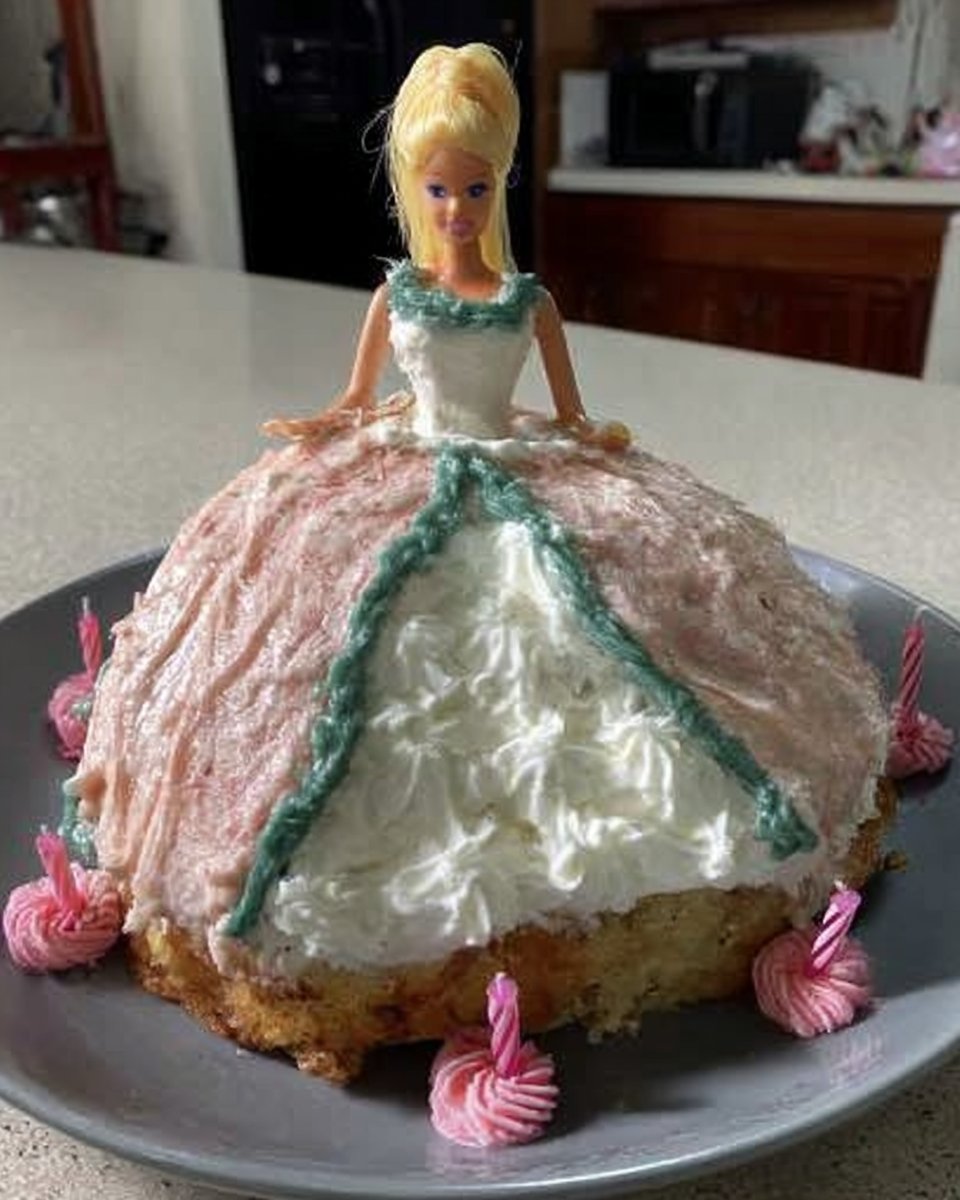
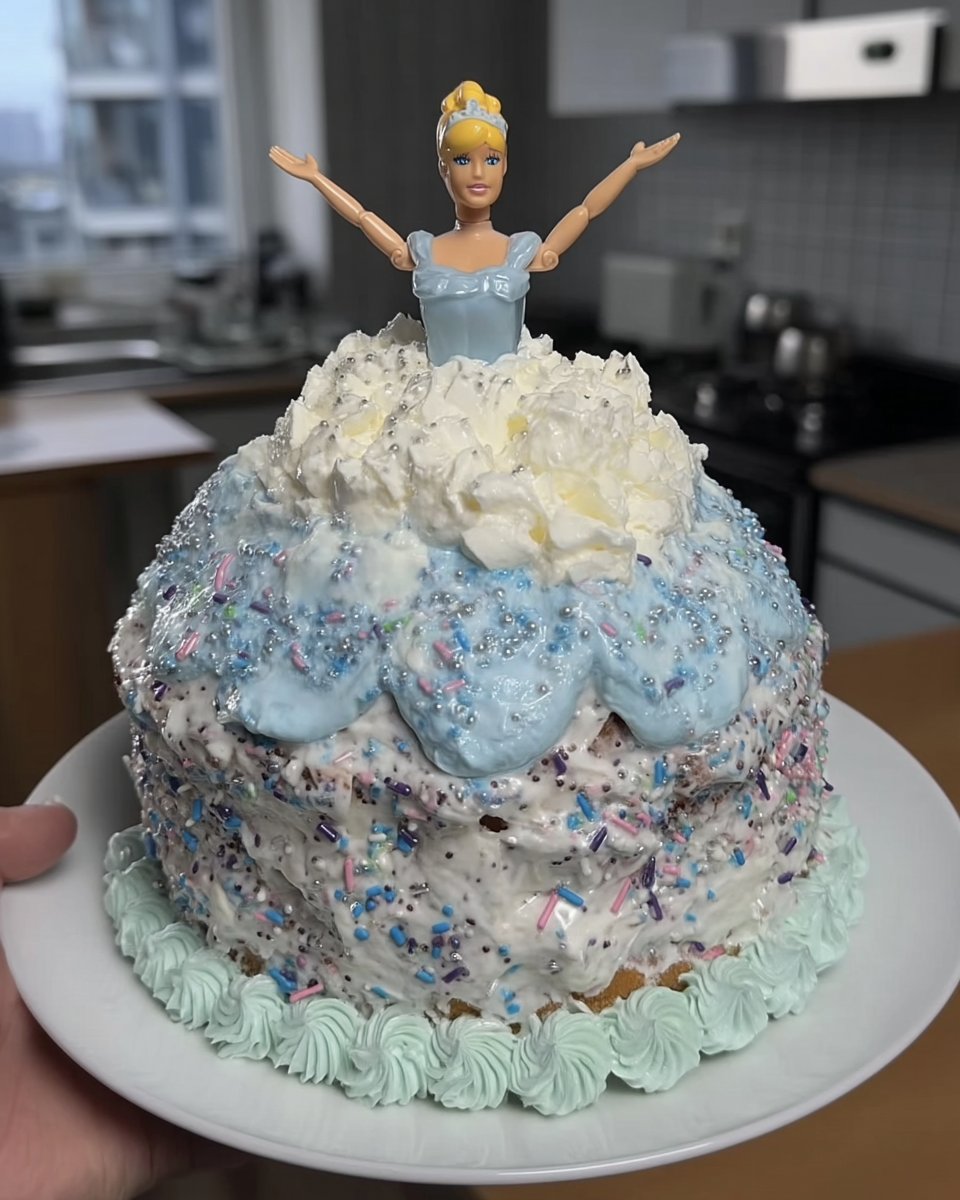
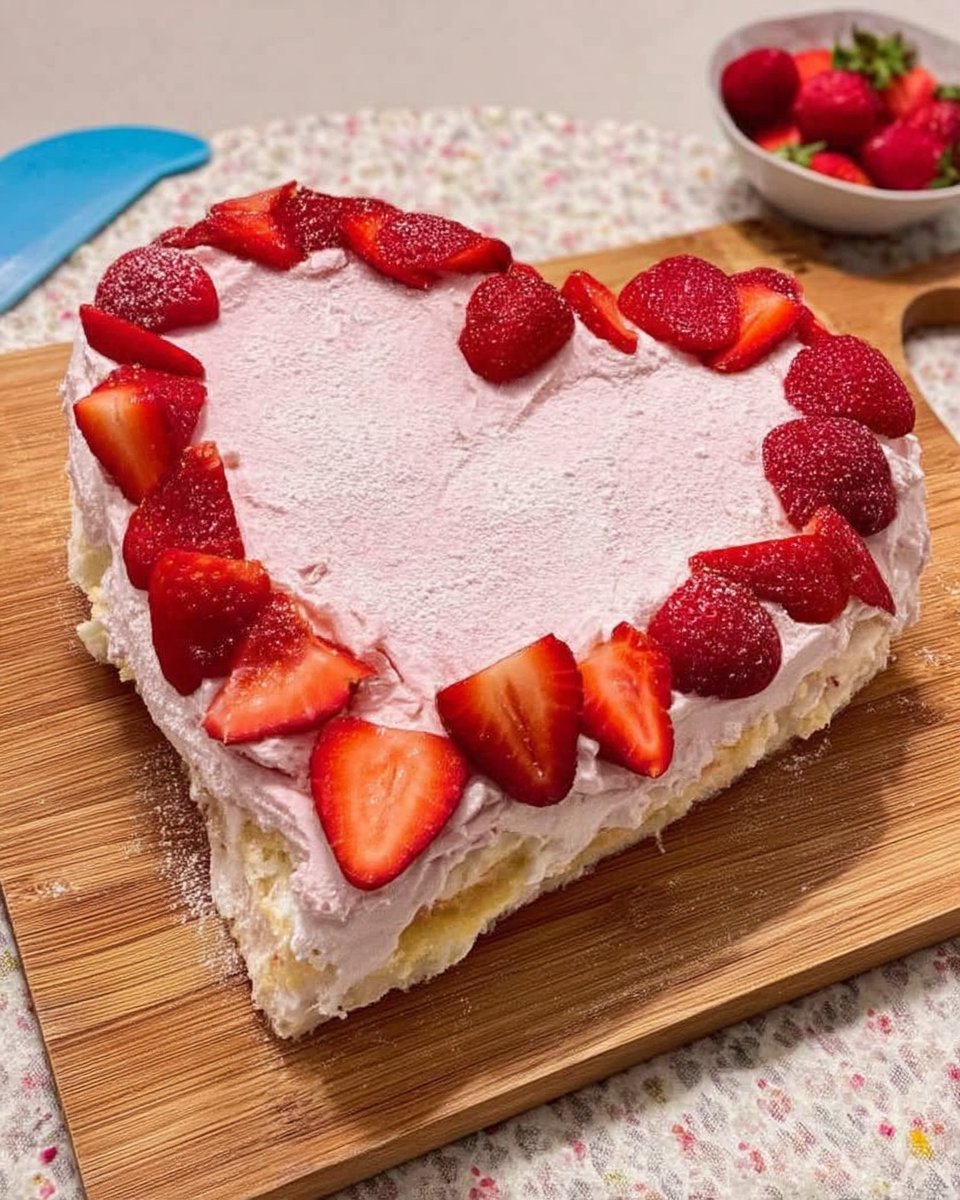
If you are feeling romantic, you can bake the batter in a small heart-shaped tin. This is a lovely way to adapt the recipe for anniversaries or Valentine’s Day. For more inspiration on shaped treats, check out our charming heart cake ideas. You could even swap the Oreo flavoring for toasted coconut and a splash of rum for a tropical flavor profile that still feels sophisticated and professional.
At the Table with Your Mini Creation

Serving a bento cake is all about the presentation. Part of the charm is placing the cake on a small square of parchment paper inside a compostable takeout box. It makes the recipient feel like they have received a hand-crafted treasure. I love to tuck a small wooden fork into the lid for a truly rustic, Southern feel.
These tiny cakes are wonderful when paired with a glass of cold milk or a strong cup of coffee. If you are serving these at a larger gathering, consider making several different flavors and displaying them together. For ideas on how to showcase smaller desserts at your next event, see our tips on contemporary small format cakes. They are always a conversation starter and allow guests to try a bit of everything.
Bringing It All Together
Baking a Bento Cake is a wonderful way to practice your precision while still having a lot of fun in the kitchen. Whether you are baking for a friend’s birthday or just want to treat yourself to something special on a Tuesday afternoon, these little cakes represent the very best of Southern hospitality—thoughtfulness, quality, and a touch of sweetness. If you find yourself falling in love with these smaller bakes, you should also look at our collection of vintage cake styles for more timeless inspiration.
I would love to see how your mini masterpieces turn out! Please share your photos and tag us so we can celebrate your baking journey together. Keep spreading the love, one tiny cake at a time.
Find more inspiration here:
