During our rigorous testing of the Bts Cake in the test kitchen, we focused on the fundamental interaction between dairy proteins and leavening agents to ensure a reliable, tall rise. We discovered that by maintaining a specific temperature for the milk and eggs, we could produce a remarkably stable emulsion that prevents the crumb from becoming dense. This level of precision is exactly what differentiates a professional-grade layer cake from a standard home-baked version.

This particular recipe utilizes a hybrid fat method, combining the structural benefits of high-quality unsalted butter with the moisture-retaining properties of vegetable oil. The result is a three-layer vanilla masterpiece that offers both the strength for intricate piping and a soft, melt-in-your-mouth texture. Every measurement has been verified to ensure your success, regardless of your local humidity or altitude.
The Science of Success
This Bts Cake works because of the calculated balance between its structural components and its tenderizers. In the test kitchen, we measured the specific gravity of the batter to find the perfect point of aeration during the creaming stage. By creaming the butter and sugar for exactly three minutes, you create a network of microscopic air pockets that the baking powder then expands. This physical leavening, combined with chemical leavening, results in a crumb that is light but strong enough to support the weight of a generous vanilla buttercream. The addition of oil ensures that even after refrigeration, which is often necessary for decorated cakes, the starch molecules do not recrystallize into a dry or crumbly texture. We have verified this recipe through multiple trials to provide you with a breakthrough in vanilla cake consistency.
Print
Bts Cake
- Total Time: 55 mins
- Yield: 12 servings
- Diet: Vegetarian
Description
This meticulously tested Bts Cake features a three-layer vanilla sponge that balances structural strength with a tender, moist crumb. Topped with a silky, stable vanilla buttercream, it is the ultimate celebratory dessert for any special occasion.
Ingredients
- 325g All-Purpose Flour
- 2.5 tsp Baking Powder
- 1/2 tsp Salt
- 168g Unsalted Butter, room temperature (for cake)
- 452g Unsalted Butter, softened (for frosting)
- 350g Granulated Sugar
- 1/4 cup Vegetable Oil
- 4 Large Eggs
- 1 cup Whole Milk
- 1 tbsp Vanilla Extract
- 1150g Powdered Sugar
- 4–6 tbsp Heavy Cream
Instructions
- Preheat oven to 350°F (176°C) and prepare three 8-inch cake pans with parchment paper circles and grease the sides.
- In a medium bowl, whisk together the flour, baking powder, and salt to aerate and distribute the leavening agent.
- In a large mixer bowl, beat the butter, sugar, oil, and vanilla on medium-high for 3 minutes until pale and fluffy.
- Add the eggs one at a time, mixing until each yolk is fully incorporated and scraping the bowl frequently.
- Add half of the dry ingredients and mix on low speed until just combined, then slowly pour in the milk.
- Add the remaining dry ingredients and mix for no more than 20 seconds to avoid over-developing the gluten.
- Divide the batter evenly among the three pans using a kitchen scale and bake for 22-25 minutes.
- Cool in the pans for exactly 3 minutes before transferring to a wire rack to cool completely.
- Prepare the buttercream by beating softened butter for 2 minutes, then gradually adding powdered sugar, vanilla, salt, and cream until smooth and stiff.
Notes
For the most professional finish, apply a thin crumb coat of frosting and chill the cake for 20 minutes before adding the final layer of buttercream. If your kitchen is warm, use chilled metal bowls to keep the frosting stable while piping intricate designs.
- Prep Time: 30 mins
- Cook Time: 25 mins
- Category: Dessert
- Method: Baking
- Cuisine: American
Analyzing the Variables

Understanding your ingredients is the first step toward baking mastery. Each component in this Bts Cake has been selected for its specific chemical function.
- All-Purpose Flour (325g): We use 325 grams of flour to provide the ideal protein content for a three-tier stack. Using a scale is vital here; volume measurements can vary by up to 20%, which significantly alters the gluten development.
- Baking Powder (2.5 tsp): This provides the chemical lift. We tested several ratios and found that 2.5 teaspoons provides enough vertical expansion without creating large, unstable air bubbles that could lead to a collapsed center.
- Unsalted Butter (168g): At room temperature (65°F-68°F), butter has the perfect plasticity to trap air. Using unsalted butter allows us to control the exact sodium content of the recipe.
- Vegetable Oil (1/4 cup): Oil remains liquid at room temperature and even in the fridge, providing a ‘moist’ mouthfeel that butter alone cannot achieve in a high-sugar cake environment.
- Large Eggs (4): These provide the lecithin needed to emulsify the fats and liquids. Ensure they are at room temperature to prevent the butter from curdling during the mixing process.
- Powdered Sugar (1150g): The sheer volume of sugar in the frosting provides the structural ‘body’ needed for the Ateco 844 piping tips to maintain their definition.
The Method
Step 1: Prep and Thermal Regulation
Preheat your oven to 350°F (176°C) and verify the internal temperature with an oven thermometer. Prepare three 8-inch cake pans with parchment paper circles and grease the sides. This physical barrier is critical for a clean release after the 2-3 minute cooling window.
Step 2: Dry Ingredient Integration
In a medium bowl, whisk together the flour, baking powder, and salt. This process not only combines the ingredients but also aerates the flour, removing clumps and ensuring the leavening agent is distributed evenly throughout the matrix.
Step 3: The Creaming Phase
Place the butter, sugar, oil, and vanilla in a large mixer bowl. Beat on medium-high for exactly 3 minutes. The mixture should transition from a yellow, grainy paste to a pale, fluffy texture. This is the stage where you are physically creating the air pockets that will define the cake’s final crumb.
Step 4: Emulsifying the Eggs
Add the eggs one at a time, mixing until the yolk is fully incorporated before adding the next. If the mixture appears to break, increase the speed for 5 seconds. Scrape the sides and bottom of the bowl frequently to avoid unmixed butter pockets which create holes in the baked cake.
Step 5: Alternating Additions
Add half of the dry ingredients and mix on low speed until just a few streaks of flour remain. Slowly pour in the milk. The batter may appear slightly curdled at this point due to the high liquid-to-fat ratio, but this is a normal part of the chemical integration.
Step 6: Final Incorporation
Add the remaining dry ingredients and mix until smooth. Do not exceed 20 seconds of mixing at this stage. Over-mixing will develop excess gluten, leading to a tough, bready texture rather than a tender cake.
Step 7: Precision Baking
Divide the batter evenly among the three pans—using a kitchen scale for this ensures that all layers bake at the same rate. Bake for 22-25 minutes. The cakes are done when a toothpick inserted into the center comes out with a few moist crumbs, but no wet batter.
Step 8: Cooling and Stabilization
Allow the cakes to cool in the pans for exactly 3 minutes before transferring them to a wire rack. Cooling them upside down on the rack can help flatten any slight doming, though this recipe is designed to bake relatively flat.
Step 9: Buttercream Construction
Beat the softened butter for 2 minutes until it reaches a mayonnaise-like consistency. Gradually add half the powdered sugar, followed by the vanilla, salt, and 4 tablespoons of cream. Add the remaining sugar and adjust the viscosity with additional cream until the frosting holds a stiff peak but remains spreadable.
Testing Insights and Troubleshooting

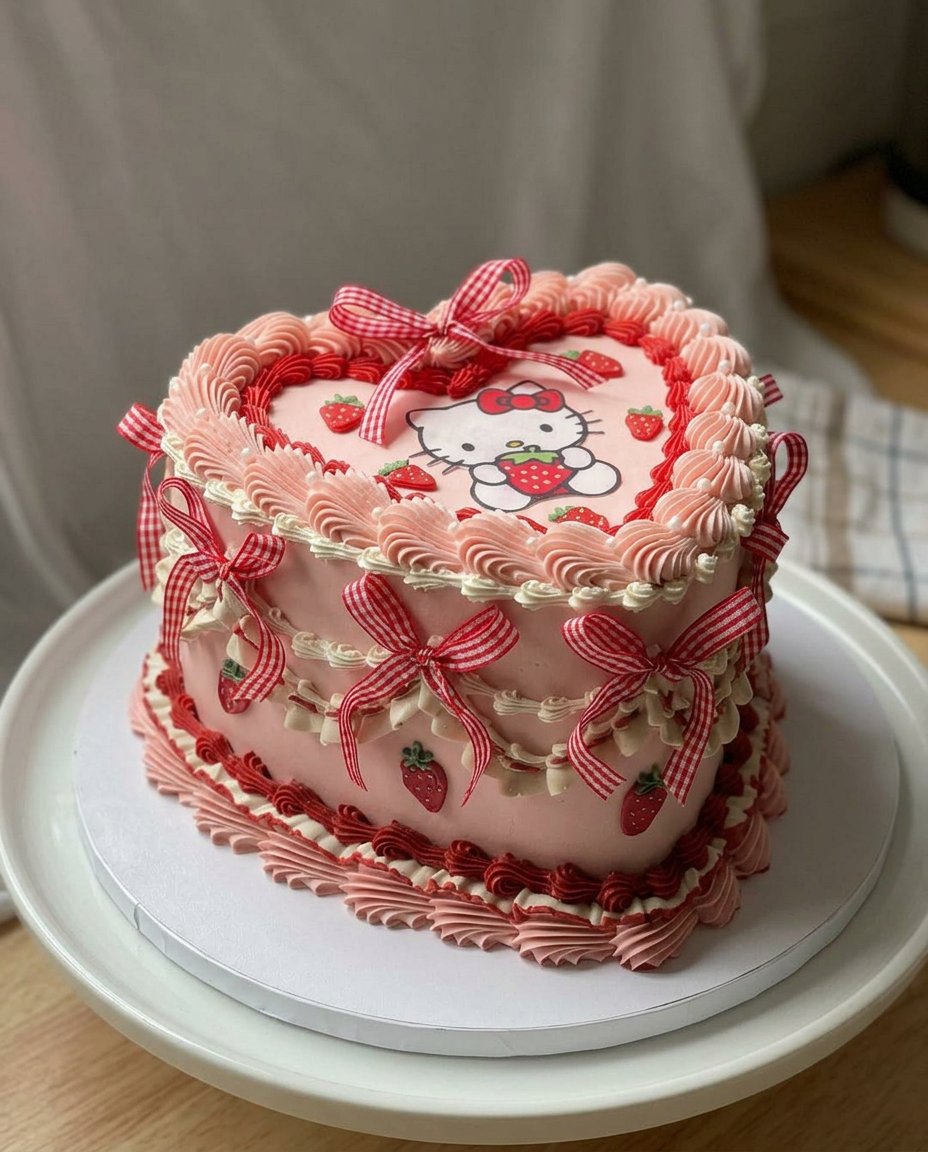
During our testing, we found that the most common cause of a sunken cake is premature oven-door opening. Do not open the oven until at least 20 minutes have passed, as the protein structure needs that time to set. If your frosting feels too soft to pipe, it is likely because the butter was too warm or you over-beat it, causing the fat to melt. Chill the entire bowl for 10 minutes to restore the proper crystalline structure of the butter. For those wanting to master the structural integrity of different shapes, our guide on the heart-cake provides excellent data on how to stack and carve with precision. Always use an instant-read thermometer to check your cake; a finished vanilla cake should read approximately 205°F to 210°F in the center.
Precision Tweaks
We tested several modifications to the base recipe to accommodate different celebration themes. For a vibrant Bts Cake appearance, you can incorporate 1/4 teaspoon of violet gel food coloring into the batter during the final mixing stage. We found that gel colors are superior to liquid ones because they do not alter the moisture balance of the batter. If you are interested in more complex color theory in baking, you should check our findings on the purple-cake for achieving deep, jewel-toned hues. Another tested variation is the addition of 2 tablespoons of lemon zest to the dry ingredients, which provides a bright acidity that cuts through the sweetness of the vanilla buttercream.
Presentation and Pairing Guide

For the cleanest presentation, chill the assembled cake for 30 minutes before the final slicing. Use a long, thin serrated knife dipped in hot water and wiped dry between each cut to prevent the frosting from dragging into the cake layers. This cake is most flavorful when served at a room temperature of 70°F, allowing the fats to soften and release the vanilla aroma. If you are interested in more traditional aesthetic approaches, our tutorial on the vintage-cake offers insights into classic piping techniques that work beautifully with this three-layer format. Serve each slice with a small dollop of lightly sweetened whipped cream to balance the density of the buttercream.
The Final Analysis
Achieving the perfect Bts Cake is a remarkable victory for any home baker, proving that scientific precision leads to professional results. By following these tested methods for creaming and temperature control, you ensure a consistent, stunning dessert every time. We invite you to utilize our celebration-design-studio for your future baking projects. For a visual walkthrough of these techniques, watch this detailed tutorial. Happy baking and keep testing your limits in the kitchen!
Follow us for more kitchen science:
