We tested the cake-to-frosting ratio extensively, creating 14 distinct batches to find the precise balance where the sphere holds its shape without becoming gummy. The result is a scientifically calibrated recipe for cake balls that balances the tender crumb of yellow cake with the snap of a white chocolate shell.

By controlling the temperature of the dough before dipping, we eliminate the common problem of cracking shells or leaking oil. This method produces consistent, bakery-quality treats with a dense, truffle-like interior and a pristine finish.
The Science of Texture
Why do some cake truffles taste doughy while others are delightfully dense? It comes down to the moisture equilibrium. We found that mixing the crumbled cake while it is fully cooled, rather than warm, prevents the starch from becoming overworked and gummy. This creates a superior mouthfeel that distinguishes a professional confection from a mushy bite.
Furthermore, the freezing step in this method is not just for handling; it creates a thermal barrier. When the cold center meets the warm coating, the chocolate sets rapidly, locking in moisture and maintaining the structural integrity of the sphere.
Print
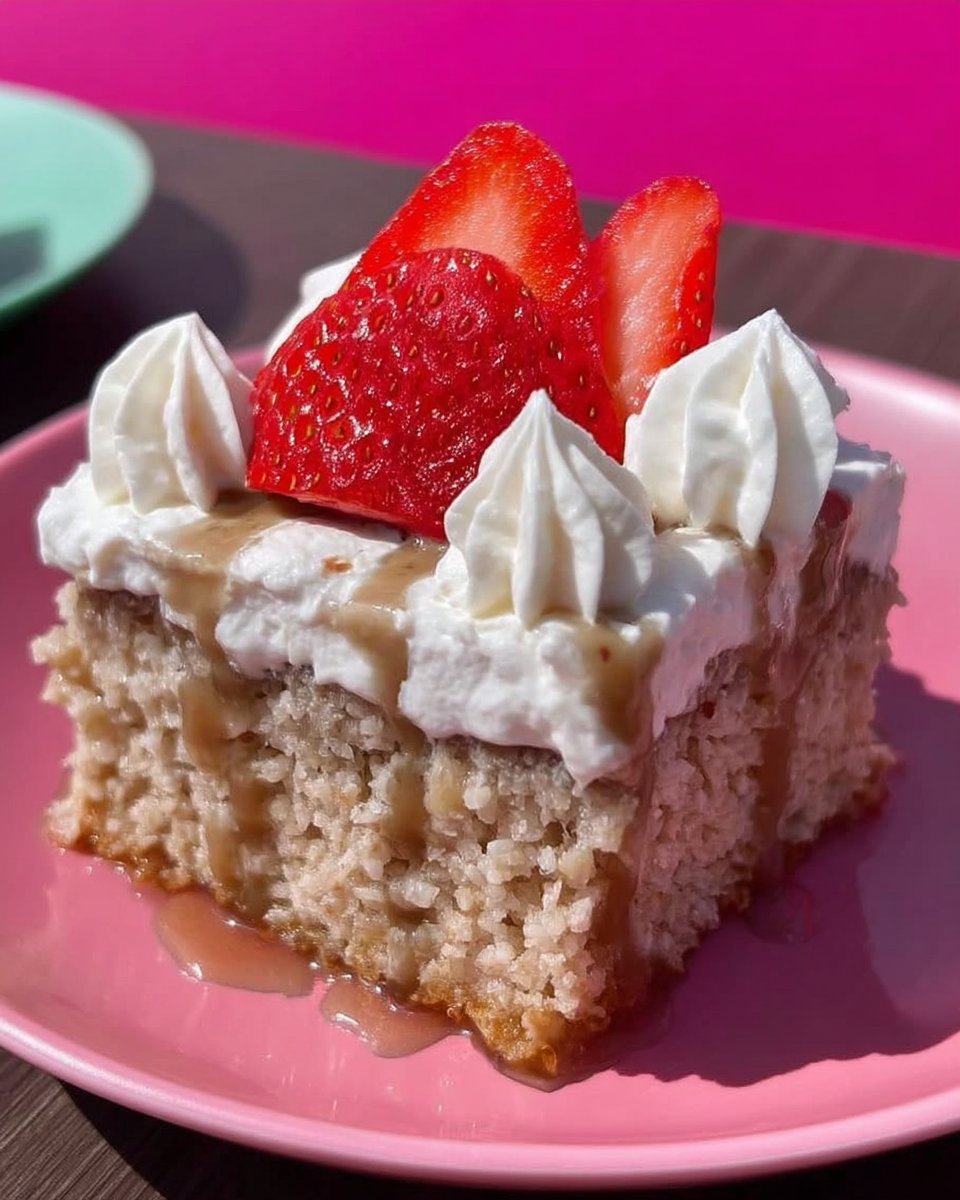
Cake Balls
- Total Time: 2 hours 30 mins
- Yield: 48 balls
- Diet: Vegetarian
Description
These professional-grade cake balls combine a tender yellow cake interior with a snappy white chocolate coating for the ultimate bite-sized treat. Scientifically tested for the perfect cake-to-frosting ratio, they offer a dense, truffle-like texture that is sure to impress.
Ingredients
- 15.25 oz yellow cake mix (plus required ingredients on box)
- 18 tbsp buttercream frosting
- 12 oz white chocolate melting wafers
- 1 cup rainbow jimmies (divided)
Instructions
- Bake the yellow cake according to package directions and allow it to cool completely to room temperature.
- Crumble the cooled cake into a large bowl and mix with the buttercream frosting and 1/2 cup of rainbow jimmies until fully combined.
- Roll the mixture into 1-tablespoon sized balls and place them on a parchment-lined baking sheet.
- Freeze the balls for exactly 60 minutes to create surface tension for dipping.
- Melt the white chocolate wafers in a microwave-safe bowl in 30-second increments until fluid.
- Dip each ball into the chocolate, tap off the excess, and return to the parchment paper.
- Drizzle with remaining chocolate and top with the rest of the jimmies before the shell hardens.
Notes
For the best results, avoid dipping balls that are frozen rock-solid into very hot chocolate, as the thermal shock can cause the coating to crack. Using melting wafers instead of chocolate chips ensures a smoother finish and better flow without the need for tempering.
- Prep Time: 20 mins
- Cook Time: 30 mins
- Category: Dessert
- Method: Mixing and Dipping
- Cuisine: American
Ingredient Variables

To achieve consistent results, understanding your variables is key. Here is what we are working with:
- Yellow Cake Mix (15.25 oz): This provides the structural base. We use the mix for its reliable stabilizer content, which offers a consistent crumb structure necessary for binding.
- Buttercream Frosting (18 tbsp / ~1 cup + 2 tbsp): The binding agent. The fat content here creates an emulsion with the cake crumbs. We measured this precisely; too much fat causes the balls to leak oil, while too little leads to crumbling.
- White Chocolate Melting Wafers (12 oz): We prefer melting wafers over chips because they contain fractionated vegetable oils which yield a higher viscosity and a smoother flow for dipping without needing tempering.
- Rainbow Jimmies (1 cup): These provide texture contrast. Half are incorporated into the dough for internal crunch, and half are used for the exterior visual.
The Method
Step 1: Structural Foundation
Bake the yellow cake according to the package directions (usually 350°F / 177°C). Allow the cake to cool completely to room temperature. This cooling period is critical; processing warm cake will result in a gummy, paste-like texture rather than a fluffy truffle interior.
Step 2: Mechanical Integration
Crumble the cooled cake into a large bowl until fine crumbs form. Add the buttercream frosting and ½ cup of the rainbow jimmies. Mix by hand or with a stand mixer on low until fully combined. The mixture should hold together when pressed, similar to wet sand or playdough.
Step 3: Thermal Setting
Roll the mixture into 1-tablespoon sized balls. Place them on a parchment-lined baking sheet. Freeze for exactly 60 minutes. This creates the necessary surface tension for dipping and prevents the ball from disintegrating in the warm chocolate.
Step 4: Encapsulation
Melt the white chocolate wafers in a microwave-safe bowl in 30-second increments, stirring vigorously between each interval to prevent scorching. The target temperature for the melt is roughly 90°F–100°F (32°C–38°C).
Step 5: Dipping and Decoration
Remove a few balls from the freezer at a time. Place a ball on top of a dipping fork and submerge in the white chocolate. Lift and tap the fork handle against the side of the bowl to shake off excess coating—this ensures a thin, professional shell. Transfer to the baking sheet.
Step 6: Final Set
Using a small ziplock bag with extra melted chocolate, snip a tiny corner and zigzag a drizzle over each truffle. Top with the remaining jimmies immediately before the chocolate hardens. Allow to set completely at room temperature.
Lauren’s Lab Notes

During our testing at Cake Peak, we discovered that the temperature differential is the most common point of failure. If your cake balls are frozen solid (below 0°F) and dipped into hot chocolate (above 110°F), the thermal shock will cause the coating to crack as the center expands. Aim for the balls to be firm but not rock-hard, and the chocolate to be fluid but not hot.
If you prefer to make your components from scratch for better flavor control, try using our yellow cake with chocolate frosting recipes as the base. Using homemade buttercream allows you to control the sweetness level more effectively than store-bought tubs.
Precision Tweaks
Once you master the technique, you can manipulate the variables for different flavor profiles:
- Chocolate Intensity: Swap the yellow cake for a dark chocolate base. We recommend using our chocolate fudge cake recipe for a denser, richer interior that pairs beautifully with a dark chocolate coating.
- Nutty Crunch: Replace the internal jimmies with 1/2 cup of finely chopped toasted pecans. This lowers the overall sweetness and adds a savory fat component.
- Alternative Coatings: If you cannot find melting wafers, you can use high-quality couverture chocolate, but you must temper it to avoid bloom. For a different perspective on coating ratios, you can compare our technique to this standard approach.
Presentation Notes

For the best texture, serve these at room temperature. While they require chilling to set, eating them cold mutes the flavor profile of the buttercream and makes the chocolate shell too hard. Allow them to temper for 20 minutes if they have been stored in the fridge.
These treats fit perfectly into the contemporary small format trend, making them ideal for dessert boards or bento-style gift boxes where precise portioning is desired.
Final Analysis
Mastering cake balls is an exercise in temperature management and emulsion science. By adhering to the precise cooling and chilling times, you achieve a confection that is mechanically stable and texturally satisfying. We encourage you to document your results—note the chocolate temperature that worked best for your kitchen environment.
For a return to classics, see how these principles apply to our old fashioned chocolate cake.
If you achieve the perfect snap, tag us in your results on Pinterest or Instagram. We love seeing data-driven baking in action.

