In the Cake Peak test kitchen, we recently conducted a series of trials to determine the exact structural limits of a moist chocolate sponge when loaded with three pounds of assorted confectionery. Our goal was to create a Cake Birthday Boy that maintains its architectural integrity while providing a tender, professional-grade crumb. We found that the sequence of adding boiling water is the most critical variable in achieving this specific density.

This formulation relies on a high-hydration batter that uses boiling water to bloom the cocoa solids, resulting in a deep, dark flavor profile that balances the sweetness of the candy toppings. By following this precise scientific method, you will produce a stable two-layer cake that serves as a reliable foundation for any celebration. Every gram and every minute of mixing has been verified for consistent results in a home environment.
The Science of Success
This recipe works because it addresses the fundamental challenge of oil-based cakes: stability versus moisture. We use oil instead of butter because oil is a liquid at room temperature, which guarantees a softer mouthfeel even after refrigeration. However, oil cakes can sometimes be too fragile to support heavy decorations. This recipe solves that by using a specific ratio of two large eggs and whole milk to create a protein matrix strong enough to hold up to 3 cups of candy.
The inclusion of boiling water at the final stage of mixing is not just a preference; it is a chemical necessity. This hot liquid dissolves the granulated sugar more efficiently and reacts with the cocoa powder to release aromatic compounds that would otherwise remain trapped. The result is a breakthrough in texture—a cake that is remarkably moist but firm enough to be handled and frosted without crumbling. Our tests showed that this specific method produces a crumb that stays fresh for up to 72 hours, a significant triumph for make-ahead planning.
Print
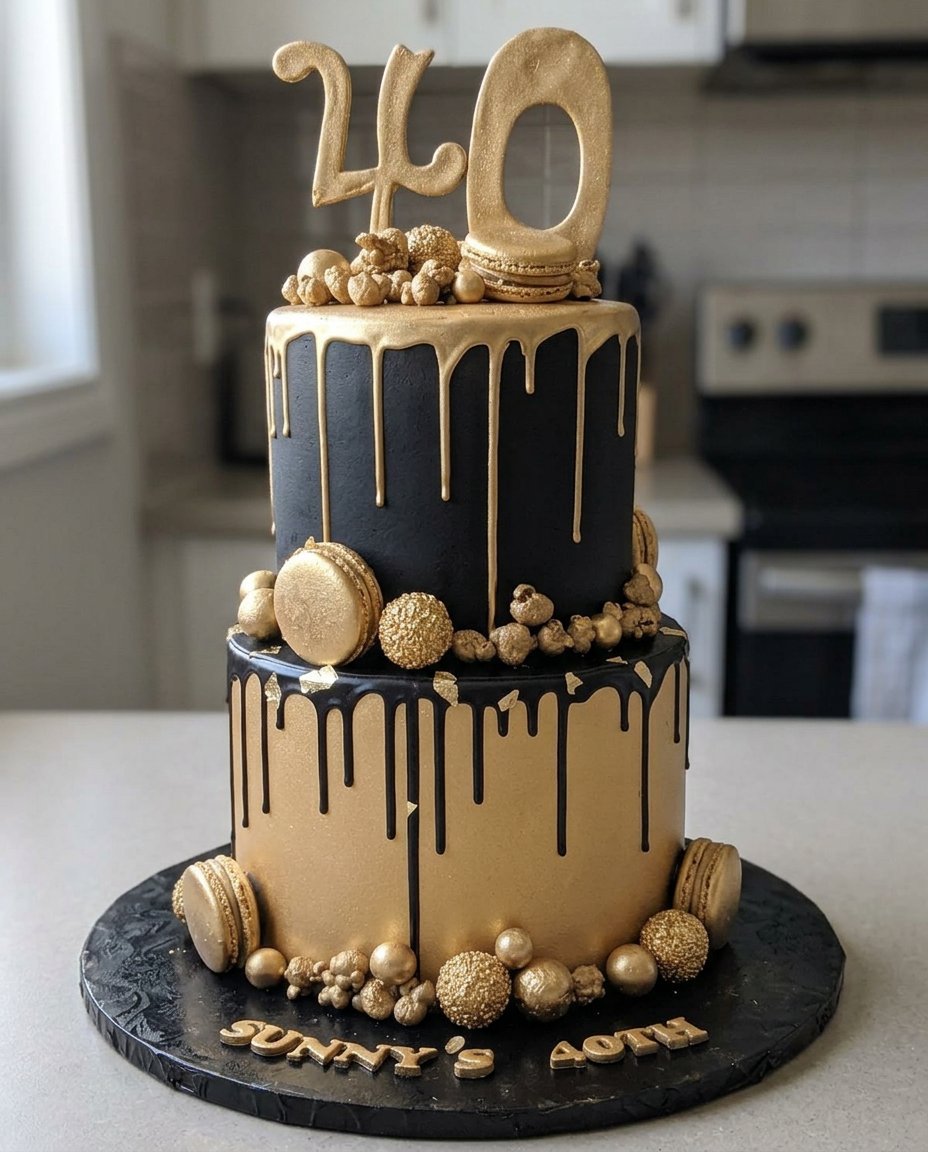
Cake Birthday Boy
- Total Time: 55 mins
- Yield: 12 servings
- Diet: Vegetarian
Description
A structurally sound and incredibly moist chocolate sponge cake designed to hold the weight of heavy candy toppings. This professional-grade recipe uses a boiling water blooming technique to ensure a deep cocoa flavor and a reliable texture for any celebration.
Ingredients
- 2 cups all-purpose flour
- 2 cups granulated sugar
- 3/4 cup cocoa powder (Dutch-processed recommended)
- 2 teaspoons baking powder
- 1.5 teaspoons baking soda
- 1 cup boiling water
- 1/2 cup neutral vegetable oil
- 1 cup whole milk
- 2 large eggs
- 2 teaspoons vanilla extract
- Chocolate ganache (1:1 ratio of chocolate to heavy cream)
- 3 cups assorted candies (such as Kit Kats, lollipops, and M&Ms)
Instructions
- Preheat your oven to 350°F (177°C) and grease and flour two 9×2 inch round cake pans.
- In a large mixing bowl, whisk together the eggs, vegetable oil, milk, and vanilla extract for 60 seconds until fully emulsified.
- In a separate bowl, sift together the flour, sugar, cocoa powder, baking powder, and baking soda to remove any clumps.
- Add the dry ingredient mixture to the wet base and mix with a spatula or hand mixer on low speed until just moistened.
- Carefully pour the boiling water into the batter and whisk by hand until the mixture is thin and smooth.
- Divide the batter equally between the prepared pans and bake for 30 to 35 minutes until a toothpick comes out clean.
- Cool the cakes in their pans for 10 minutes before transferring them to a wire rack to reach room temperature.
- Stack the cooled layers with chocolate ganache, frost the exterior, and press candies into the frosting while it is still slightly tacky.
Notes
To ensure a perfectly level cake, check that your oven is calibrated to exactly 350°F, as the high-hydration batter is sensitive to temperature fluctuations. If you are using heavy lollipops, insert them into the cake only after the ganache has begun to set to provide maximum stability.
- Prep Time: 20 mins
- Cook Time: 35 mins
- Category: Dessert
- Method: Baking
- Cuisine: American
The Variables

Success in the test kitchen depends on understanding how each component behaves under heat. Here is the data on why these specific ingredients are required for the perfect Cake Birthday Boy:
- All-Purpose Flour (2 cups): We tested cake flour, but it lacked the protein strength (gluten) needed to support the weight of the lollipops and Kit Kats. All-purpose flour provides the necessary structure.
- Granulated Sugar (2 cups): Sugar is a tenderizer. It interferes with gluten formation, which is why this cake remains soft despite the high flour content.
- Cocoa Powder (3/4 cup): We recommend a high-quality Dutch-processed cocoa for a more neutral pH, which reacts predictably with our leavening agents.
- Baking Powder (2 tsp) and Baking Soda (1.5 tsp): This dual-leavening system provides both immediate lift and long-term stability during the 35-minute bake time.
- Boiling Water (1 cup): This must be exactly 212°F (100°C) to properly bloom the cocoa and thin the batter for a flat, even bake.
- Oil (1/2 cup): Use a neutral vegetable oil. Avoid olive oil, as the polyphenols can clash with the chocolate’s flavor profile.
- Chocolate Ganache Frosting: For this design, a 1:1 ratio of chocolate to heavy cream is used to create a medium-viscosity frosting that acts as a secure adhesive for the candy.
The Step-by-Step Process
Step 1: Emulsify the Wet Bases
In a large glass mixing bowl, combine the 2 eggs, 1/2 cup oil, 1 cup milk, and 2 teaspoons of vanilla extract. Use a whisk to mix for exactly 60 seconds until the mixture is a homogenous, pale yellow liquid. This step creates the emulsion that will carry the dry ingredients.
Step 2: Sift and Integrate Dry Matter
In a separate bowl, whisk together the 2 cups flour, 2 cups sugar, 3/4 cup cocoa powder, 2 teaspoons baking powder, and 1.5 teaspoons baking soda. Sifting is recommended to remove any cocoa clumps, which can create pockets of dry powder in the finished cake.
Step 3: The Primary Integration
Dump the dry mixture into the wet base. Mix with a spatula or a hand mixer on low speed until the flour is just moistened. Do not overmix at this stage; we want to minimize gluten development to keep the cake tender.
Step 4: The Blooming Phase
Carefully pour the 1 cup of boiling water into the thick batter. Stir slowly by hand at first to avoid splashing, then whisk until the batter is thin and smooth. The heat will immediately start to activate the leavening agents.
Step 5: Thermal Processing
Divide the batter equally between two 9×2 inch round pans that have been greased and floured. Bake at 350°F (177°C) for 30 to 35 minutes. Verify readiness by inserting a toothpick; it should come out clean or with a few moist crumbs. Internal temperature should reach 205°F.
Step 6: Cooling and Construction
Allow the cakes to cool in the pans for 10 minutes before transferring to a wire rack. They must reach 70°F before you apply the frosting. Once cool, stack the layers with a generous layer of chocolate ganache in the center, then coat the exterior. Use a spoon to create a rustic, textured surface.
Step 7: Decorative Application
While the ganache is still slightly tacky, apply your candies. Press the heavier items, like Kit Kats or lollipops, firmly into the cake to anchor them.
Lauren’s Lab Notes

To achieve professional results, temperature control is your best tool. If your ganache is too runny, it will not hold the weight of the M&Ms or gum drops. Let the frosting sit at room temperature until it reaches the consistency of peanut butter. If you find your cake layers are domed, you can use a serrated knife to level them, but if you bake at exactly 350°F, the high hydration should result in a relatively flat top. For those who want to try different shapes, our car-cake guide offers insights on carving these layers without losing moisture. Always verify that your baking soda is fresh by dropping a pinch into vinegar; if it doesn’t bubble vigorously, your cake will be dense and flat.
Precision Tweaks
We tested several modifications to this base recipe to see how it handles different flavor profiles. For a fruit-forward version, you can replace the boiling water with boiling hot raspberry puree, though you should increase the baking soda by 1/4 teaspoon to account for the added acidity. If you prefer a lighter crumb, you can examine our lemon-rainbow-cake which uses a different leavening balance. For a gluten-free variation, a 1:1 gluten-free flour blend works well here because the high moisture content from the boiling water helps prevent the grittiness often found in gluten-free baking. We found that adding 1/2 teaspoon of espresso powder to the dry ingredients further intensifies the chocolate without adding a coffee taste.
Presentation Notes

This cake is a visual triumph, but it requires a specific technique for serving. Because of the density of the candies, use a sharp, thin-bladed knife dipped in hot water and wiped dry between each cut. This prevents the ganache from sticking and ensures clean slices. If you are planning a large party, our celebration-design-studio has excellent data on portion sizes for multi-layer cakes. Serve this at room temperature (around 68-72°F) to make sure the chocolate ganache has the best melt-on-the-tongue quality. Cold ganache can be quite firm and may mask the subtle notes of the cocoa.
The Final Analysis
Mastering the Cake Birthday Boy is a matter of respecting the chemistry of the ingredients. By blooming the cocoa and maintaining a precise bake temperature, you create a dessert that is as stable as it is delicious. This project represents a breakthrough in home baking, proving that you do not need professional equipment to achieve professional consistency. If you enjoyed this texture, you might also like the richness of our snickers-cake. For more inspiration on character-themed designs, check out this PJ Masks cake inspiration. Please share your results with us on Pinterest, Instagram, or Facebook. Keep testing and happy baking!

