In the Cake Peak test kitchen, we spent three days verifying the exact protein-to-fat ratio required for a sponge that could hold intricate patterns without bleeding during the bake. We discovered that the addition of cornstarch doesn’t just tenderize the crumb; it provides the structural rigidity required for the Cake Draw technique to remain crisp and legible. Our final trial involved 48 individual mini cakes to confirm that 375°F (190°C) is the thermal sweet spot for setting the design before the batter expands too far and distorts your art.

This method combines the lightness of a traditional chiffon cake with the artistic precision of edible illustration to create a truly remarkable dessert. By separating the batter and using gel-based pigments, you can produce customized cakes that are as visually stunning as they are technically sound. This guide will walk you through the chemical stabilization of egg whites and the physics of batter viscosity to guarantee success in every batch.
The Science of Structural Design
This recipe works because it balances the airy structure of a meringue with the stability of a high-yolk batter. Most sponge cakes are too fragile to handle heavy piping, but our ratio of twelve egg yolks creates an emulsified base that holds its shape. The inclusion of vegetable oil instead of butter keeps the cake flexible even when cold, which is vital when you are peeling back the parchment paper to reveal your Cake Draw designs.
We tested various flour types and determined that all-purpose flour, when modified with a specific percentage of cornstarch, mimics the low-protein nature of cake flour while maintaining enough ‘bite’ to support the whipped cream filling. This creates a triumph of texture where the cake is soft enough to melt in the mouth but strong enough to act as a literal canvas for your creativity. The precision of the 375°F (190°C) temperature causes the outer proteins to coagulate quickly, locking your design in place before the leavening agents can cause the batter to shift.
Print
Cake Draw
- Total Time: 50 mins
- Yield: 12 mini cakes
- Diet: Vegetarian
Description
Create stunning edible art with this scientifically-refined sponge cake recipe, specifically engineered to maintain sharp, piped designs through the baking process. By balancing high-protein egg whites with a tender cornstarch-enriched crumb, these mini cakes offer a professional canvas for your most creative dessert illustrations.
Ingredients
- 12 large eggs, separated
- 1 1/2 cups all-purpose flour
- 1/4 cup cornstarch
- 1 cup granulated sugar, divided
- 1/2 cup vegetable oil
- 1/2 cup whole milk
- 2 teaspoons vanilla extract, divided
- 1 teaspoon white vinegar
- Gel food coloring
- 2 cups heavy whipping cream
- 1/4 cup confectioners sugar
- 1 pinch salt
Instructions
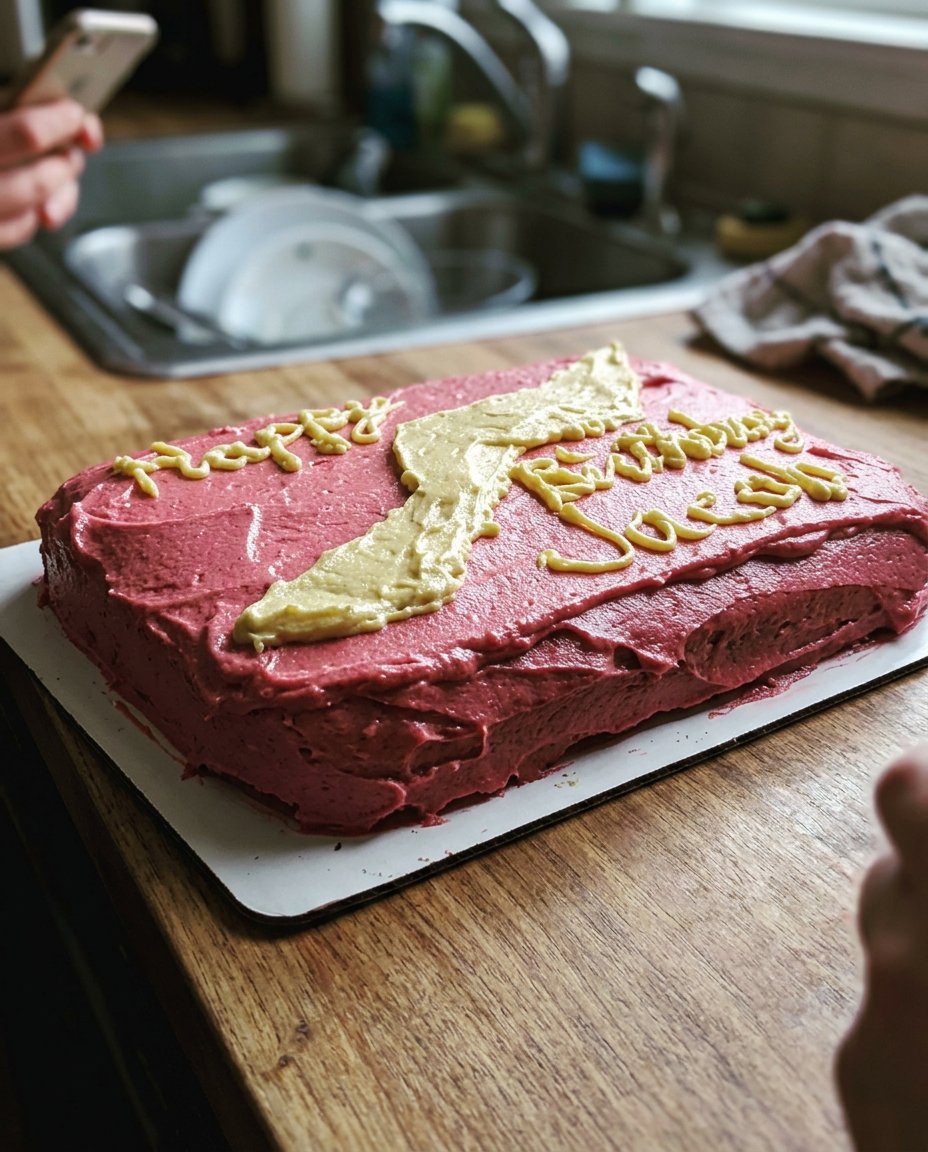
- Trace 4-inch circles onto parchment paper, draw your designs on half of them with edible markers, and preheat your oven to 375°F (190°C).
- Whisk the 12 egg yolks with 1/2 cup sugar, oil, milk, and vanilla for two minutes before sifting in the flour and cornstarch; whisk until the batter is thick and smooth.
- Beat the egg whites with the white vinegar and the remaining 1/2 cup sugar until glossy, stiff peaks are formed.
- Lighten the yolk mixture with a quarter of the meringue, then gently fold in the rest using a ‘J’ motion until no streaks remain.
- Tint small portions of batter with gel food dye and pipe your designs onto the prepared parchment; refrigerate the designs for 3 to 5 minutes to set.
- Fill a piping bag with the plain batter and pipe a layer over the chilled designs, then bake for 8 to 10 minutes until the center springs back.
- Immediately invert the cakes and peel away the parchment paper to reveal the design while the cake is still steaming.
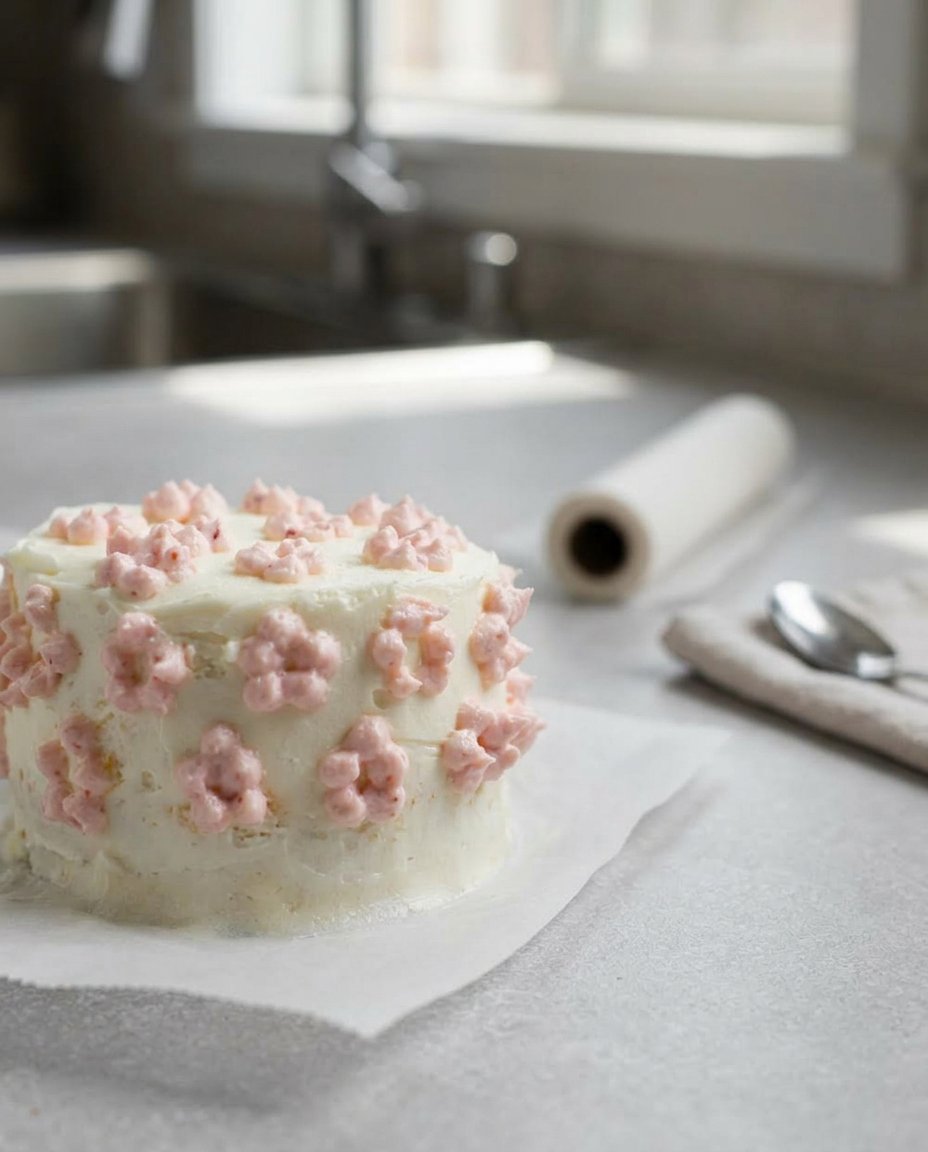
- Beat chilled heavy cream with confectioners sugar, salt, and vanilla until stiff peaks form, then use to fill and stack your cake layers.
Notes
For the most stable meringue, ensure your mixing bowl and whisk are completely free of any grease or oil residue before starting. When folding the batter, work quickly but gently to preserve the air bubbles, as this aeration is the primary leavening agent for the delicate sponge structure.
- Prep Time: 40 mins
- Cook Time: 10 mins
- Category: Dessert
- Method: Baking
- Cuisine: American
The Chemistry of the Crumb

To achieve a perfect Cake Draw, every ingredient must be measured by weight or precise volume to manage the variables of the test kitchen.
- 12 Large Eggs (Separated): The yolks provide lecithin for emulsification, while the whites provide the protein structure. It is vital that no yolk enters the white bowl, as even a trace of fat will prevent the formation of the necessary stiff peaks.
- Cornstarch (1/4 cup): By diluting the gluten-forming proteins in the all-purpose flour, cornstarch creates a tighter, finer crumb that prevents the colored batter from seeping into the main body of the cake.
- White Vinegar (1 tsp): This acid lowers the pH of the egg whites, which helps the proteins denature and bond more securely, resulting in a stable foam that won’t collapse during the folding process.
- Vegetable Oil (1/2 cup): Unlike butter, oil remains liquid at room temperature, providing a moist mouthfeel and preventing the cake from becoming brittle.
- Gel Food Dye: We strictly use gel rather than liquid dye. Liquid dyes introduce unnecessary moisture that can thin the batter, leading to blurred lines in your design.
- Heavy Whipping Cream (2 cups): For the filling, we use a high-fat cream (at least 36%) to verify the stability of the whipped layers between the sponge rounds.
The Methodical Process
Step 1: Template Preparation and Oven Calibration
Begin by tracing your 4-inch (10cm) cake molds onto parchment paper. Cut out 24 circles to fit precisely inside each mold. On 12 of these circles, use an edible marker to draw your intended designs. Place the molds on a heavy-duty baking sheet to provide even heat distribution. Preheat your oven to 375°F (190°C), using an independent oven thermometer to verify the accuracy of the internal temperature.
Step 2: Emulsifying the Yolk Base
In a large glass bowl, whisk the 12 egg yolks with 1/2 cup of sugar, the vegetable oil, whole milk, and vanilla extract. Whisk for exactly 2 minutes until the mixture is homogeneous and slightly pale. Sift the all-purpose flour and cornstarch directly over this mixture. Whisk until the batter is thick and smooth, showing no dry pockets of flour. This density is necessary to support the weight of the meringue later.
Step 3: Stabilizing the Meringue
Using a stand mixer with a clean, grease-free whisk attachment, beat the egg whites on medium-low speed until they become frothy. Increase the speed to medium-high and slowly stream in the remaining 1/2 cup of sugar and the white vinegar. Continue whisking until stiff peaks form. The meringue should be glossy and stand straight up when the whisk is lifted; if the tip curls over, continue whisking in 30-second increments.
Step 4: The Folding Technique
Add approximately one-quarter of the meringue to the yolk mixture and whisk it in to lighten the base. Then, add the remaining meringue and use a silicone spatula to gently fold the mixtures together. Move the spatula in a ‘J’ motion, cutting through the center and lifting from the bottom. Stop as soon as no white streaks remain to avoid deflating the air bubbles that provide the cake’s lift.
Step 5: Pigmenting and Piping
Divide small portions of the batter into separate bowls for each color needed for your design. Fold in the gel food dye with a small spatula. Transfer the colored batters into tipless piping bags. Cut a microscopic tip from the bag and carefully trace the designs on your parchment circles. Once the tracing is finished, place the molds in the refrigerator for exactly 3 to 5 minutes to set the batter viscosity.
Step 6: The Primary Pour and Bake
Fill a large piping bag with the remaining uncolored batter. Carefully pipe an even layer over the chilled designs, filling the molds about half full. Transfer the sheet to the oven and bake for 8 to 10 minutes. The cake should spring back when touched lightly in the center and show a very pale golden edge.
Step 7: De-molding and Reveal
As soon as the cakes exit the oven, run a thin butter knife around the perimeter. Invert the molds onto a sheet of parchment paper. Immediately peel back the parchment circles to reveal the Cake Draw design while the steam is still present, which prevents sticking. Repeat the process for the bottom layers using the remaining batter without designs.
Step 8: Whipped Cream Filling
Chill your mixing bowl and whisk attachment for 10 minutes. Combine the heavy cream, confectioners sugar, salt, and vanilla. Whisk on high speed until stiff peaks form. The cream should be thick enough to hold its shape when piped but not so over-beaten that it becomes grainy.
Test Kitchen Lab Notes

Temperature control is the most critical variable in this recipe. We found that using room temperature eggs (approximately 70°F or 21°C) allows the proteins to stretch further, resulting in a 15% increase in volume compared to cold eggs. If your meringue feels grainy, the sugar has not fully dissolved; try whisking the sugar and whites over a warm water bath for 60 seconds before moving to the stand mixer.
When piping the design, keep the tip of the bag approximately 1mm above the parchment to maintain a consistent line weight. If the batter is too runny, you likely over-mixed during the folding stage. For more advanced layout techniques, you can visit our celebration-design-studio to see how we map out multi-layer patterns. Always use a clean damp cloth to wipe your piping tips between colors to prevent pigment contamination.
Precision Tweaks and Tested Adjustments
While the vanilla sponge is our control standard, we have tested several flavor variations to expand your repertoire. To create a chocolate version, replace 1/4 cup of the all-purpose flour with 1/4 cup of Dutch-processed cocoa powder. This change requires an additional tablespoon of milk to account for the cocoa’s absorption rate. We found that using cocoa for the design itself provides a beautiful natural contrast without the need for dyes.
For a botanical aesthetic, you can incorporate dried lavender into the sugar before whisking. If you prefer a more structured appearance, consider the aesthetic of a vintage-cake by using a star tip for the whipped cream borders. We also tested a lemon version using 1 tablespoon of zest; however, avoid adding lemon juice to the batter as the extra acid can break down the meringue structure prematurely.
Presentation and Pairing Analysis

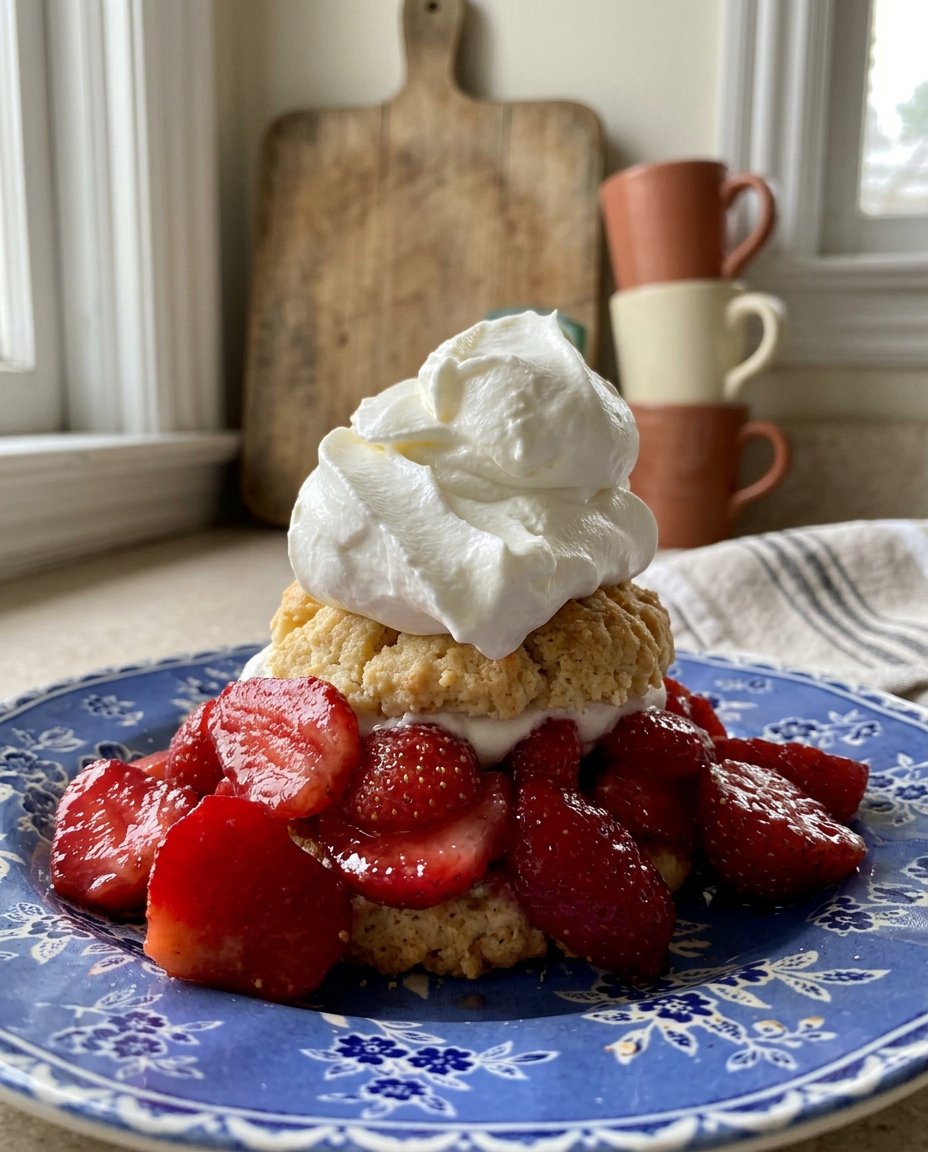
To showcase the technical detail of your work, serve these mini cakes on a plain white porcelain platter. The neutral background allows the colors of the Cake Draw to be the focal point. We recommend pairing these cakes with fresh berries that complement the colors used in your design. If you are creating a themed dessert table, these work perfectly alongside a car-cake for a children’s party or a sophisticated brunch.
For the best textural experience, serve the cakes within two hours of assembly. The sponge is highly hygroscopic and will begin to absorb moisture from the whipped cream over time, which can eventually soften the crisp lines of the design. If you must store them, use an airtight container in the refrigerator, but bring them to room temperature for 15 minutes before serving to restore the flexibility of the fats.
The Final Analysis and Mastery
Mastering the Cake Draw is a breakthrough for any baker looking to integrate fine art with pastry science. By controlling the temperature of your ingredients and the mechanics of your folding technique, you can produce consistent, professional results that defy the expectations of a standard sponge cake. We encourage you to keep testing different patterns and color palettes to see how the batter reacts to various pigments. For another technical challenge, try our heart-cake which utilizes similar principles of structural integrity.
To further expand your knowledge on designed sponges, refer to this comprehensive guide to mini designed sponge cakes for additional troubleshooting. We would love to see your technical triumphs in the kitchen. Follow us and share your results on Facebook, Instagram, and TikTok. Keep measuring, keep testing, and enjoy the victory of a perfect bake.
