There is a quiet magic in the way sunlight hits a fresh-baked cake on the old wooden kitchen table. Last week at the farmers market, I saw a stall of hand-painted ceramics that reminded me how beautiful a simple canvas can be when touched by a little creativity. I knew then I had to bring that artistic spirit to my own kitchen with some cake painting, combining the honest satisfaction of baking with the delicate beauty of a paintbrush.

This recipe uses a sturdy graham cracker base and a silky Swiss meringue buttercream as the perfect backdrop for your edible art. It is a celebration of patience and natural beauty, turning a simple farmhouse dessert into a heartfelt masterpiece that tastes as wonderful as it looks. The warm notes of cinnamon and allspice ground the sweetness, making every bite feel like a cozy afternoon in a sun-drenched garden.
The Joy of Edible Art
You will love this recipe because it bridges the gap between a rustic kitchen and a creative studio. The graham cracker crumbs in the batter provide a beautiful, slightly textured crumb that feels earthy and wholesome. Unlike a standard sponge, this cake has a depth of flavor that feels honest and reliable, perfect for a gathering of friends. The process of cake painting itself is incredibly meditative, allowing you to slow down and appreciate the details. When the fruit-filled batter meets the heat of the oven, the smell of warm spices fills the house, creating an atmosphere of comfort and gratitude. It is a reminder that beauty does not have to be perfect; it just has to be genuine. The Swiss buttercream is so smooth and stable that it handles every stroke of your brush with ease, giving you a professional finish without the fuss. Whether you are a seasoned artist or someone who just enjoys the feel of a wooden spoon in hand, this project is a treasure for the spirit.
Print
Cake Painting
- Total Time: 2 hours 15 mins
- Yield: 1 cake
- Diet: Vegetarian
Description
Elevate your baking with this artistic graham cracker spiced cake, featuring a smooth Swiss meringue buttercream canvas. Perfect for those who want to blend culinary skill with creative expression, this recipe results in a rustic yet sophisticated masterpiece.
Ingredients
- All-purpose flour
- Graham cracker crumbs
- Baking powder
- Baking soda
- Ground cinnamon
- Ground allspice
- Buttermilk
- Vanilla extract
- Sour cream
- Unsalted butter, room temperature
- Granulated sugar
- Light brown sugar
- Large eggs
- Egg white
- Salt
- Food coloring
- Clear extract
Instructions
- Preheat oven to 350F (175C) and grease and flour four 6-inch cake pans.
- Whisk together flour, graham cracker crumbs, baking powder, baking soda, cinnamon, and allspice in a medium bowl.
- In a separate bowl, stir together buttermilk, vanilla extract, and sour cream until smooth.
- Cream the butter with granulated and light brown sugars in a stand mixer on medium-high until light and fluffy.
- Add eggs and the extra egg white one at a time, ensuring each is fully incorporated before adding the next.
- Alternately add the dry flour mixture and the wet buttermilk mixture to the butter mixture, beginning and ending with the dry ingredients.
- Divide the batter evenly into the pans and bake for approximately 30 minutes; let cool in pans for 10 minutes before moving to a wire rack.
- Whisk egg whites, sugar, and salt in a heat-proof bowl over simmering water until the mixture reaches 160ºF.
- Whip the egg white mixture to stiff, glossy peaks in a stand mixer, then slowly beat in butter one tablespoon at a time followed by vanilla.
- Stack and frost the cake layers, chill for at least one hour, and then paint designs using food coloring thinned with clear extract.
Notes
Ensure your cake is thoroughly chilled before you begin painting to prevent the buttercream from softening under your brush strokes. For the best watercolor effects, use high-quality gel food colors thinned with a small amount of clear almond or lemon extract. Always use dedicated food-safe brushes to maintain kitchen hygiene and achieve the finest artistic details.
- Prep Time: 45 mins
- Cook Time: 30 mins
- Category: Dessert
- Method: Baking
- Cuisine: American
The Art of Cake Painting Ingredients

To create this edible canvas, we start with simple, quality ingredients that let the natural flavors shine through. Fresh eggs and creamery butter are the backbone of a good farmhouse cake, and this one is no different. The addition of sour cream and buttermilk makes the texture incredibly tender while providing a subtle tang that balances the sweetness.
- Graham Cracker Crumbs: These add a rustic texture and a honeyed sweetness that pairs beautifully with the warm spices.
- Warm Spices: A blend of cinnamon and allspice brings a seasonal harvest feel to every slice.
- Buttermilk and Sour Cream: These are the secrets to a moist, delicate crumb that holds its shape under the weight of the frosting.
- Swiss Meringue Buttercream: Made with egg whites and plenty of butter, this frosting is incredibly silky and serves as the perfect smooth surface for your cake painting.
- Food Coloring: Choose soft, natural tones to keep that rustic aesthetic alive on your cake.
Simple Steps to Success
Step 1: Prep the Kitchen
Set your oven to 350F (175C) and prepare four 6-inch cake pans by greasing them with butter and dusting them with flour. I like to use cake strips soaked in water to help the layers bake up flat and even, which makes the assembly much easier later on.
Step 2: Whisk the Dry Ingredients
In a medium bowl, whisk together the all-purpose flour, graham cracker crumbs, baking powder, baking soda, cinnamon, and allspice. Make sure the spices are distributed evenly so every bite has that warm, spiced flavor.
Step 3: Combine the Wet Elements
In a separate smaller bowl, stir together the buttermilk, vanilla extract, and sour cream until the mixture is smooth. This blend will provide the moisture and lift that gives the cake its signature farmhouse texture.
Step 4: Cream the Butter and Sugars
Place the room temperature butter in your stand mixer and beat it until it is smooth and pale. Add both the granulated sugar and the light brown sugar, then mix on medium-high until the mixture is light and fluffy. This step creates the air pockets needed for a light cake.
Step 5: Incorporate the Eggs
Add the eggs and the egg white one at a time, making sure each one is fully mixed in before adding the next. This prevents the batter from breaking and keeps the structure strong.
Step 6: Mix the Batter
Add the flour mixture and the buttermilk mixture in alternating batches, starting and ending with the dry ingredients. Mix until just combined, then use a spatula to scrape the sides and bottom of the bowl to catch any stray bits of flour.
Step 7: Bake the Layers
Pour the batter evenly into your prepared pans and bake for about 30 minutes. You will know they are ready when a knife comes out clean from the center. Let them cool in the pans for ten minutes before transferring them to a wire rack to cool completely.
Step 8: Prepare the Swiss Meringue
In a heat-proof bowl, whisk together the egg whites, granulated sugar, and salt. Place the bowl over a pan of simmering water, making sure the bottom does not touch the water. Whisk occasionally until the mixture reaches 160ºF or feels smooth between your fingers.
Step 9: Whip the Buttercream
Transfer the bowl to your stand mixer and whip with the whisk attachment until you have stiff, glossy peaks and the bowl is cool to the touch. Switch to the paddle attachment and add the room temperature butter one tablespoon at a time on low speed. Once it is all in, add the vanilla and beat until perfectly silky.
Step 10: Assemble and Paint
Stack your cake layers with a generous amount of buttercream between each. Apply a final coat to the outside and smooth it with a bench scraper. Chill the cake in the fridge for at least an hour. Once firm, use food coloring thinned with a drop of clear extract to begin your cake painting directly on the chilled surface.
Christine’s Artistic Wisdom

When you begin your cake painting, the most important thing is to work on a cold surface. A chilled cake keeps the buttercream from melting under your brush and allows for finer detail. If you find your colors are bleeding, pop the cake back in the fridge for fifteen minutes to reset. For those who want to look into more structured designs before starting, our celebration design studio offers wonderful inspiration for themed bakes. Also, use soft-bristled brushes that are specifically reserved for food use to avoid any stray hairs on your masterpiece. If you are nervous about your first stroke, practice on a piece of parchment paper first to get a feel for how the color flows.
Simple Twists
You can easily adapt this recipe to match the season. In the autumn harvest months, try adding a little extra ginger or cloves to the batter for a deeper spice profile. If you prefer a more traditional look, you might combine these painting techniques with a vintage cake piping style to create a beautiful border around your artwork. For a brighter spring version, swap the cinnamon for lemon zest and use berry-based colors for your painting. You can even use natural dyes like beet powder or matcha for a truly farm-to-table approach to color.
At the Farmhouse Table

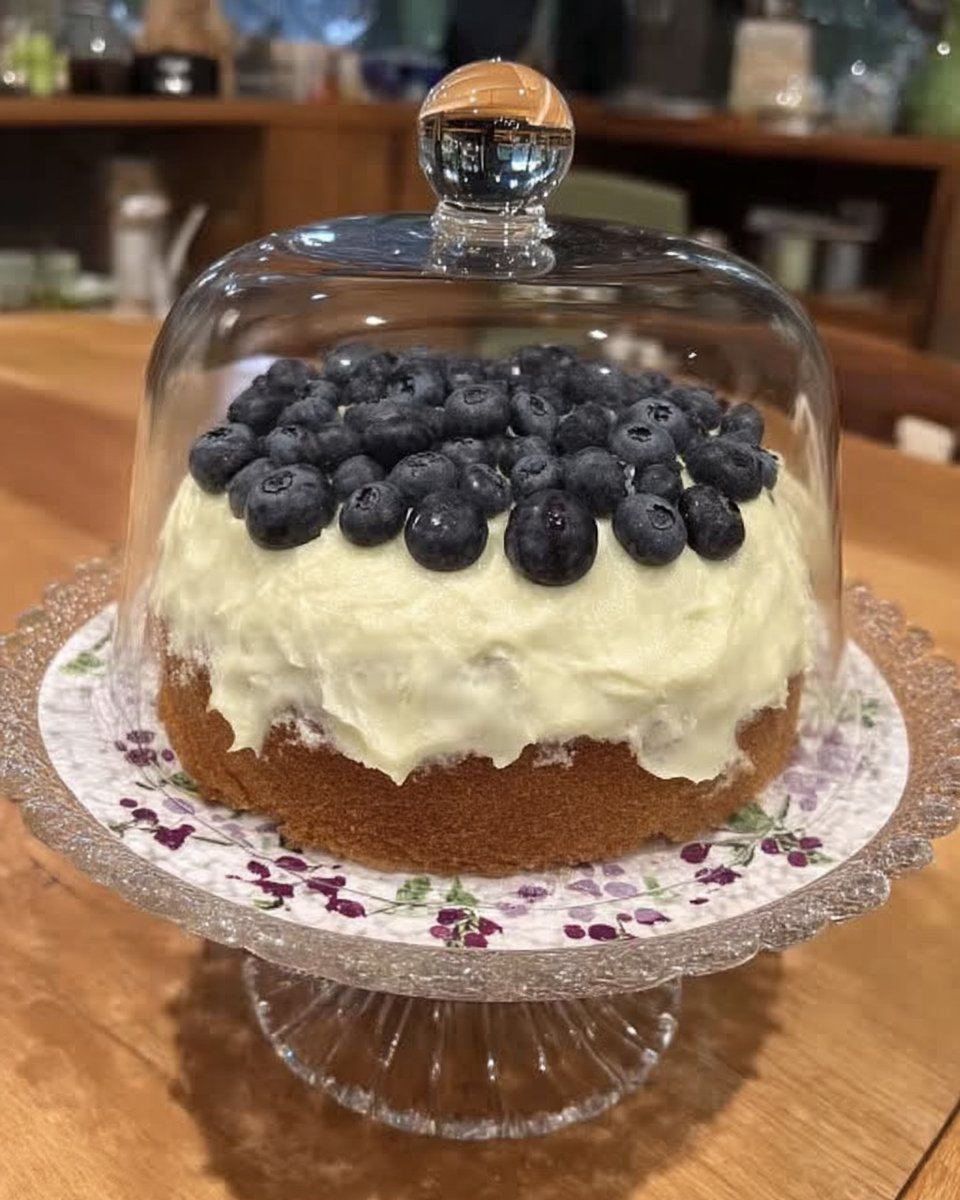
Serve slices of this painted beauty on a simple wooden board or a vintage ceramic pedestal to keep the rustic feel. It pairs wonderfully with a pot of hot herbal tea or a cold glass of farm-fresh milk. If you are hosting a larger gathering, you might serve it alongside a vibrant purple cake to create a colorful and inviting dessert spread. I love to serve this outdoors under the shade of a tree, where the natural light makes the colors of the cake painting truly pop. A dollop of whipped cream on the side is all you need to complete the experience.
The Simple Truth
There is so much joy in creating something that is both beautiful and nourishing for the soul. This cake painting project is a reminder that we can find art in the most everyday places, even in a simple layer cake. For more tips on blending colors naturally and finding your artistic voice in the kitchen, check out this guide from Preppy Kitchen. We hope this recipe brings a sense of peace and creativity to your home. If you enjoy playing with color as much as we do, you might also like our lemon rainbow cake for more bright inspiration. Come share your creations with us on Pinterest and Instagram. Happy baking!

