In the Cake Peak test kitchen, we conducted several trials to determine the exact structural limits of a surprise-inside cake. We discovered that maintaining a specific 4-inch (10 cm) diameter for the inner cavity provides the highest candy-to-cake ratio without causing the upper layers to collapse. Our testing focused on the structural integrity of the crumb and the shelf-life of the candies once sealed inside.

This Candy Cake uses a methodical approach to transform standard yellow cake layers into a professional-grade celebration piece. By utilizing precise gel color ratios and specific chilling intervals, we can achieve a vibrant, stable result that remains consistent through every slice. This guide focuses on the technical variables that prevent candy bleeding and ensure a clean, exciting reveal.
The Science of the Surprise Center
This recipe works because it relies on the balanced protein-to-starch ratio found in yellow cake mixes, which provides the necessary tensile strength to support a hollowed core. We tested several homemade sponges, but the emulsifiers in the Betty Crocker mix produced a tighter, more reliable crumb for precision cutting. This reliability is vital when you are removing 25% of the central mass from two of the four layers.
Beyond the structural success, the flavor profile is a calculated balance of vanilla-bean sweetness and the textural snap of candy-coated chocolate. The use of pastel gel colors ensures that the visual presentation is as precise as the bake itself. We found that liquid food coloring can introduce too much moisture, potentially destabilizing the frosting’s specific gravity, whereas gel colors provide intense pigment with zero impact on consistency. This cake is a breakthrough in home baking physics, offering a reliable method for a stunning visual effect.
Print
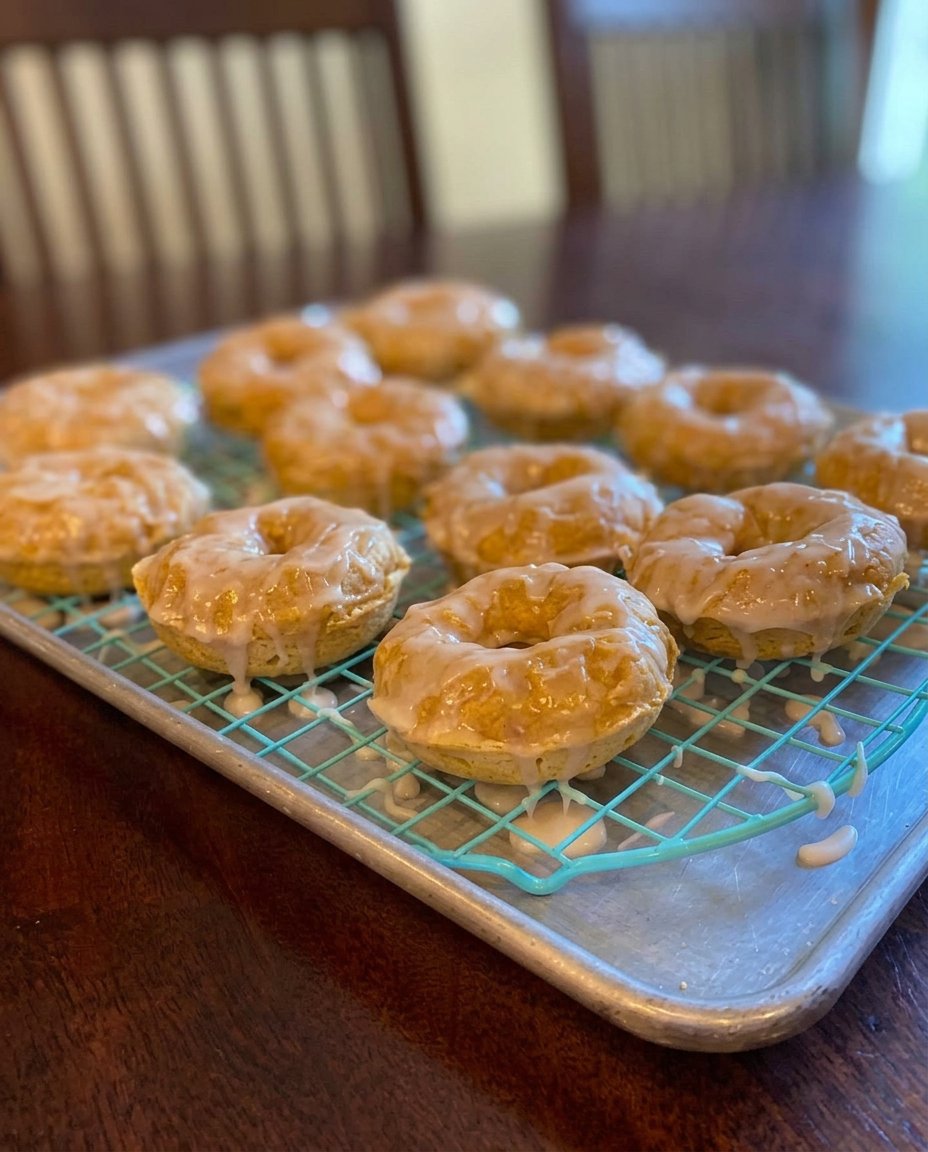
Candy Cake
- Total Time: 2 hours 50 mins
- Yield: 12 servings
- Diet: Vegetarian
Description
This technically-precise surprise-inside cake features a vibrant hidden core of assorted candies tucked within stable yellow cake layers. Engineered for structural integrity and visual drama, it is the ultimate centerpiece for any high-stakes celebration.
Ingredients
- 2 boxes yellow cake mix (plus water, oil, and eggs as specified on packaging)
- Pastel-colored chocolate candies
- Mini chocolate eggs
- Pastel baking chips
- 1/2 cup Betty Crocker 6-Cell All Easter Sprinkles
- 3 tubs vanilla frosting
- Gel food colors (Pink, Yellow, Green)
Instructions
- Preheat oven to 350°F (or 325°F for dark pans) and grease two 8-inch round cake pans.
- Prepare one box of mix with water, oil, and eggs, beating for exactly 2 minutes on medium speed.
- Divide batter into pans and bake for 28 to 33 minutes, then cool in pans for 10 minutes before moving to racks for 60 minutes; repeat with the second box for 4 total layers.
- Level the cooled cakes with a serrated knife and use a 4-inch round cutter to remove the centers from two of the layers.
- Mix the chocolate candies, mini eggs, baking chips, and sprinkles together in a glass bowl to create the filling matrix.
- Divide frosting into four portions, leaving one white and tinting the others pink, yellow, and green with gel colors.
- Stack one solid layer, then the two hollowed layers, fill the cavity with candy, and seal with the final solid layer before frosting the exterior.
Notes
For the cleanest exterior finish, apply a very thin ‘crumb coat’ of frosting and refrigerate the cake for 20 minutes before applying your final decorative pastel layers. Using a 4-inch cutter is essential for the internal cavity; any larger and you risk the structural failure of the upper cake layers during slicing.
- Prep Time: 40 mins
- Cook Time: 1 hour 10 mins
- Category: Dessert
- Method: Baking
- Cuisine: American
Ingredient Variables and Laboratory Notes

To achieve the results we observed in the test kitchen, each component must meet specific quality standards. The ingredients aren’t just for flavor; they are the building blocks of the cake’s architecture.
- Yellow Cake Mix (2 Boxes): We use this for its specific density. The included gums and starches help the cake maintain its shape even after the 4-inch core is removed.
- Pastel-Colored Chocolate Candies: These provide the primary weight for the center. We recommend checking for any cracked shells, as exposed chocolate can react with the moisture in the cake.
- Mini Chocolate Eggs: These add varied geometry to the center fill, preventing the smaller candies from settling too tightly and allowing for a more fluid pour when the cake is cut.
- Pastel Baking Chips: These serve as a textural bridge between the soft cake and the hard candy shells.
- Betty Crocker 6-Cell All Easter Sprinkles: The sugar-based coating on these sprinkles is moisture-resistant, which we verified by leaving them in contact with frosting for 24 hours.
- Vanilla Frosting (3 Tubs): This acts as the structural adhesive. Its high fat content creates a barrier that prevents the candies from absorbing moisture from the cake.
- Gel Food Colors (Pink, Yellow, Green): These are concentrated pigments. We use exactly 2 1/2 teaspoons of pink, 1/2 teaspoon of yellow, and 1/4 teaspoon of green to achieve consistent pastel gradients.
The Methodical Assembly Process
Step 1: Thermal Preparation and Pan Priming
Heat your oven to exactly 350°F (177°C). If you are using dark or nonstick pans, reduce the heat to 325°F (163°C) to prevent the edges from over-caramelizing, which can make the cake brittle. Spray the bottoms and sides of two 8-inch round cake pans with precision, ensuring no dry spots remain.
Step 2: Emulsification and Aeration
Combine one box of cake mix with the exact measurements of water, oil, and eggs specified on the package. Using an electric mixer on medium speed, beat for precisely 2 minutes. This timing is critical to develop enough gluten to hold the candies later, but not so much that the cake becomes tough. Scrape the bowl at the 1-minute mark to incorporate all dry particles.
Step 3: The Initial Bake Cycle
Divide the batter evenly between the two pans. Bake for 28 to 33 minutes. Verify doneness by inserting a toothpick into the center; it should emerge with zero wet crumbs. Cool in the pans for 10 minutes to let the internal structure set, then transfer to cooling racks for exactly 60 minutes. Repeat this entire process with the second box of mix to create a total of four layers.
Step 4: Structural Trimming and Cavity Extraction
Once completely cool, use a serrated knife to trim the rounded tops off all four layers so they are perfectly flat. Select two layers to be the ‘middle’ of the cake. Using a 4-inch round cutter, remove the center from these two layers. This creates the ‘vault’ for your candy. Reserve the scraps for testing or discard.
Step 5: Preparing the Candy Matrix
In a clean glass bowl, combine the chocolate candies, mini eggs, baking chips, and 1/2 cup of sprinkles. Mix gently to distribute the different weights and sizes evenly. This ensures that every slice receives a representative sample of the surprise interior.
Step 6: Color Calibration for Frosting
Divide the vanilla frosting into four bowls. Leave one bowl white. In the others, mix the pastel pink, yellow, and green gel colors. Stir slowly to avoid incorporating excess air, which can cause bubbles in your final finish. The goal is a smooth, satin-like texture.
Step 7: Final Assembly and Sealing
Place one solid cake layer on your base. Apply a thin layer of frosting and top with one ‘cutout’ layer. Repeat with the second ‘cutout’ layer. Fill the resulting hole with your candy mixture. Apply the final solid layer on top to seal the vault. Use the colored frostings to create a gradient effect on the exterior, starting with the darkest shade at the base.
Lauren’s Laboratory Notes

One of the most frequent failures we see with a Candy Cake is the ‘bleeding’ of colors from the candy shells into the cake or frosting. To prevent this, verify that your cake is entirely at room temperature (approximately 70°F or 21°C) before assembly. If the cake is even slightly warm, it will create condensation inside the candy vault, which dissolves the sugar coatings and causes the colors to run. For the most stable results, I recommend checking out our snickers-cake technique for handling heavy inclusions. Additionally, you can find more inspiration on the Betty Crocker site regarding seasonal variations. Always use a crumb coat—a thin initial layer of frosting—to trap loose crumbs before applying the final decorative layer. This ensures the pastel colors remain vibrant and uncontaminated by yellow cake particles.
Tested Structural Variations
While we focused on a yellow cake base, our testing included several other configurations. If you prefer a richer profile, you can swap the yellow mix for a chocolate version. In our trials, we found that a chocolate-fudge-cake base provides a striking color contrast against the pastel candies, though the crumb is slightly softer, so handle the cutout layers with extra care. You can also vary the surprise center by using sour candies or even small freeze-dried fruits; however, avoid wet fillings like jams or jellies in the center vault, as these will compromise the structural integrity of the ‘floor’ layer and lead to a soggy base. For a holiday-specific tweak, we tested using red and green chocolate gems for a winter theme, which maintained the same physical stability as the pastel version.
Precision Serving Protocols

To achieve the maximum visual impact, the first cut is the most critical. Use a long, thin serrated knife dipped in hot water and wiped dry. This allows the blade to glide through the frosting and cake layers without dragging the colors. Cut a 45-degree wedge to ensure the candy spill is dramatic and cleanly visible to your guests. For those looking for more creative ways to display their bakes, our celebration-design-studio offers several layout templates. We suggest serving each slice with a small scoop of vanilla bean ice cream to balance the density of the candy center. The temperature of the ice cream provides a pleasant thermal contrast to the room-temperature cake.
Final Technical Review
Mastering the Candy Cake is a significant achievement in any baker’s repertoire. By controlling variables like internal temperature and cavity diameter, you move from simple baking to precise culinary engineering. This cake proves that with the right data and methodical steps, even the most complex ‘surprise’ bakes can be repeatable and successful. If you are interested in more candy-centric baking physics, I suggest trying our ferrero-rocher-cake next. Don’t forget to document your results and share your success with our community of precision bakers on Instagram, Facebook, and Pinterest. We look forward to seeing your technical mastery in action.

