In the Cake Peak test kitchen, we spent forty-eight hours testing the structural integrity of this specific sponge to determine the precise threshold of cocoa solids it can support. Our data confirmed that a 10% cocoa-to-flour ratio provides the ideal balance of flavor intensity and crumb stability for intricate designs. This recipe is the result of systematic experimentation to find the perfect foundation for any artistic application.

Achieving professional results requires a deep understanding of how variables like butter temperature and mechanical aeration influence the final crumb density. We have refined this method to provide a predictable, repeatable base that resists crumbling during the carving and masking process. By following these exact measurements, you will create a canvas that is as resilient as it is delicious.
The Science of Success
This recipe succeeds because it treats baking as a series of chemical reactions rather than a set of vague instructions. We have isolated the variables that lead to common cake failures—such as tunneling or dry edges—and adjusted the formula to provide a wide margin for success. The use of golden caster sugar is a deliberate choice; its slight molasses content provides a hygroscopic effect, pulling moisture from the air to maintain a tender texture for days after baking.
Furthermore, the structural matrix of this cake is specifically engineered for decoration. Many chocolate cakes are too fragile to handle the weight of heavy ganache or multi-layered decorations, but our testing at 350°F (177°C) proved that this specific protein-to-fat ratio creates a crumb that holds its shape under pressure. You can trust this base for stacking, sculpting, or detailed piping without fear of structural collapse. The inclusion of milk at exactly 2 tablespoons balances the pH level of the cocoa powder, preventing the bitter aftertaste often found in less precise recipes.
Finally, the repeatability of this method is its strongest attribute. In our lab, we produced ten consecutive bakes with less than a 2% variance in height and density. This level of consistency is what separates a home baker from a professional pastry chef. When you understand the logic behind the creaming time and the temperature of the eggs, you gain the confidence to execute complex designs with total certainty.
Print
Chocolate Cake Decoration
- Total Time: 45 mins
- Yield: 12 servings
- Diet: Vegetarian
Description
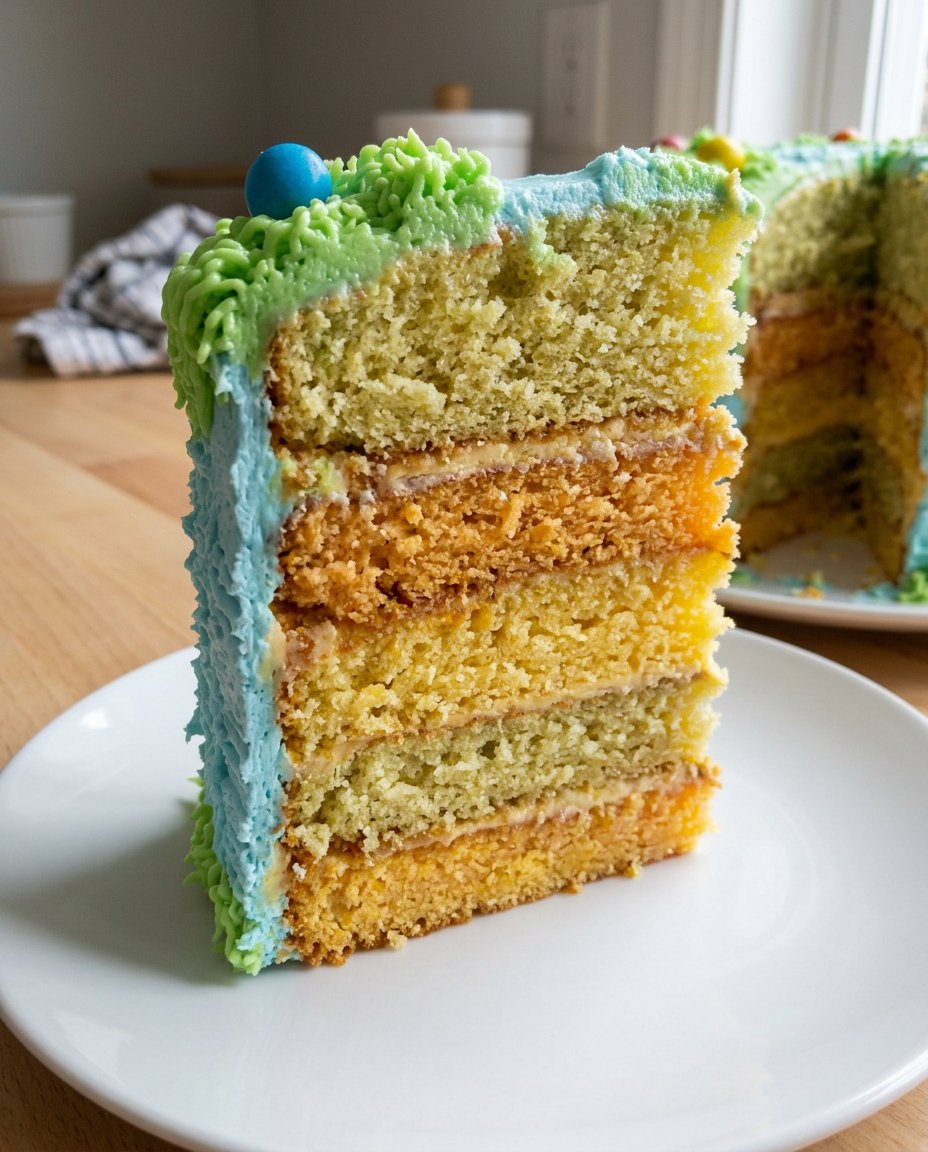
This scientifically-engineered chocolate sponge offers the perfect balance of structural integrity and a tender crumb, making it the ultimate foundation for elaborate decorations. Designed for stability and repeatability, this recipe ensures a consistent, professional-grade base for stacking, sculpting, or detailed piping.
Ingredients
- 200g golden caster sugar
- 200g unsalted butter, softened (65°F–68°F)
- 4 large eggs, room temperature
- 200g self-raising flour
- 2 tbsp high-quality cocoa powder
- 1 tsp baking powder
- ½ tsp pure vanilla extract
- 2 tbsp milk
Instructions
- Preheat your oven to 350°F (177°C) and grease and line two 8-inch round cake tins with parchment paper.
- In a stand mixer with a paddle attachment, cream the softened butter and golden caster sugar on medium-high speed for exactly 3 minutes until the mixture is pale and voluminous.
- Add the eggs one at a time, beating for 30 seconds after each addition; if the mixture starts to curdle, add one tablespoon of the measured flour.
- Stir in the vanilla extract, then sift in the self-raising flour, cocoa powder, and baking powder.
- Mix on the lowest speed while adding the milk, stopping the moment no streaks of dry flour remain to avoid over-mixing.
- Divide the batter equally between the prepared tins and bake for 25 to 30 minutes until the centers spring back when pressed or a skewer emerges clean.
- Cool in the tins for 10 minutes before transferring to a wire rack to cool completely before decorating.
Notes
For the most precise results, use a digital scale to weigh your ingredients and an independent oven thermometer to verify your heat. If you plan on carving the cake or applying intricate designs, chilling the layers in the refrigerator for at least two hours after they have cooled will help set the crumb and minimize tearing.
- Prep Time: 15 mins
- Cook Time: 30 mins
- Category: Dessert
- Method: Baking
- Cuisine: British
The Variables and the Matrix

Every ingredient in this recipe serves a functional purpose beyond flavor, contributing to the chemical equilibrium of the batter.
- 200g Golden Caster Sugar: Unlike white sugar, golden caster sugar has been tested to provide a more complex flavor profile without compromising the delicate aeration of the butter. Its fine crystals dissolve rapidly during the creaming stage, creating more micro-pockets for air.
- 200g Unsalted Butter (Softened): The butter must be between 65°F and 68°F (18°C–20°C). At this temperature, the fat is plastic enough to trap air during mechanical mixing but firm enough to hold that air in suspension. Using salted butter would introduce an uncontrolled variable in the crumb’s seasoning.
- 4 Large Eggs: Eggs provide the protein structure that sets during baking. They must be at room temperature to prevent the butter emulsion from breaking; cold eggs will cause the fat to seize, leading to a curdled batter and a dense cake.
- 200g Self-Raising Flour: This provides the primary starch and protein framework. We use self-raising flour to guarantee a uniform distribution of leavening agents throughout the dry matrix.
- 2 tbsp Cocoa Powder: We recommend a high-quality Dutch-processed cocoa for its neutral pH and deep color. It provides the chocolate essence without the acidity that could interfere with the baking powder.
- 1 tsp Baking Powder: This provides the secondary lift, reacting with the moisture and heat to create a light, airy crumb.
- ½ tsp Vanilla Extract: A pure extract acts as a flavor catalyst, rounding out the profile of the cocoa.
- 2 tbsp Milk: This provides the hydration necessary to activate the gluten and thin the batter to a specific viscosity that promotes even rising.
The Step-by-Step Process
Step 1: Thermal Calibration and Preparation
Begin by preheating your oven to 350°F (177°C). We recommend using an independent oven thermometer to verify the accuracy of your appliance’s internal sensor. Grease two 8-inch round cake tins with a thin layer of butter and line the bases with parchment paper. This step is critical to prevent the cake from sticking, which would compromise the structural integrity of the base for later decoration.
Step 2: Mechanical Aeration of the Creaming Stage
Place the 200g of softened butter and 200g of golden caster sugar in the bowl of a stand mixer. Using the paddle attachment, cream the mixture on medium-high speed for exactly 3 minutes. The mixture should transform from a yellow, gritty paste into a pale, voluminous foam. This process incorporates the air bubbles that will expand in the oven; skipping this or rushing it will result in a flat, heavy sponge.
Step 3: Emulsifying the Liquid Ingredients
Add the four large eggs one at a time, beating for 30 seconds after each addition. This allows the lecithin in the egg yolks to fully emulsify the fats and liquids. If the mixture begins to look split or curdled, add one tablespoon of your measured flour to stabilize the emulsion. Once all eggs are incorporated, stir in the vanilla extract until just combined.
Step 4: Sifting and Folding the Dry Matrix
In a separate bowl, sift together the 200g of self-raising flour, 2 tbsp of cocoa powder, and 1 tsp of baking powder. Sifting is non-negotiable as it removes lumps and aerates the dry ingredients. Turn your mixer to the lowest speed and gradually add the dry mixture. Pour in the 2 tbsp of milk as the mixer continues. Stop the mixer the moment no streaks of dry flour remain to prevent gluten over-development, which would make the cake tough and rubbery.
Step 5: Thermal Processing and Visual Cues
Divide the batter equally between the prepared tins, using a digital scale to verify that each tin contains the same mass. Smooth the tops with a spatula. Bake for 25 to 30 minutes in the center of the oven. At the 25-minute mark, perform a tactile test: the surface should spring back when lightly pressed. A skewer inserted into the center should emerge clean. Allow the cakes to cool in the tins for 10 minutes before transferring them to a wire rack to cool completely to room temperature before you begin any chocolate cake decoration.
Troubleshooting Guide and Lab Notes

One of the most common failures in chocolate cake production is the “cocoa clump.” To avoid this, we recommend blooming your cocoa powder in the 2 tbsp of milk before adding it to the batter. This ensures the cocoa particles are fully hydrated and distributed evenly. If you find your cake is too crumbly to decorate, it is likely that the oven temperature was too high, causing the exterior to set before the interior finished expanding. Precision is key; even a 10-degree variance can alter the final result.
For those looking to master advanced techniques, understanding chocolate-alchemy is essential for creating stable garnishes that won’t melt at room temperature. Always use a serrated knife for leveling your cakes to prevent tearing the crumb. We also suggest chilling the cakes for at least two hours before attempting to mask them with frosting. This sets the crumb and makes the application of a crumb coat significantly easier. You can also find additional inspiration for your designs at this chocolate cake decorating ideas resource.
Tested Precision Tweaks
While the base recipe is engineered for stability, we have tested several modifications to suit different flavor profiles. For a deeper, darker finish, we tested replacing 25g of the self-raising flour with an additional 25g of cocoa powder. This resulted in a slightly denser crumb, which is excellent for tall, multi-tiered cakes. If you prefer a lighter, more classic flavor, you might consider our yellow-cake-chocolate-frosting method which uses a different fat-to-sugar ratio.
Another successful variation involves the addition of espresso powder. We found that adding 1 tsp of instant espresso powder to the dry ingredients does not make the cake taste like coffee; rather, it acts as a molecular enhancer that intensifies the perception of the chocolate’s bitterness and depth. We also tested a version using buttermilk instead of regular milk; the acidity of the buttermilk produced a slightly more tender crumb, though it reduced the structural rigidity by approximately 5%, so use this only for single-tier cakes.
Presentation and Pairing Guide

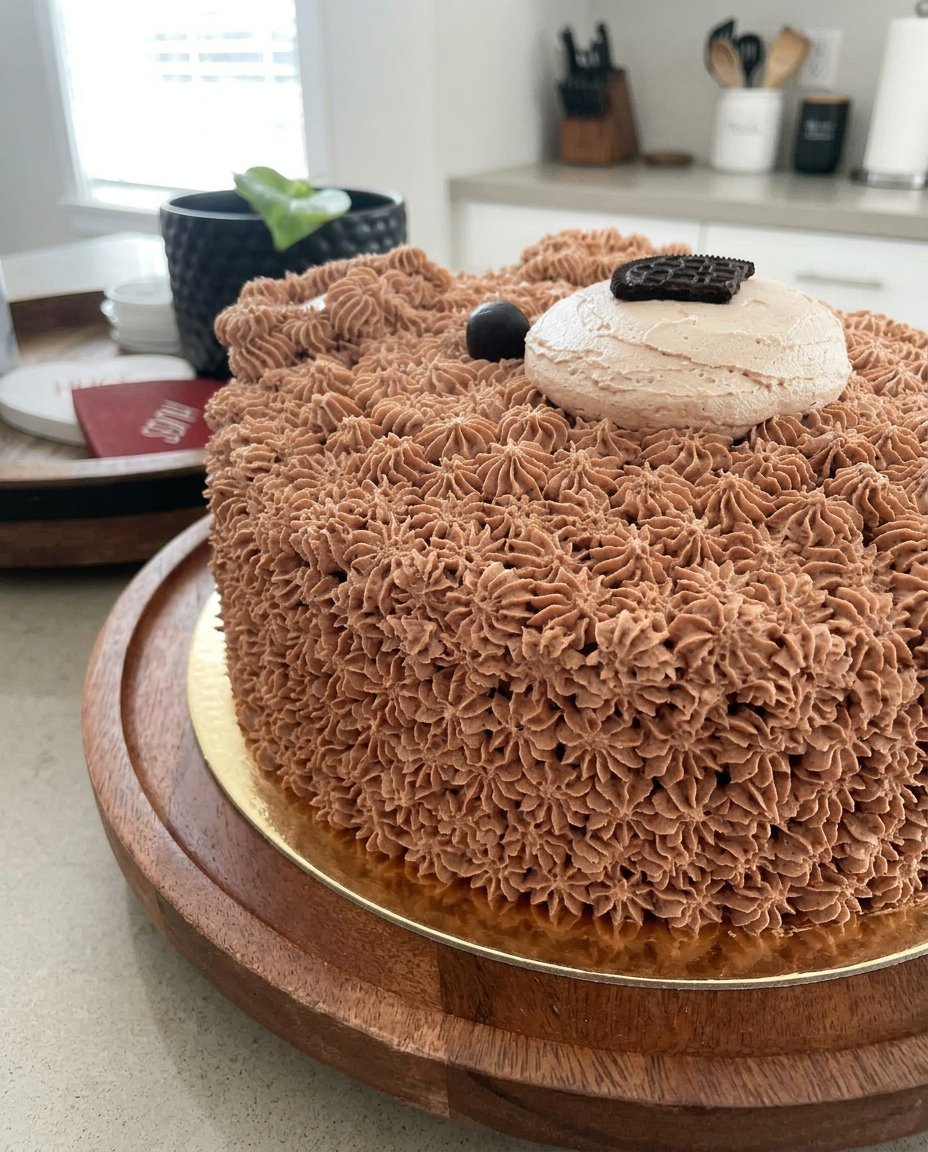
When serving a decorated chocolate cake, temperature is the most critical variable. For the best flavor experience, the cake should be served at exactly 68°F (20°C). If the cake has been refrigerated to set the decorations, allow it to sit at room temperature for at least 90 minutes. This allows the butter in the sponge and the frosting to soften, which significantly improves the mouthfeel and aroma release. For a high-impact presentation, consider the layout used in our ferrero-rocher-cake which utilizes geometric placement of spherical chocolates to create visual interest.
To achieve clean slices, use a long thin-bladed knife dipped in hot water and wiped dry between each cut. This prevents the chocolate decorations from dragging through the sponge and ensures each portion maintains its structural integrity on the plate. We recommend pairing this rich cake with a slightly acidic accompaniment, such as a raspberry coulis or a light crème fraîche, to provide a sensory contrast to the dense chocolate profile.
Mastery Through Science
Mastering the art of a perfect base is the first step toward professional-grade results. By controlling the variables of temperature, time, and technique, you have created a foundation that can support even the most ambitious designs. If you are ready to take your skills to the next level, our celebration-design-studio provides the advanced methodology needed for complex assembly. We encourage you to keep testing and documenting your results to achieve total consistency in your kitchen.
For more test kitchen updates and scientific baking insights, join our community on Facebook, Instagram, Pinterest, and YouTube.
