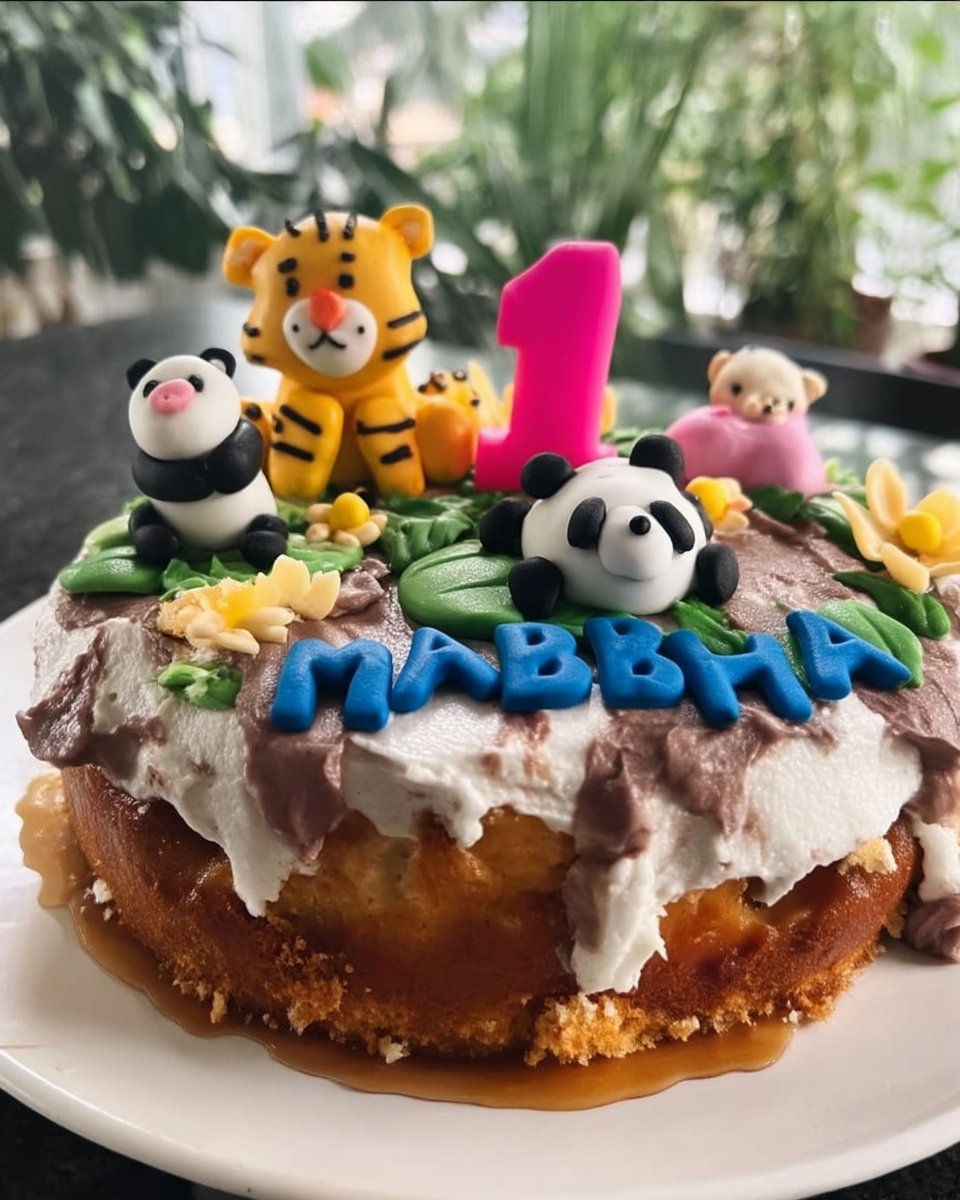
I usually stick to the rhythm of the seasons—ripe peaches in July, hearty apples in October—but sometimes, baking is just about pure, unadulterated fun. This comic cake might look like it jumped out of a sketchbook, but underneath the playful design lies a grounded, nutty peanut butter sponge that reminds me of honest farmhouse pantry staples. It is a wonderful reminder that food can be art, and that even the most whimsical treats start with simple, quality ingredients.
 10")
This recipe isn’t just about the visual trickery; it is about flavor. We pair a crunchy peanut butter sponge with a rich dark chocolate ganache, creating a taste profile that is as bold as the black outlines defining the slice. It is a 2D cake with very real, very delicious 3D flavor that brings a smile to the table.
A Whimsical Slice of Joy
This cake is a guaranteed conversation starter that brings out the inner child in everyone. The contrast between the soft, tender sponge and the crunchy peanut butter adds a lovely texture, while the dark chocolate ganache brings a sophistication that balances the sweet fondant. Unlike many novelty cakes that prioritize looks over taste, this one delivers on both fronts. It is perfect for birthdays, or simply as a rainy afternoon project to brighten up your kitchen.
Print 11")
Comic Cake (2D Cake)
- Total Time: 1 hour 25 mins
- Yield: 8 servings
- Diet: Vegetarian
Description
Bring your desserts to life with this playful 2D comic cake, featuring a moist peanut butter sponge and rich dark chocolate ganache. This eye-catching treat combines artistic flair with classic farmhouse flavors for a truly unique celebration centerpiece.
Ingredients
- Softened butter
- Caster sugar
- Crunchy peanut butter
- Large eggs
- Self-raising flour
- Baking powder
- Whole milk
- Vanilla extract
- Dark chocolate (54%)
- Double cream
- Light brown sugar
- Butter (for ganache)
- Sea salt
- Royal icing sugar
- Pasteurized egg white
- Black gel food coloring
- White, pastel pink, yellow, and red fondant
- Cornflour (for dusting)
- Edible glue
- Modelling chocolate or brown fondant
Instructions
- Preheat oven to 190°C (170°C fan/375°F/Gas 5) and grease a 20cm cake tin.
- Beat together the butter, sugar, peanut butter, eggs, flour, baking powder, milk, and vanilla until the batter is smooth and creamy.
- Spoon the mixture into the tin, level with a palette knife, and bake for 20-25 minutes until springy to the touch.
- Cool in the tin for 5 minutes, then transfer to a wire rack to cool completely.
- Prepare the ganache by heating cream, brown sugar, butter, and salt to a simmer, then pouring over the dark chocolate; stir until glossy and let thicken.
- Whisk the royal icing sugar with egg white and black food coloring until smooth, then transfer to a piping bag with a writing nozzle.
- Quarter the cooled sponge, stack the pieces, and trim with a serrated knife to form a clean wedge shape.
- Sandwich the layers with ganache, coat the exterior of the wedge, and chill until the ganache is firm.
- Cover the straight sides with rolled white fondant and the curved top with pink fondant, cutting a wobbly edge for a dripping effect.
- Decorate the sides with thin sausages of pink and yellow fondant to represent internal fillings.
- Top with a fondant buttercream swirl and a red fondant cherry, then use black royal icing to pipe outlines on every visible edge to create the 2D effect.
Notes
For the most striking visual impact, ensure your black outlines are applied from a single front perspective to maintain the 2D illusion. If the fondant becomes too soft while handling, brief chilling periods for both the cake and your decorations will make the assembly much more manageable.
- Prep Time: 1 hour
- Cook Time: 25 mins
- Category: Dessert
- Method: Baking
- Cuisine: Modern
The Farmhouse Pantry List
 12")
Start with crunchy peanut butter—I prefer the natural kind with bits of nut for texture, as it adds a lovely rustic bite to the sponge. You will need good quality unsalted butter and dark chocolate (54%) for the ganache; the better the chocolate, the richer and glossier the filling will be.
For the decoration, fondant in pastel shades (pink, yellow, and white) creates that matte, cartoon look, while black royal icing acts as your ink. Don’t forget fresh eggs and whole milk to keep the crumb moist and tender.
How to Create the Illusion
Step 1: Bake the Peanut Butter Sponge
Preheat your oven to 190°C (170°C fan/375°F/Gas 5). In a stand mixer fitted with a paddle attachment, or using a large bowl with a hand whisk, beat together the softened butter, caster sugar, crunchy peanut butter, eggs, flour, baking powder, milk, and vanilla extract. Mix until the batter is smooth and creamy.
Step 2: Bake and Cool
Spoon the mixture into your prepared 20cm cake tin and level the surface with a palette knife. Bake for 20-25 minutes, until the cake is lightly golden and springy to the touch. Remove from the oven and let it cool in the tin for 5 minutes before turning it out onto a wire rack to cool completely.
Step 3: Prepare the Dark Chocolate Ganache
While the cake cools, place the dark chocolate in a medium heatproof bowl. In a saucepan, heat the double cream, light brown sugar, butter, and sea salt until it reaches a gentle simmer. Pour this hot mixture over the chocolate and let it sit for 2 minutes. Stir gently until smooth and glossy, then leave it to cool until it thickens to a spreadable consistency.
Step 4: Mix the Royal Icing
Mix the royal icing sugar and pasteurized egg white in a bowl. Add a few drops of black gel food coloring and stir until the color is fully incorporated and uniform. Transfer the icing into a piping bag fitted with a number 3 writing nozzle and set it aside.
Step 5: Shape the Cake Wedge
Once the sponge is fully cooled, divide it into quarters. Stack these quarters on top of one another. Using a serrated knife, trim the stack slightly to create a clean, uniform cake wedge shape.
Step 6: Fill and Coat
Sandwich each layer of your cake wedge with a generous spoonful of the thickened ganache, using an offset palette knife to spread it evenly to the edges. Once stacked, spread the remaining ganache around the sides and top of the wedge in an even layer. Smooth the edges, then chill the cake to firm up the ganache.
Step 7: Cover with White Fondant
On a surface lightly dusted with cornflour, roll the white fondant into a rectangle (approx. 25 x 12cm). Wrap this around the two straight sides of the cake wedge, smoothing it gently with your hands or a fondant smoother. Trim away any excess.
Step 8: Apply the Pink Fondant
Roll the pastel pink fondant into a rectangle about 5mm thick. Place this over the curved edge and the top of the slice, smoothing it down. Trim the sides where the pink meets the white, then carefully cut a wobbly line along the pink fondant to create a dripping drink effect along the top.
Step 9: Add the Fillings
Gently score lines around the white sides of the wedge to mark where the “fillings” will go. Roll offcuts of pink and yellow fondant into thin sausages. Using a little water, stick these sausages onto the sides to represent jam and buttercream layers. Wobbly lines are fine—they enhance the cartoon look!
Step 10: Create the Cherry on Top
Shape the red fondant into a large cherry. Roll the remaining white fondant into a sausage and curl it into a swirl to resemble buttercream. Secure the swirl on top of the cake with edible glue, then attach the cherry on top. Use modelling chocolate or brown fondant to make a small stem.
Step 11: The Comic Outline
Choose the “front” side of your cake wedge. From that fixed viewpoint, use the black royal icing to pipe an outline along every visible edge, including the dripping icing, filling layers, and decorative swirl. Pipe small circles on the white fondant to mimic sponge bubbles. This final step is what brings the 2D effect to life.
Christine’s Decorating Secrets
 13")
Chilling is non-negotiable here. A cold cake is much easier to carve and cover with fondant than a room-temperature one. When piping the black lines, keep your pressure steady and your hand relaxed—wobbly lines actually add to the hand-drawn charm, so don’t stress about perfection. If you love designing unique, structural cakes like this, you should check out our celebration design studio for more advanced inspiration.
Simple Swaps
If peanut butter isn’t your favorite, a sturdy vanilla or brown butter sponge works beautifully as a base. You can also swap the ganache for a firm buttercream if you prefer. Speaking of which, if you find fondant difficult to work with, you can learn how to make a comic cartoon cake with buttercream for a softer texture. For other bite-sized creative ideas that are perfect for parties, look at our contemporary small format recipes.
Rustic Presentation
 14")
Since the cake itself is so visually busy and colorful, I recommend serving it on a simple, off-white ceramic plate to let the design truly pop. A glass of cold milk is the traditional partner for the peanut butter and chocolate flavors. If you are planning a full dessert table for an event, this modern treat pairs surprisingly well with a classic vintage cake for a mix of nostalgic and contemporary styles.
Baking Outside the Lines
Baking is usually about following rules, but this recipe invites you to draw your own. Whether you are making it for a birthday party or just for the pure joy of creating something different, I hope this cake brings a smile to your face. If you enjoyed this playful bake, you might also like our fun car cake. Don’t forget to share your comic creations with us on Pinterest, Instagram, Facebook, or TikTok!

