In the Cake Peak test kitchen, we spent weeks analyzing why most eggless bakes resulted in a dense, gummy crumb that lacked structural integrity. After testing fourteen different hydration ratios, we discovered that the secret isn’t just a substitute—it’s a chemical reaction between the lactic acid in yogurt and sodium bicarbonate that mimics the lift usually provided by egg proteins.

This specific Eggless Cake Recipe relies on a dual-fat system and a thermal mixing method to ensure a tender, velvety texture. By heating the liquids to precisely 120°F (49°C), we facilitate better emulsification, creating a stable batter that rises predictably every time you bake.
The Science of Success
This formula focuses on three pillars of baking science: acidity, emulsification, and aeration. Most recipes fail because they lack the protein structure of eggs, but our method utilizes the proteins in yogurt and milk to build a crumb that is both light and resilient. We tested this recipe with and without the fan-forced oven setting; the constant airflow at 320°F (160°C) provides the most consistent rise without drying out the exterior.
You will appreciate the dual-fat approach. Butter provides the classic flavor and a firm structure when cooled, while vegetable oil stays liquid at room temperature, ensuring the cake feels moist even on the second or third day. This synergy creates a professional-grade result that defies the common stereotypes of egg-free baking. It is a reliable, repeatable triumph of food chemistry.
Print
Eggless Cake Recipe
- Total Time: 63 mins
- Yield: 12 servings
- Diet: Vegetarian
Description
This scientifically-backed eggless cake uses a unique thermal mixing method and a yogurt-based chemical reaction to achieve a remarkably light and velvety crumb. Combining butter and oil ensures a rich flavor and lasting moisture, making it a reliable staple for egg-free celebrations.
Ingredients
- 2½ cups (330 g) All-Purpose Flour
- ¾ cup (185 g) Full-fat Regular Yogurt
- 1½ cups (300 g) White Granulated Sugar
- ½ tsp Baking Soda
- 2½ tsp Baking Powder
- ½ tsp Salt
- 1 tsp Vanilla Extract
- ½ cup (113 g) Unsalted Butter
- ¼ cup (50 g) Vegetable Oil
- 1 cup (240 g) Milk
Instructions
- Preheat your oven to 160°C (320°F) with the fan setting on. Grease and line two 8-inch cake tins with parchment paper or a high-quality cake release.
- Sift the flour, baking powder, and salt into a large bowl, then whisk briefly to aerate and distribute the leavening agents evenly.
- In a separate large bowl, whisk together the yogurt, sugar, vanilla, and baking soda until the mixture is frothy and the sugar starts to dissolve. Set aside to allow the reaction to activate.
- In a microwave-safe jug, combine the butter, oil, and milk. Heat until the butter is fully melted and the liquid reaches approximately 120°F (49°C).
- Whisk half of the warm milk mixture into the frothy yogurt base, then gently fold in half of the sifted dry ingredients using a whisk. Repeat with the remaining liquids and dry ingredients until the batter is smooth and pourable.
- Distribute the batter evenly between the prepared tins, tap them firmly on the counter once to release air pockets, and bake for 28 minutes. Let the cakes rest in the tins for 20 minutes before inverting onto a wire rack to cool completely.
Notes
For the best results, use an independent oven thermometer to ensure your temperature is exactly 160°C (320°F), as even a slight variance can affect the structural integrity of eggless batters. Additionally, ensure your yogurt is at room temperature before you begin to prevent the warm melted butter from seizing during the emulsification process.
- Prep Time: 15 mins
- Cook Time: 28 mins
- Category: Dessert
- Method: Baking
- Cuisine: American
The Variables

Understanding the role of each component is vital for achieving a consistent result. We have selected these specific ingredients based on their chemical interactions during the baking process.
- 2½ cups (330 g) All-Purpose Flour: We use a protein content of approximately 10-11% to provide enough structure without making the cake tough. Sifting is non-negotiable here to prevent clumps.
- ¾ cup (185 g) Regular Yogurt: The pH level is critical; the acid reacts with the baking soda to create immediate carbon dioxide bubbles. Ensure this is full-fat and not Greek yogurt, as the moisture content in Greek yogurt is too low for this specific hydration ratio.
- 1½ cups (300 g) White Granulated Sugar: Beyond sweetness, sugar is a tenderizer. It interferes with gluten formation by competing for water, which is essential when eggs are absent.
- ½ tsp Baking Soda & 2½ tsp Baking Powder: This combination provides a double-acting lift. The soda reacts with the yogurt immediately, while the powder provides a second lift when the heat of the oven hits the batter.
- ½ cup (113 g) Unsalted Butter & ¼ cup (50 g) Vegetable Oil: This combination provides the best of both worlds—flavor and moisture retention.
- 1 cup (240 g) Milk: This acts as the primary hydrating agent. We heat the milk with the fats to create a warm emulsion that integrates more smoothly into the dry ingredients.
The Method
Step 1: Thermal Preparation and Dry Sifting
Preheat your oven to 160°C (320°F) with the fan on. Grease and line two 8-inch cake tins using a high-quality cake release or parchment paper. Sift the flour, baking powder, and salt into a large bowl. Use a whisk to aerate the dry ingredients, ensuring the leavening agents are perfectly distributed throughout the 330g of flour.
Step 2: Initiating the Chemical Leavening
In a separate large mixing bowl, combine the yogurt, sugar, vanilla, and baking soda. Whisk these until the sugar begins to dissolve and the mixture becomes visibly frothy. This froth is evidence of the acid-base reaction between the yogurt and the soda, which will provide the initial lift for your cake. Set this aside for a few minutes to allow the reaction to fully activate.
Step 3: Emulsifying the Fats and Liquids
In a microwave-safe jug, combine the butter, oil, and milk. Heat the mixture until the butter is fully melted and the liquid reaches approximately 120°F (49°C). It should be hot to the touch but not boiling. This temperature is specific; it ensures the fats are in a state that will emulsify quickly with the yogurt base without cooking the flour prematurely.
Step 4: The Staged Integration
Add half of the hot milk mixture to the frothy yogurt base and whisk until combined. Gently fold in half of the sifted dry ingredients using a whisk, stopping as soon as the flour is no longer visible. Repeat with the remaining milk mixture and the remaining dry ingredients. The batter should be smooth and pourable, coating the whisk like a thick ribbon. Do not overmix, as this will develop too much gluten and result in a rubbery texture.
Step 5: Baking and Cooling Cycles
Distribute the batter evenly between the two tins. Tap each tin firmly on the counter once to release any trapped air pockets. Bake for exactly 28 minutes. Verify doneness with a toothpick; it should come out clean or with a few moist crumbs. Let the cakes rest in the tins for 20 minutes to allow the starch structure to set before inverting them onto a wire rack to cool completely.
Testing Insights

One of the most common failures in eggless baking is a collapsed center. This usually happens because the oven temperature is too high, causing a rapid rise before the internal structure has set. We verified that 320°F (160°C) is the ideal temperature for a slow, steady rise. Always use an oven thermometer to verify your appliance’s accuracy, as built-in dials are often calibrated incorrectly. For more technical help with your equipment, see our foundational-recipes guide. Additionally, ensure your yogurt is at room temperature before mixing; cold yogurt can cause the melted butter to seize, resulting in a grainy batter texture.
Precision Tweaks
We tested several flavor variations to ensure the base recipe remains stable. To create a bright citrus version, you can add 2 tablespoons of fresh lemon zest to the sugar before mixing. If you enjoy this profile, you should also see our lemon-yogurt-cake for more acid-balanced baking techniques. For a chocolate version, replace 1/2 cup of the flour with high-quality Dutch-processed cocoa powder. This change increases the acidity of the batter, so you may need to add an extra 1/8 tsp of baking soda to maintain the correct pH balance for a perfect rise.
Pairing Guide

Because this cake has a very tender crumb, it pairs exceptionally well with a stable frosting like a Swiss Meringue or a crusting American buttercream. For a quick individual portion while you wait for your layers to cool, you can apply these same moisture principles to our chocolate-mug-cake. When serving, ensure the cake is at room temperature. If the cake has been refrigerated, the butter in the crumb will be firm; allowing it to sit out for 30 minutes will restore its velvety mouthfeel.
Mastery Through Science
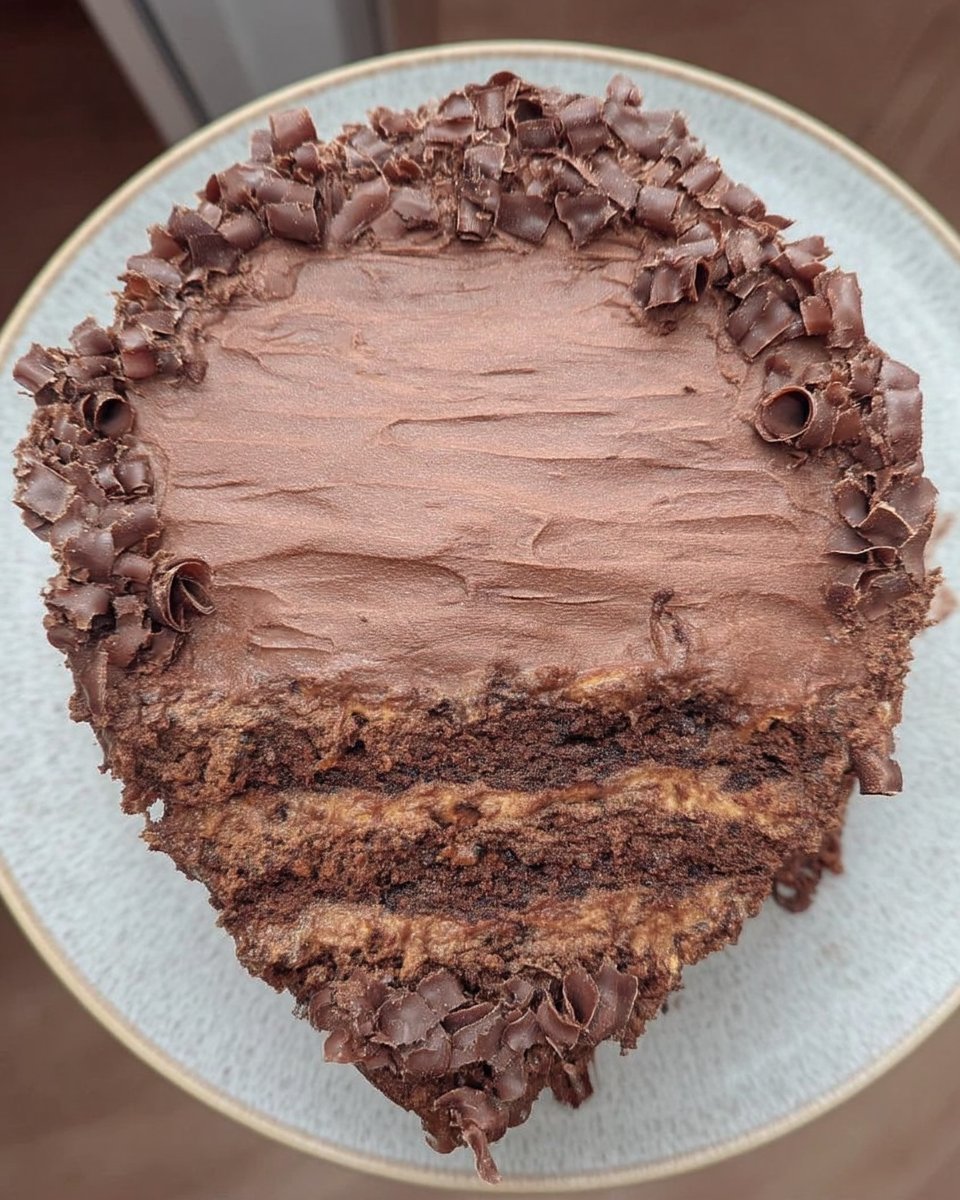
Success in eggless baking is not about luck; it is about managing the variables of temperature and chemical reactions. By following this method, you have mastered the art of acid-base leavening and thermal emulsification. For your next challenge, try applying these structural principles to our old-fashioned-chocolate-cake to see how different fats affect the final result. If you found this technical breakdown helpful, please share your results with us on Instagram, Pinterest, or Facebook. Keep testing and keep baking.


