Walking through the local market, I spotted a set of vintage-style glass jars that just begged for a sweet filling. There is something so honest about a dessert you can see through the glass, where every layer tells a story of care and simple ingredients. It reminds me of the seasonal preserves my grandmother used to line up on her farmhouse shelves.

These jar cakes are my favorite way to share a bit of farmhouse cheer with friends and neighbors. They are perfectly portable, delightfully messy in that rustic way I love, and they stay moist much longer than a standard slice on a plate. It is a wonderful way to turn a simple vanilla sponge into a festive treat for any gathering.
The Beauty of a Portable Treat
There is a genuine joy in holding a little glass jar filled to the brim with soft cake and creamy frosting. It feels like a personal gift from the kitchen, one that doesn’t worry about perfect edges or stiff presentation.
I love this recipe because it celebrates the “scraps”—those little pieces of cake left over after cutting circles are often the best part. When we layer them into these jars, nothing goes to waste, and every bite is a harmonious mix of textures. It is the perfect balance of buttery cake and light, airy frosting that lets the natural sweetness shine.
Print
Jar Cake
- Total Time: 35 mins
- Yield: 8 jars
- Diet: Vegetarian
Description
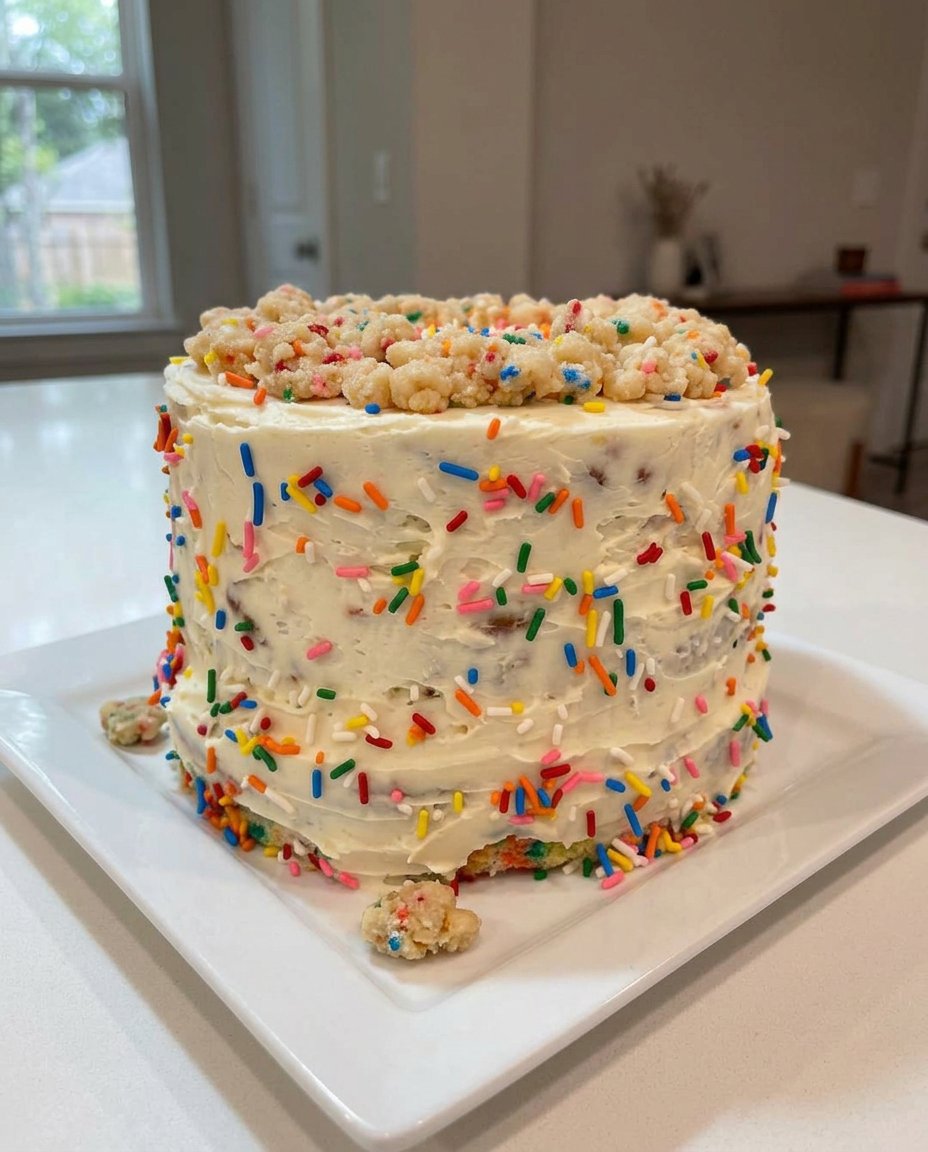
These charming jar cakes feature layers of tender vanilla sponge and fluffy buttercream frosting, making them the ultimate portable treat. Perfect for picnics or as a thoughtful gift, they combine rustic farmhouse appeal with a delightful sprinkle-filled crumb.
Ingredients
- All-purpose flour
- Cornstarch
- Baking powder
- Salt
- Unsalted butter (room temperature)
- Granulated sugar
- Egg whites
- Canola oil
- Vanilla extract
- Whole milk
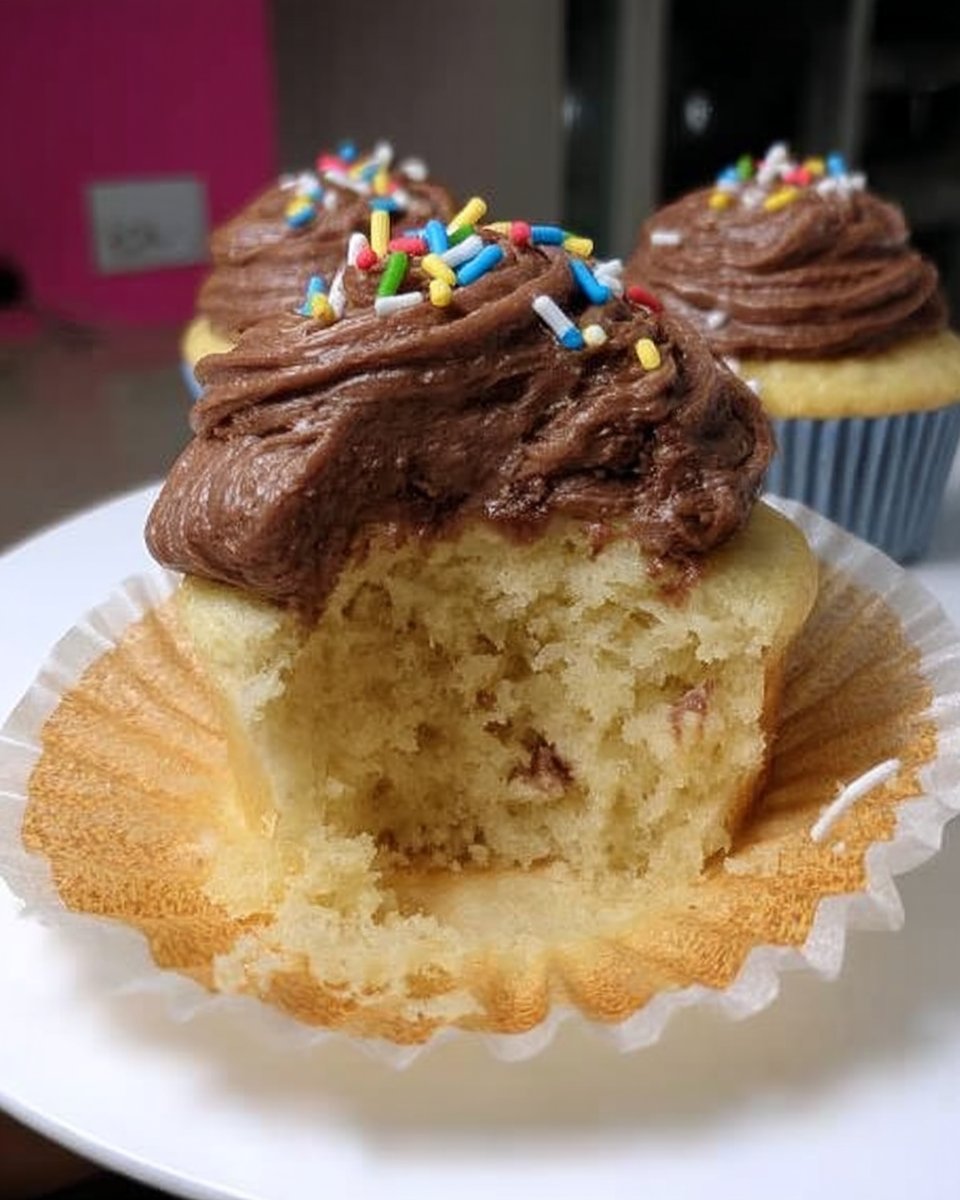
- Rainbow sprinkles
- Powdered sugar
Instructions
- Preheat your oven to 350℉ (175℃) and line a 9×13 or 7×11 inch pan with greased parchment paper.
- In a medium bowl, whisk together the flour, cornstarch, baking powder, and salt until well combined.
- Cream the butter and granulated sugar for 3 to 4 minutes using a mixer until the texture is pale and airy.
- Add the egg whites one at a time, followed by the canola oil and vanilla extract, mixing until smooth.
- Turn the mixer to low and add the dry ingredients in three parts, alternating with the milk in two parts, mixing just until streaks disappear.
- Gently fold in the rainbow sprinkles and pour the batter into the prepared pan, smoothing the top.
- Bake for 8 to 12 minutes or until a toothpick comes out clean, then let the cake cool completely on a wire rack.
- Whip the frosting butter until creamy, then add powdered sugar and vanilla, beating for several minutes before adding milk to reach a spreadable consistency.
- Use circle cutters to create cake rounds and layer them inside glass jars with frosting piped between each cake layer.
Notes
To ensure your cake is as light as possible, avoid overmixing once the flour is added to the wet ingredients. If you do not have a circle cutter, the rim of a small drinking glass works perfectly to size your cake rounds to fit the jars.
- Prep Time: 25 mins
- Cook Time: 10 mins
- Category: Dessert
- Method: Baking
- Cuisine: American
The Farmhouse Pantry

To get that tender, melt-in-your-mouth crumb, we start with simple, quality staples that any home baker likely has tucked away. I always recommend using the best butter you can find, as that rich flavor really carries the delicate vanilla notes.
- All-Purpose Flour and Cornstarch: This combination mimics cake flour, giving us a soft structure that holds up well when layered.
- Farm-Fresh Egg Whites: Using just the whites keeps the cake snowy white and incredibly light.
- Unsalted Butter: Room temperature butter is key for achieving that pale, fluffy creamed texture.
- Rainbow Sprinkles: These add a splash of happy color that looks beautiful through the glass jars.
- Whole Milk: A splash of milk adds moisture and a hint of richness to the batter.
The Simple Process
Step 1: Prep Your Ingredients
Preheat your oven to 350℉ (175℃). Rub a bit of butter or vegetable shortening over a 9×13 or 7×11 inch pan, then line it with parchment paper. Give the parchment a light greasing and a dust of flour too; we want the cake to release without a fuss.
Step 2: Whisk the Dry Goods
In a medium bowl, whisk together the flour, cornstarch, baking powder, and salt. This helps aerate the mixture and distribute the leavening evenly so your cake rises with a consistent crumb.
Step 3: Cream the Butter and Sugar
Using your stand mixer or a hand mixer, cream the butter and granulated sugar for a full 3 to 4 minutes. You are looking for a pale yellow color and a texture that feels light and airy, which provides the foundation for a fluffy cake.
Step 4: Add the Whites and Oil
Incorporate the egg whites one at a time, making sure each is fully blended before adding the next. Pour in the canola oil and vanilla extract, mixing until everything is smooth and fragrant.
Step 5: Mix the Batter Gently
Turn the mixer to low speed. Add the dry ingredients in three parts, alternating with the milk in two parts. Start and end with the flour mixture, mixing just until the streaks of white disappear to keep the cake tender.
Step 6: Fold in the Joy
Gently fold in those cheerful rainbow sprinkles with a spatula. Pour the batter into your prepared pan and smooth the top. Bake for 8 to 12 minutes; a toothpick inserted in the center should come out clean. Let it cool completely on a wire rack.
Step 7: Whip the Frosting
Whip the butter for several minutes until it is very creamy. Add the powdered sugar and vanilla, starting on low speed until crumbly, then cranking it up for 3 to 4 minutes until it looks like a cloud. Add a tablespoon of milk at a time until it reaches a spreadable consistency.
Step 8: Assemble the Jars
Use a circle cutter to create rounds that fit your jars. Don’t worry if the jars taper; you can use smaller cutters for the bottom. Place a cake round (or a handful of rustic scraps) in the bottom, pipe a layer of frosting, and repeat until you reach the top.
Farmhouse Wisdom

Always check the shape of your jars before you start cutting. If your jars are narrower at the bottom, use a smaller cutter for the first layer and a larger one for the top to fill the space perfectly. If you find yourself with extra cake pieces that don’t quite fit the jars, you can easily transform them into cake-balls for another day. It is a wonderful way to use every single crumb of your hard work. Also, make sure your butter is truly at room temperature for the frosting; it should be soft to the touch but not greasy, which allows it to trap the air needed for that fluffy finish.
Simple Swaps
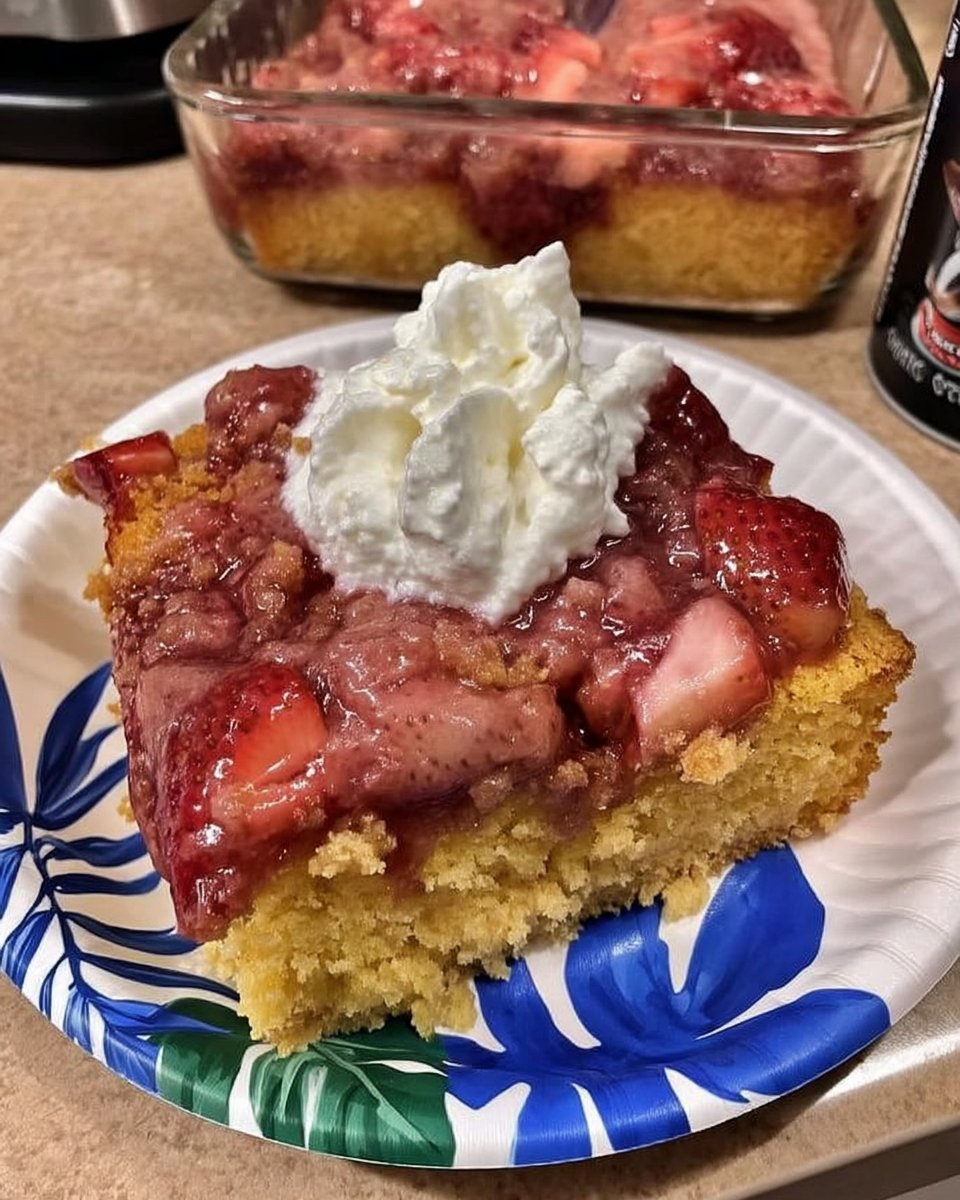
While I love the classic vanilla and sprinkle combination, you can easily change this based on the season. In the autumn, try layering in some spiced apple butter, or in the summer, add a handful of fresh, macerated berries between the frosting layers. For those who need a deeper, richer flavor, a chocolate-mug-cake base works beautifully when crumbled into these jars. You can even swap the vanilla frosting for a rich chocolate ganache or a salted caramel drizzle to change the flavor profile entirely.
At the Table

I like to serve these at outdoor gatherings or picnics because they come with their own built-in container. Tie a small wooden spoon to the side of the jar with a piece of rustic twine for a look that is both functional and charming. If you are hosting a larger party and want a different style of handheld dessert, you might also enjoy making push-pop-cakes for a more nostalgic feel. They offer that same layered beauty in a fun, movable format that guests always enjoy.
The Simple Truth
Baking should always feel like a gift, both to yourself and those you share it with. These little jars represent the best of farmhouse baking—simple ingredients, a bit of creative layering, and a result that feels special without being fussy. For more ideas on how to bake in a contemporary-small-format, explore our other seasonal guides. I would love to see your creations, so please share your photos with us on Pinterest, Instagram, or Facebook. Happy baking!
