In the Cake Peak test kitchen, we spent three days verifying the exact internal temperature required for a structural outer shell that yields to a liquid center. We discovered that a specific ratio of egg yolks to whole eggs is the variable that determines whether your cake is molten or merely underbaked. Our final testing phase confirmed that the transition from raw to molten happens within a narrow ninety-second window.

This lava cake recipe uses thermal physics to create a dessert that is essentially a self-saucing chocolate ganache. By using a high concentration of fats and sugars, we interfere with gluten development to ensure a tender crumb. When executed with precision, the result is a consistent, professional-grade dessert that performs perfectly every time.
The Science of the Molten Center
This recipe works because it relies on the principle of differential baking. By using a high oven temperature of 375°F (190°C), we force the exterior of the cake to set and form a structural wall while the interior remains at a lower temperature, preventing the egg proteins from fully coagulating. This creates the signature liquid core that is the hallmark of a technical lava cake.
We favor this method because it uses the chemistry of the ingredients rather than a frozen ganache insert. The high yolk count provides extra lecithin, which acts as a powerful emulsifier to keep the chocolate and butter in a fluid state even as the surrounding cake structure bakes. It is a triumph of timing and temperature control that produces a predictable result every single time you bake.
Furthermore, the use of both cocoa powder and melted chocolate provides a multi-layered flavor profile. The cocoa powder adds a concentrated hit of acidity and bitterness that balances the richness of the butter and sugar. This is not just a dessert; it is a calculated balance of moisture, fat, and protein that has been refined through rigorous testing to provide the ultimate chocolate experience.
Print
Lava Cake Recipe
- Total Time: 30 mins
- Yield: 6 cakes
- Diet: Vegetarian
Description
This decadent chocolate lava cake features a structurally sound outer shell and a rich, molten core. Developed through rigorous testing of egg ratios and thermal precision, it delivers a professional-grade dessert experience in under thirty minutes.
Ingredients
- 170g semi-sweet or bittersweet chocolate (at least 60% cacao), chopped
- 10 tablespoons salted butter, plus extra for greasing
- 3 large eggs
- 3 large egg yolks
- 171g powdered sugar
- 71g all-purpose flour
- Unsweetened cocoa powder, for coating ramekins
- 1 teaspoon vanilla extract
- 1 pinch salt
Instructions
- Preheat your oven to 375°F (190°C) and prepare six 6-ounce ramekins by brushing them with softened butter in vertical strokes and coating with cocoa powder.
- Melt the chopped chocolate and butter together in the microwave or over a double boiler, stir until smooth, and add vanilla and salt.
- In a stand mixer with a paddle attachment, beat the 3 whole eggs and 3 egg yolks on medium-high speed for exactly 3 minutes until pale and thick.
- Sift the powdered sugar into the egg mixture on low speed, then gently fold in the cooled chocolate mixture and sifted flour by hand until just combined.
- Divide the batter equally among the prepared ramekins and bake on a heavy-duty baking sheet for 12 to 13 minutes until the sides are firm but the centers are soft.
- Let the cakes rest for 2 minutes, then run a thin spatula around the edges and invert each ramekin onto a plate to release the cake.
Notes
For the most consistent results, ensure your melted chocolate has cooled to near room temperature before folding it into the aerated eggs to prevent the proteins from setting too early. Additionally, using a kitchen scale for the flour and sugar measurements is highly recommended to maintain the specific moisture balance required for a liquid center.
- Prep Time: 15 mins
- Cook Time: 13 mins
- Category: Dessert
- Method: Baking
- Cuisine: French
Analyzing the Molecular Components

Understanding the variables of your ingredients is the first step toward achieving a perfect result. Each component in this lava cake recipe has been selected for its specific chemical contribution to the final structure and flavor profile.
- Semi-Sweet or Bittersweet Chocolate (170g): We recommend a chocolate with at least 60% cacao. The percentage of cocoa butter dictates the viscosity of the molten center; higher quality chocolate with stable fat content results in a more fluid pour.
- Salted Butter (10 tablespoons): Butter provides the fat necessary to inhibit gluten formation. We use salted butter to heighten the perception of the chocolate notes, though you can use unsweetened butter and add a larger pinch of salt to maintain the same chemical balance.
- Large Eggs and Extra Yolks: The whole eggs provide structure through protein coagulation, while the three extra yolks add fat and lecithin. This prevents the center from setting into a solid sponge and creates a rich, velvety mouthfeel.
- Powdered Sugar (171g): Unlike granulated sugar, powdered sugar contains a small amount of cornstarch. This helps stabilize the emulsion and contributes to a finer, more delicate crumb structure.
- All-Purpose Flour (71g): We use a minimal amount of flour to provide just enough gluten to hold the cake together. Over-measuring the flour will lead to a cake that is too dense and lacks the molten characteristics we are targeting.
- Unsweetened Cocoa Powder: Used primarily for the ramekin coating, this ensures a clean release while adding a dark, matte finish to the exterior of the cake.
Maintaining these ingredients at the correct temperatures—specifically ensuring your melted chocolate has cooled to room temperature before adding the eggs—is vital to prevent premature protein denaturation.
The Precision Method
Step 1: Thermal Preparation and Ramekin Engineering
Preheat your oven to 375°F (190°C). Accuracy is vital, so verify the temperature with an oven thermometer. Prepare six 6-ounce ramekins by brushing softened butter in vertical strokes from the bottom to the rim. This technique encourages the cake to rise evenly. Coat the butter with cocoa powder, tapping out any excess to prevent a grainy exterior.
Step 2: Chocolate and Lipid Emulsification
Combine the chopped chocolate and butter in a heat-proof bowl. Melt them in 60-second intervals in the microwave or over a double boiler. Stir until the mixture is a smooth, homogenous liquid. The temperature should not exceed 115°F (46°C) to avoid scorching the chocolate solids. Add the vanilla extract and salt, then set aside to cool until it reaches approximately 80°F (27°C).
Step 3: Protein Aeration
In a stand mixer fitted with the paddle attachment, combine the 3 whole eggs and 3 egg yolks. Beat on medium-high speed for exactly 3 minutes. The mixture should undergo a color change to a pale yellow and achieve a thick, ribbony texture. This step incorporates the micro-bubbles necessary for the cake to expand in the oven.
Step 4: Component Integration
Sift the powdered sugar into the egg mixture and mix on low speed until just combined. Gently fold in the cooled chocolate mixture using a silicone spatula. Finally, sift in the all-purpose flour. Fold the batter by hand until no white streaks remain. Do not overmix, as this will develop excess gluten and toughen the delicate shell.
Step 5: The Controlled Bake
Divide the batter equally among the prepared ramekins, filling each about three-quarters full. Place the ramekins on a heavy-duty baking sheet to ensure even heat distribution. Bake for exactly 12 to 13 minutes. The sides should be firm to the touch, but the center should remain soft and slightly jiggly.
Step 6: The Critical Release
Remove the cakes from the oven and allow them to rest for exactly 2 minutes. This rest period allows the internal pressure to stabilize, preventing the cake from collapsing. Run a thin offset spatula around the edges. Invert a plate over the ramekin and quickly flip. Lift the ramekin slowly to reveal the finished cake.
Lab Notes for Success

One of the most frequent failures in this recipe is the cake sticking to the ramekin. To prevent this, focus on the mechanical application of the butter. If you use a brush, ensure the bristles reach the very bottom corner of the dish. A failure here will result in the cake tearing during the inversion process.
Monitoring the internal temperature of the cake can take the guesswork out of the process. If you use an instant-read thermometer, the center should register between 155°F and 160°F (68°C-71°C). Anything higher than 170°F means the proteins have fully bonded, and you will have a solid chocolate cake instead of a lava cake. For more on the science of chocolate reactions, see our guide on chocolate alchemy. If your oven has hot spots, rotate the baking sheet halfway through the 12-minute cycle to verify an even set across all six servings.
Tested Experimental Variations
We tested several modifications to the core recipe to determine how they affect the structural integrity of the cake. For a salted caramel version, you can freeze small discs of salted caramel and press them into the center of the batter before baking. This increases the liquid volume without compromising the cake wall.
Another successful variation is the addition of espresso powder. Adding 1 teaspoon of instant espresso to the flour will amplify the chocolate notes without adding significant moisture. If you are looking for a faster solution for a single serving, you might find our chocolate mug cake helpful for a quick fix. We also tested a white chocolate version, but found that it requires a 20% increase in flour due to the lack of cocoa solids in white chocolate.
Presentation and Stability Parameters

The thermal window for serving a lava cake is relatively narrow. For the best experience, the cake should be consumed within 5 to 10 minutes of leaving the oven. As the cake cools, the molten center will continue to thicken as the fats in the chocolate and butter begin to re-solidify.
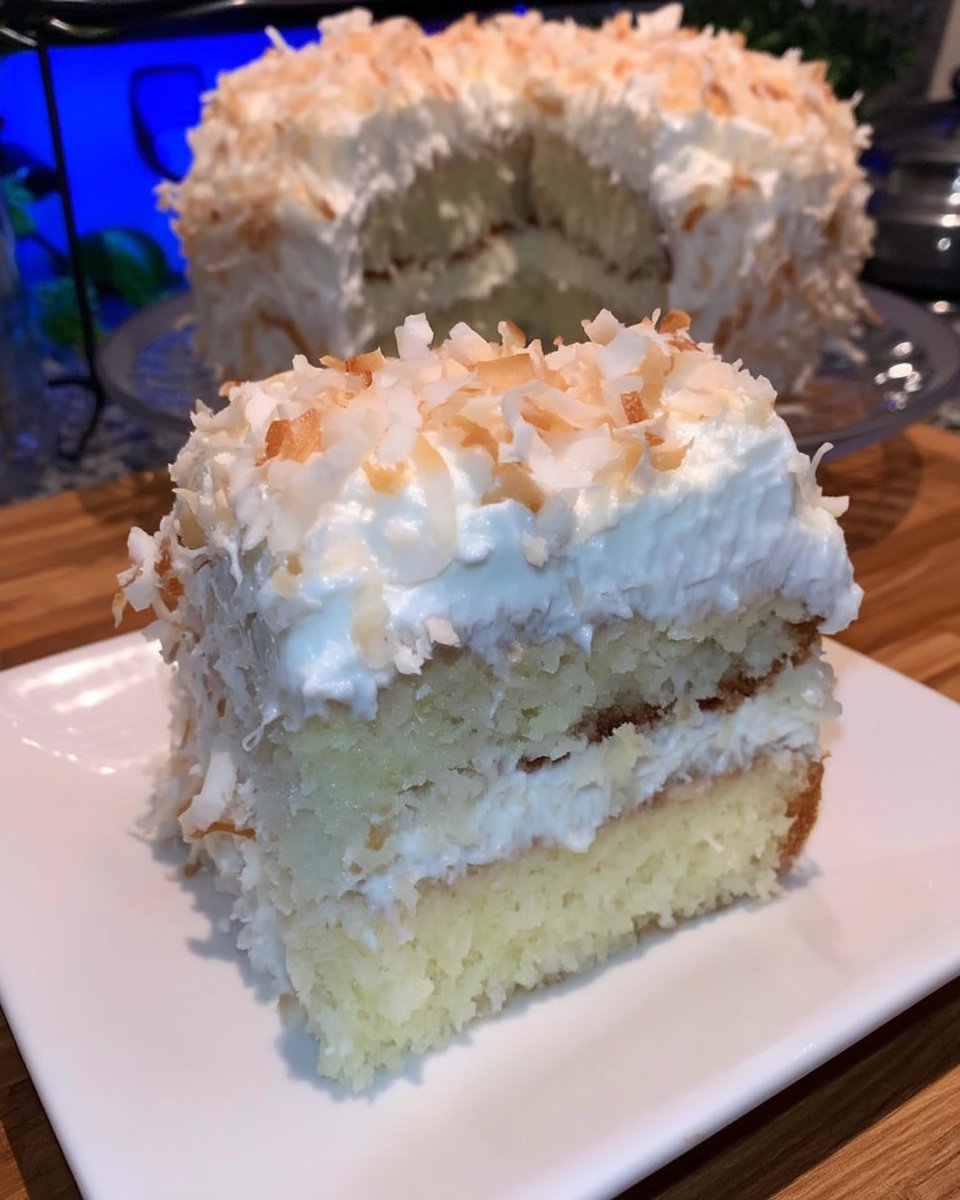
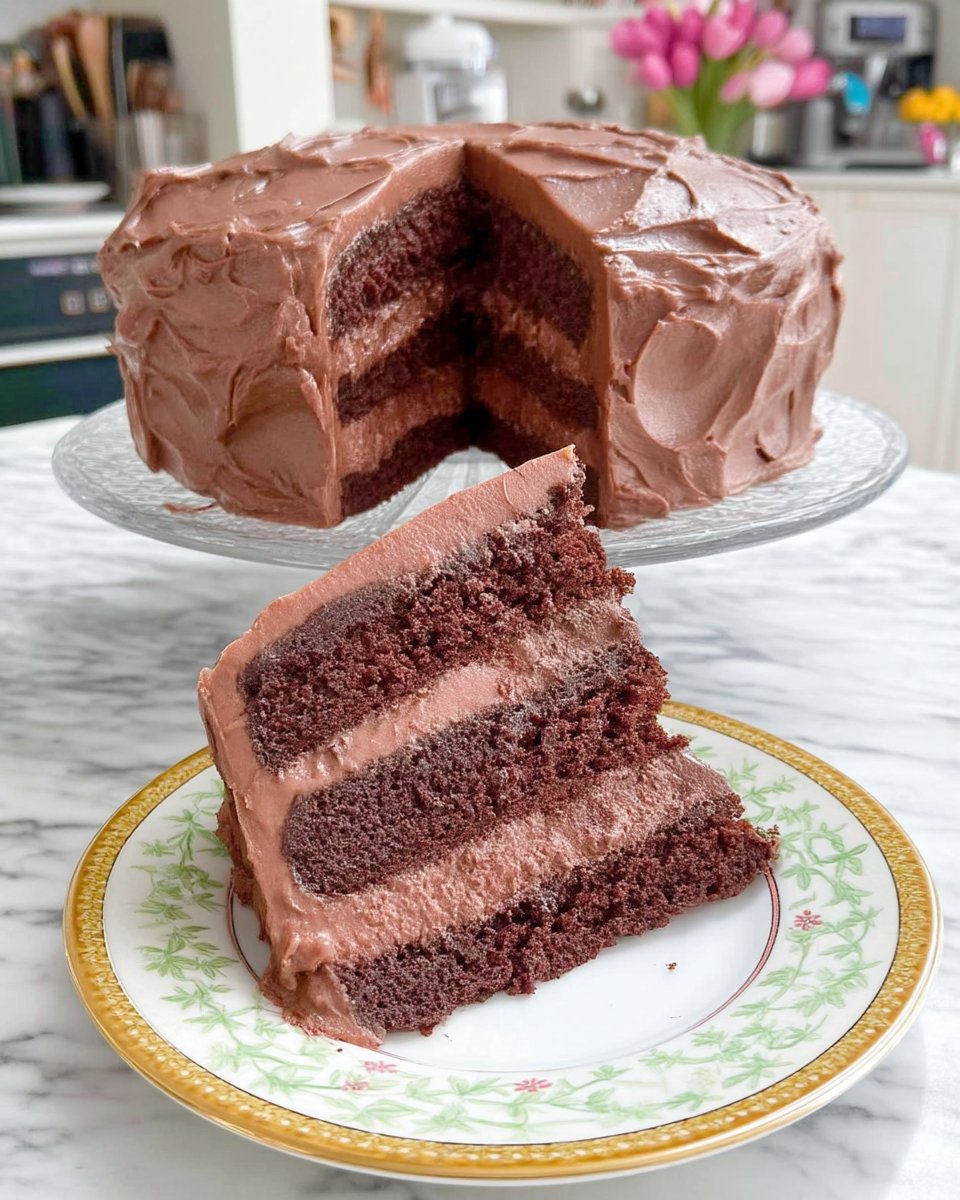
We recommend serving this with a high-moisture accompaniment like vanilla bean ice cream or lightly sweetened whipped cream. The cold temperature of the dairy provides a sharp contrast to the 160°F core of the cake. For those who prefer a more traditional presentation, our chocolate fudge cake methodology offers great insights into pairing chocolate with acidic fruit coulis. For more inspiration on presentation, you can reference this classic approach which emphasizes the visual impact of the first cut.
Final Analysis of the Lava Cake
Mastering the lava cake is a milestone for any baker. It requires a firm grasp of timing and a commitment to precision. Once you understand how heat moves through the batter, you can produce this impressive dessert with absolute confidence. If you enjoyed the technical challenge of this recipe, you may want to progress to our old-fashioned chocolate cake to further your understanding of cocoa hydration. Keep testing your techniques and refining your process to achieve consistent excellence in the kitchen. Share your results with us on Facebook or Instagram. You can also find more technical baking tips on our Pinterest and TikTok channels.
