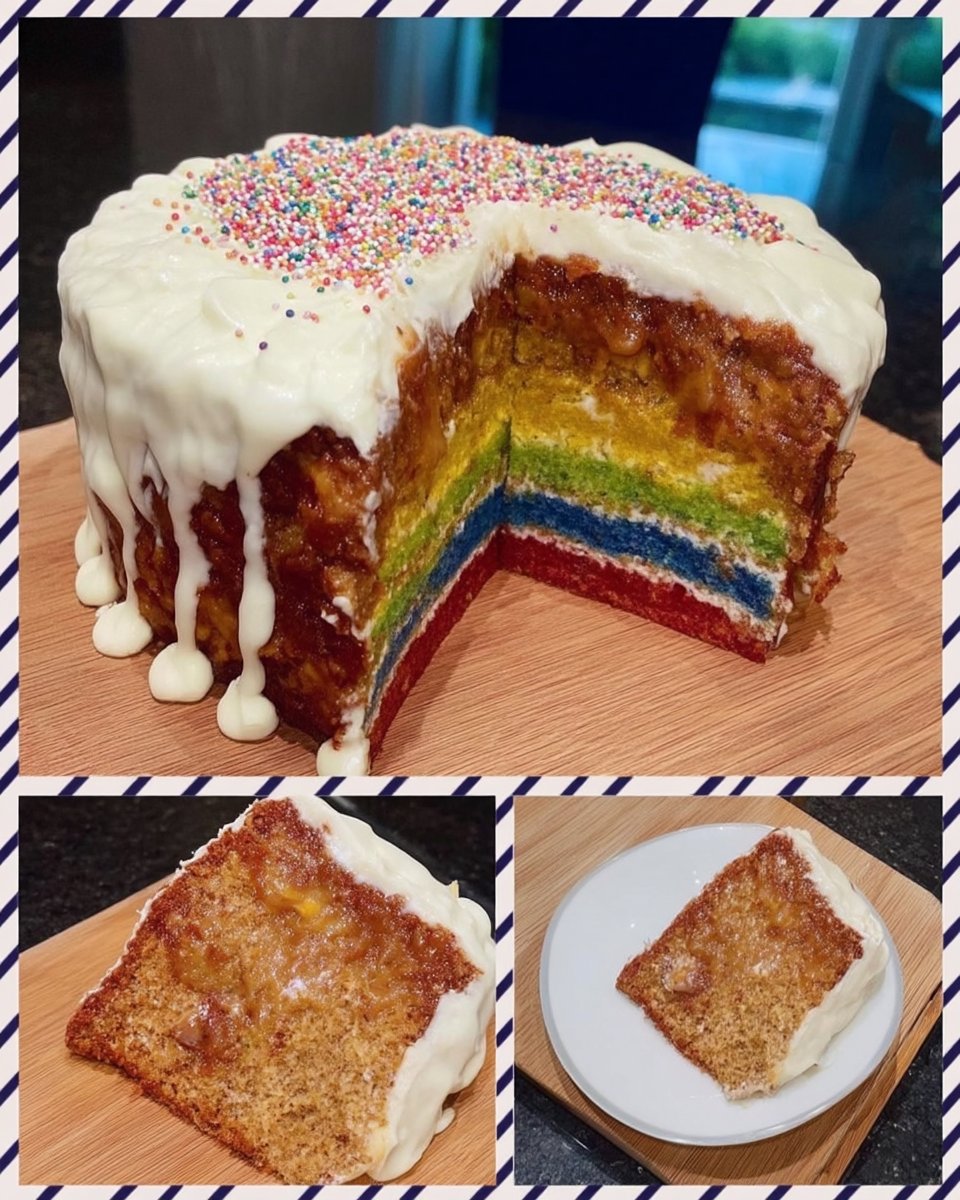
Do you remember the first time you sliced into a cake and the whole room audibly gasped? For me, it was at a family reunion down in Virginia, where a simple-looking white frosted cake revealed a hidden spectrum of color the moment the knife hit the plate. Baking is about more than just sugar and flour; it is about creating those moments of pure joy and surprise that stick with folks long after the last crumb is gone.

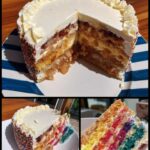
This lemon rainbow cake is the absolute definition of a showstopper. We are talking six layers of tender, zesty lemon sponge, each one a different vibrant color, sandwiched together with tart lemon curd and smooth vanilla buttercream. It is a labor of love that yields a moist, flavorful centerpiece perfect for any celebration that calls for a little extra Southern charm and magic.
A Celebration on a Plate
There is something undeniable about the way a rainbow cake brings out the inner child in everyone. But this isn’t just about looks; the flavor profile is exactly what you want in a high-quality homemade cake.
- Moist, Zesty Crumb: We use plenty of butter and fresh lemon zest in the batter, guaranteeing that “perfect crumb”—tender, soft, and never dry.
- Tangy Contrast: The layers are filled with lemon curd, which provides a sharp, bright contrast to the sweet vanilla buttercream.
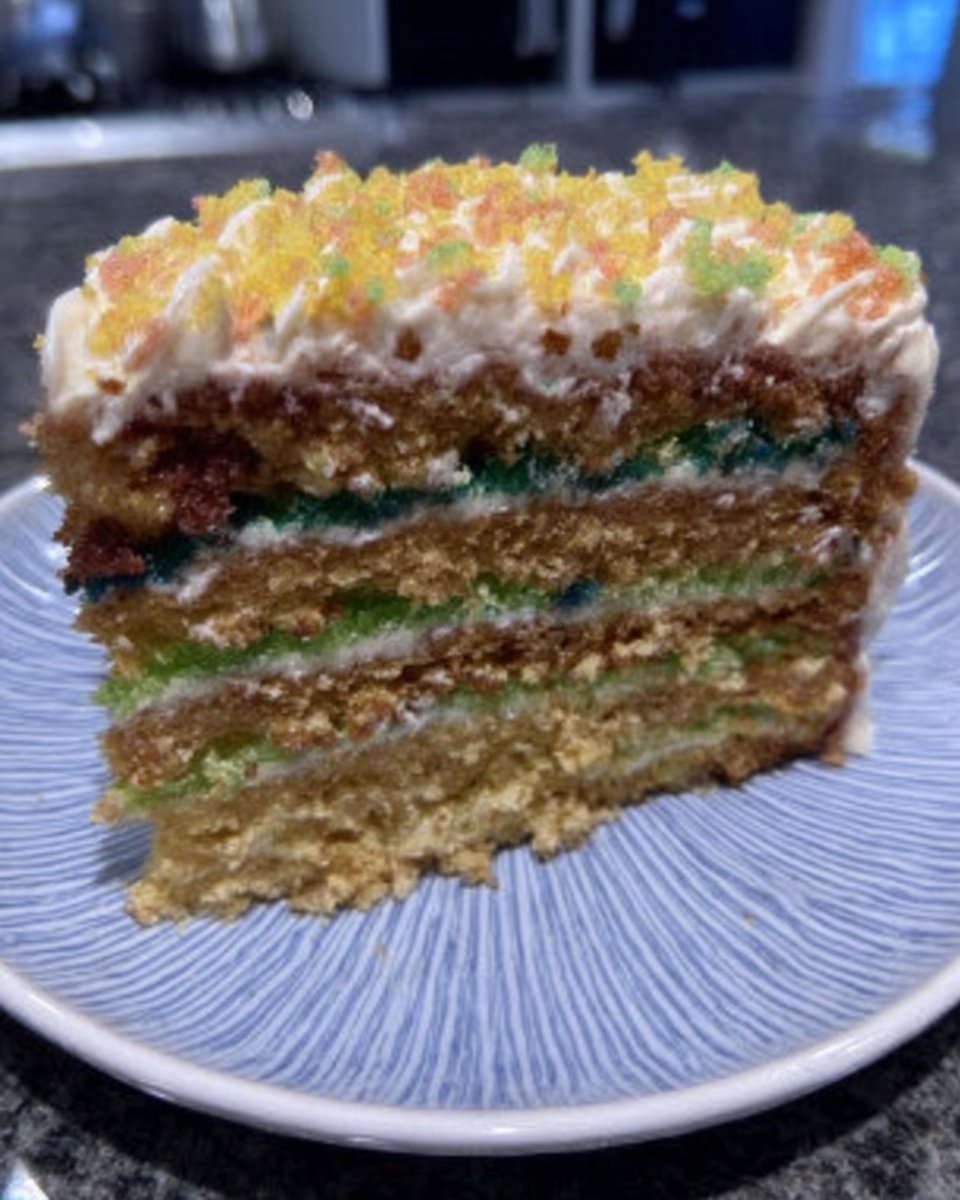
- Visual Impact: Using professional gel colors creates vivid, distinct layers that look professional, even if you are baking in your home kitchen.
Lemon Rainbow Cake
- Total Time: 2 hours 25 mins
- Yield: 16 servings
- Diet: Vegetarian
Description
This spectacular six-layer lemon cake is a true showstopper, featuring moist, zesty sponges and tangy lemon curd tucked between layers of silky vanilla buttercream. It is the perfect centerpiece for any celebration, offering a surprising burst of vibrant color and bright citrus flavor in every slice.
Ingredients
- 550g baking spread or unsalted butter, softened
- 550g caster sugar
- 10 large eggs, room temperature
- 2 tablespoons milk
- Zest of 4 lemons
- 550g self-raising flour
- Concentrated gel food coloring (red, orange, yellow, green, blue, and purple)
- 400g unsalted butter, softened (for buttercream)
- 800g icing sugar
- 2 teaspoons vanilla extract
- 2 tablespoons milk (for buttercream)
- 300g lemon curd
- Rainbow sprinkles
Instructions
- Preheat your oven to 160°C Fan (350°F) and grease and line three 8-inch cake tins with parchment paper.
- In a large bowl, cream together 275g of butter and 275g of caster sugar until pale and fluffy, then whisk in 5 eggs, 1 tablespoon of milk, and half of the lemon zest.
- Gently fold in 275g of self-raising flour until just combined, then divide the batter into three separate bowls.
- Tint the three bowls of batter with red, orange, and yellow gel food coloring, pour into the prepared tins, and bake for 20 minutes until a skewer comes out clean.
- Cool the first three layers on a rack, wash your tins, and repeat the batter process with the remaining ingredients, tinting these green, blue, and purple.
- Make the buttercream by beating the softened unsalted butter and icing sugar together, then add vanilla and milk and whip on high speed until pale and fluffy.
- Assemble the cake by placing the purple layer down first, spreading a thin layer of buttercream, piping a frosting dam around the edge, and filling the center with lemon curd.
- Repeat the stacking process for all layers, apply a thin crumb coat of frosting, and chill for one hour before adding the final coat of buttercream and decorations.
Notes
To achieve the cleanest rainbow layers, ensure your sponges are completely cold before slicing or stacking, as any residual heat will melt the buttercream. If you are baking in a warm kitchen, chilling the cake for 20 minutes between adding each layer can help maintain stability and prevent the layers from sliding.
- Prep Time: 45 mins
- Cook Time: 40 mins
- Category: Dessert
- Method: Baking
- Cuisine: American
The Foundation of Flavor
To get that golden dome and tender texture we prize here at Cake Peak, you need to start with the right ingredients at the right temperature.
- Butter or Baking Spread: I use a baking spread (like Stork) for the sponges because it yields a lighter, fluffier texture, but I always stick to real unsalted butter for the buttercream to get that creamy mouthfeel. Make sure it is soft.
- Caster Sugar: Fine sugar dissolves better into the butter, creating pockets of air for a lighter rise.
- Lemons: You will need the zest of four lemons for the sponge. This infuses natural oils directly into the batter.
- Eggs: Ten large eggs provide the structure. Trust me, let them come to room temperature so they emulsify properly without curdling the batter.
- Self-Raising Flour: This simplifies the process, but if you only have plain flour, you will need to add baking powder.
- Food Coloring: Do not use liquid food coloring from the grocery store aisle. You need concentrated gels like Sugarflair, Colour Mill, or ProGel. Liquids will water down your batter and won’t give you those vibrant hues.
- Lemon Curd: A good quality jarred curd works wonders, or you can make your own for an extra punch of flavor.
How to Create the Magic
This recipe requires a bit of organization, but the method itself is straightforward. We will bake in batches to keep the batter fresh.
Step 1: Prep and First Batch
Preheat your oven to 160°C Fan (350°F). Grease and line three 8-inch cake tins. We will make the batter in two halves so it doesn’t sit out too long. Start by mixing 275g butter and 275g caster sugar until pale and fluffy. Add 5 eggs, 1 tablespoon of milk, and half the lemon zest. Whisk until incorporated.
Step 2: Color and Bake (Round 1)
Fold in 275g of flour until just combined. Divide this batter deeply into three bowls. tint one red, one orange, and one yellow. Pour into your prepared tins and bake for about 20 minutes, or until a skewer comes out clean. Cool these on a rack.
Step 3: Second Batch
Wash your tins and repeat the process with the remaining ingredients. This time, tint the batters green, blue, and purple. Bake them off and let them cool completely. A warm cake will melt your frosting, so patience is key here!
Step 4: Make the Buttercream
Beat your softened unsalted butter and icing sugar together. Once it starts to clump, add the vanilla and milk. Whip this on high speed for several minutes until it is pale, white, and super spreadable.
Step 5: Stack and Fill
Place your purple layer on the board first (or red, depending on if you want the rainbow to go up or down!). Spread a thin layer of buttercream, then pipe a dam around the edge. Fill the center with a generous dollop of lemon curd. Repeat this with all layers.
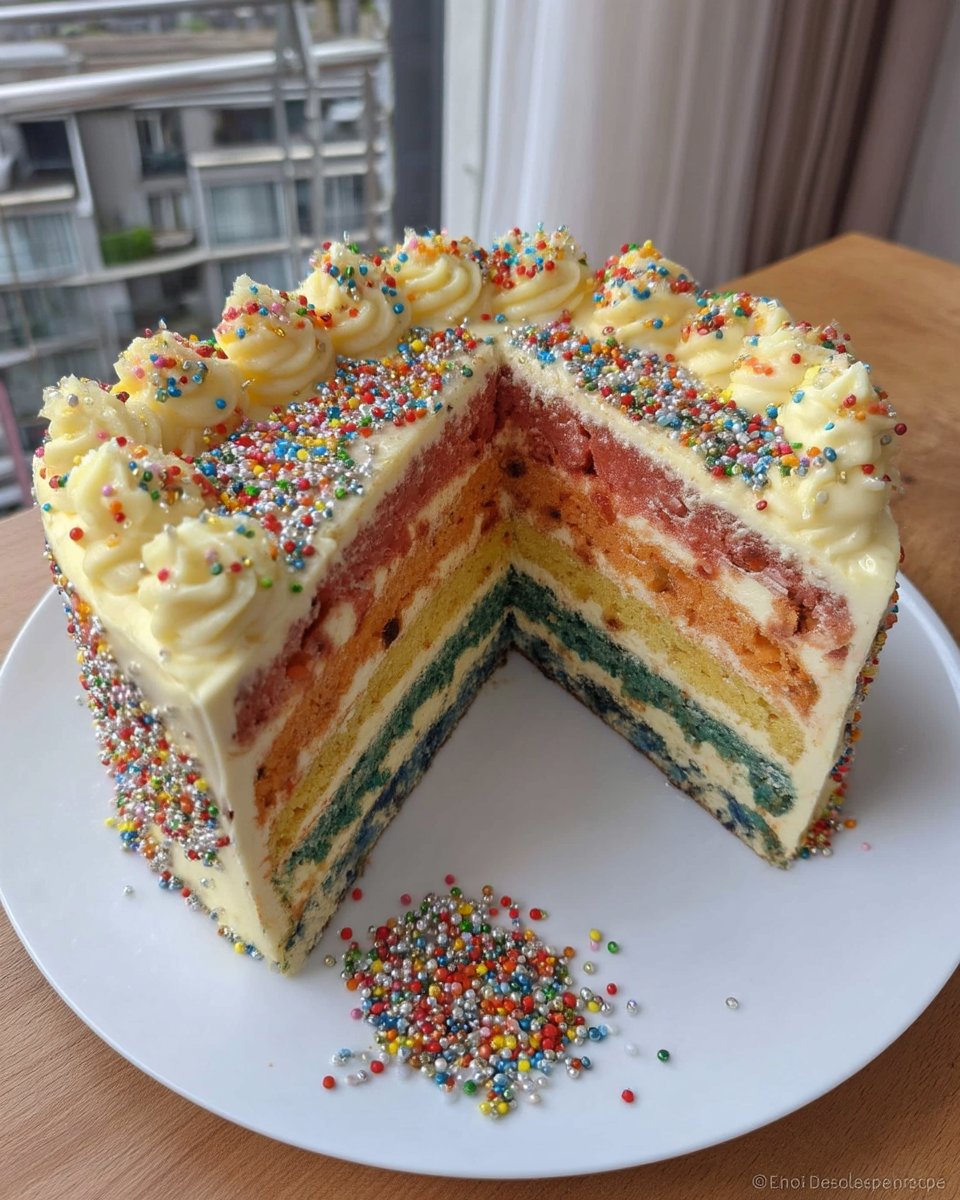
Step 6: Crumb Coat and Decorate
Cover the stacked cake in a thin layer of frosting to trap the crumbs and chill for an hour. Apply a final, thick coat of buttercream and smooth it out. Pipe rosettes on top and go wild with rainbow sprinkles.
Jesse’s Secrets to Success
Achieving that bakery-style finish takes a little know-how, but I’m here to guide you through it.
- Weigh Your Batter: To get perfect, even layers, I weigh the mixing bowl before and after adding ingredients to know exactly how much batter I have. Then, I divide that number by three for the bowls. It sounds fussy, but it guarantees identical layers.
- Don’t Overmix: Once you add the flour, mix only until the white streaks disappear. Overworking the gluten is the enemy of a tender crumb.
- Leveling: If your cakes have a slight dome, slice the very top off to make them flat. You can snack on these scraps—cook’s treat!
- Chill Time: If the cake feels unstable while stacking, pop it in the fridge for 20 minutes. The butter in the frosting will firm up and act like glue.
For more ideas on creating stunning layered desserts, take a look at our Celebration Design Studio for inspiration on piping techniques.
Make It Your Own
While the classic rainbow is a favorite, you can adapt this base recipe to suit different tastes or seasons.
- Citrus Switch: Swap the lemon zest and curd for orange or lime. A lime rainbow cake with coconut buttercream is a fantastic Southern twist.
- Piñata Cake: Use a round cutter to remove the center of the middle four layers before stacking. Fill the hollow core with sweets or sprinkles for an extra surprise when you cut it.
- Naked Cake: If you prefer less sweetness, skip the outer frosting and just pipe buttercream between the layers, letting the colorful sponges peek through.
If you love experimenting with fruit flavors, check out our Fresh Fruit Baking section for more zesty fillings.
At the Table
This cake is tall, so you will want to serve thin slices. I recommend using a sharp, hot knife (dip it in hot water and wipe dry) to get clean cuts that show off those beautiful layers.
Since the cake is quite sweet and rich, it pairs beautifully with unsweetened beverages. A pot of strong coffee or a glass of cold milk is traditional, but down here, we love it with a glass of iced tea on the porch. If you want to master the basics of the buttercream we used here, visit our Foundational Recipes page.
The Final Slice
There is no better feeling than setting a tall, beautiful cake on the table and watching faces light up. This Lemon Rainbow Cake is more than just a dessert; it is a centerpiece that says “I love you” in six different colors. Whether it is for a birthday, a pride celebration, or just a Tuesday that needs brightening, I hope this recipe brings a little sunshine into your kitchen.
For the original inspiration behind this colorful masterpiece, you can visit The Baking Explorer. Happy baking, y’all!
If you try this recipe, I’d love to see your colorful creations. Tag us on social media!
