Scaling down a standard cake recipe isn’t just about division; it requires re-evaluating the thermodynamics of a smaller batter volume. In the Cake Peak test kitchen, we found that simply halving a standard recipe often led to dry edges because the surface-area-to-volume ratio shifts drastically in 4-inch pans. By introducing sour cream and adjusting the fat content, we engineered a formula that retains moisture without sacrificing structural integrity.

This recipe produces a chemically balanced, tender crumb perfect for the trending minimalist aesthetic—clean lines, sharp edges, and simple decoration. Whether you are baking a single 6-inch tier or stacking three 4-inch layers, the result is a reliable canvas for your creativity. Precision is key here; a gram of difference matters more in small-batch baking.
The Science of Small Batch
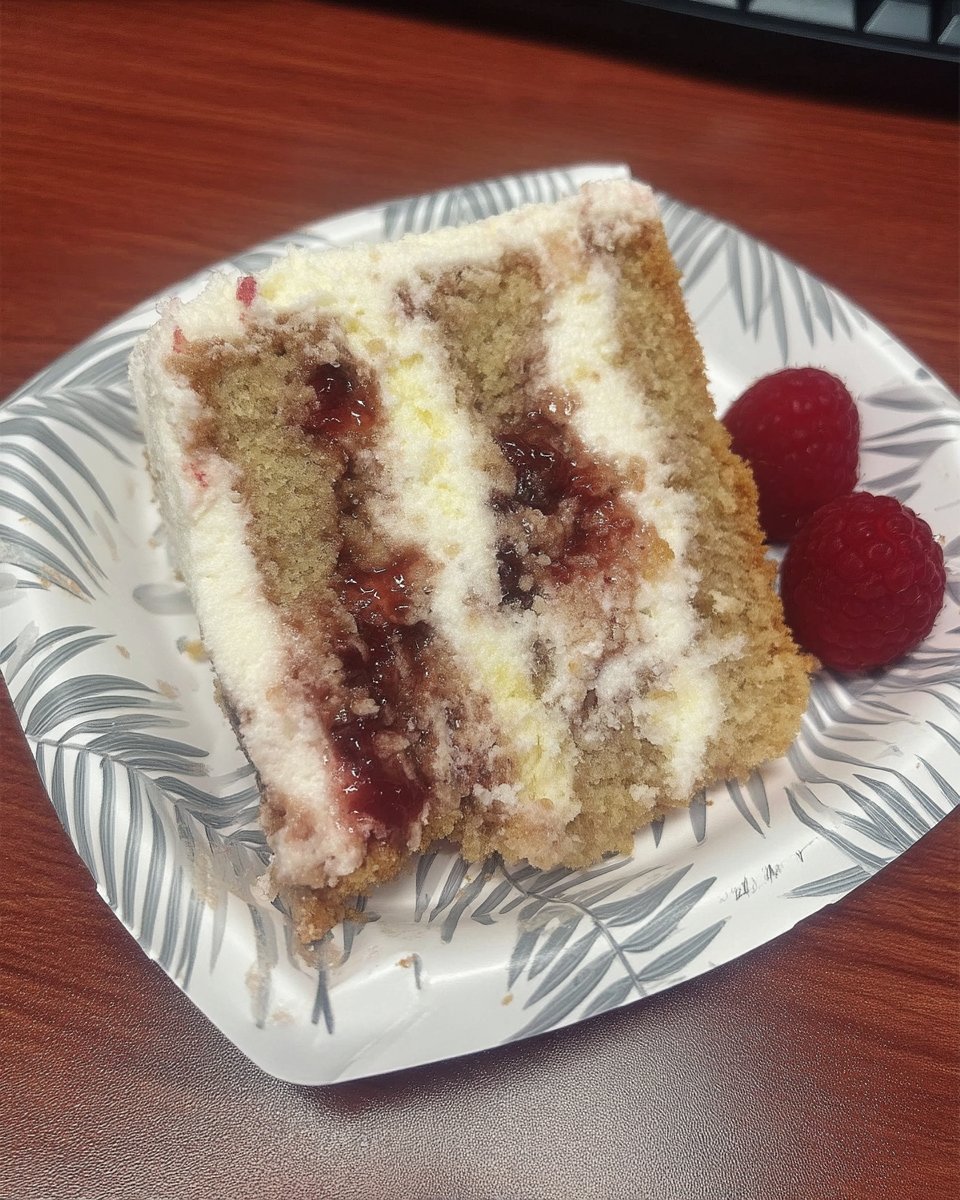
Unlike standard high-ratio cakes, this minimal cake relies on the specific interaction between the acidity of sour cream and the gluten strands in the flour. The acid relaxes the gluten network, resulting in a significantly more tender crumb than milk alone could provide. Additionally, the specific ratio of butter to sugar captures air bubbles efficiently during the creaming phase, providing mechanical leavening that supports the chemical lift from the baking powder. This guarantees a flat, level top—essential for that sharp, minimal look without excessive trimming.
Print
Minimal Cake
- Total Time: 45 mins
- Yield: 6 servings
- Diet: Vegetarian
Description
This scientifically-engineered small-batch cake features a tender, moisture-rich crumb perfect for minimalist decorating. By balancing sour cream acidity with precise aeration techniques, it provides a stable and level canvas for professional-quality results in a compact format.
Ingredients
- 79g cake flour
- 100g granulated sugar
- 57g unsalted butter, room temperature
- 1 large egg, room temperature
- 60g full-fat sour cream, room temperature
- 1/2 tsp baking powder
- 1/4 tsp salt
- 1 tsp vanilla extract
- 2 tbsp milk
- 113g unsalted butter for frosting
- 240g powdered sugar
- 15ml milk or cream
Instructions
- Preheat oven to 350ºF (175ºC) and prepare baking pans with parchment circles.
- Cream the room-temperature butter and sugar for 3 minutes until pale and fluffy.
- Mix in the egg, vanilla, and sour cream on high speed for one minute until emulsified.
- Add the cake flour, baking powder, and salt, then slowly pour in the milk while mixing on low for 30 seconds.
- Distribute batter into pans and bake for 18-22 minutes for 4-inch pans or 24-28 minutes for a 6-inch pan.
- Cool completely before frosting with whipped buttercream made by aerating butter and sugar.
Notes
To ensure the most level cake tops, avoid over-mixing once the flour is added and always use room-temperature ingredients to maintain a stable emulsion. For a professional finish, chill the crumb-coated cake before applying the final layer of frosting to achieve sharp, clean edges.
- Prep Time: 20 mins
- Cook Time: 25 mins
- Category: Dessert
- Method: Baking
- Cuisine: American
Precision Ingredients

For repeatable results, we recommend weighing ingredients in grams. The chemistry relies on these specific variables:
- Cake Flour (Low Protein): You need flour with a protein content around 7-9%. This inhibits tough gluten formation. If you don’t have it, use the DIY method in the notes (adding cornstarch to All-Purpose flour physically interrupts gluten formation).
- Sour Cream (Full Fat): This is the hydration variable. It adds fat for richness and acid to tenderize the crumb. Room temperature is critical to prevent the butter from seizing.
- Unsalted Butter: Must be at 65°F–68°F (18°C–20°C). If it is too warm, it won’t hold air pockets; too cold, and it won’t emulsify. This forms the base of your structure.
- Egg: Provides structure and emulsifiers (lecithin). A cold egg will break your emulsion, leading to a dense cake.
- Extracts: Pure vanilla extract provides the flavor baseline. We use a full teaspoon to combat the blandness sometimes found in white cakes.
The Method
Step 1: Thermal Preparation
Preheat your oven to 350ºF (175ºC). Accuracy matters, so verify with an oven thermometer. Prepare three 4-inch pans or one 6-inch pan by spraying the sides and placing a parchment circle in the bottom. This prevents sticking without adding a thick flour crust.
Step 2: The Aeration Phase
In a stand mixer, cream the room-temperature butter and sugar on medium-high speed for exactly 3 minutes. You are looking for a physical change: the mixture should turn pale yellow and fluffy. This process forces air into the fat, creating the nuclei for the bubbles that will expand in the oven.
Step 3: Emulsification
Turn the mixer to low. Add the egg and mix until just combined. Scrape the bowl. Add the vanilla and sour cream, then beat on high for one full minute. *Note:* The mixture might look curdled (broken emulsion) initially. This is normal due to the water content in the sour cream interacting with the fat. It will smooth out when the flour is added.
Step 4: Dry and Wet Integration
Turn the mixer to low. Add the dry ingredients (flour, baking powder, salt) all at once. Mix until barely combined. Slowly pour in the milk while the mixer runs on low. Stop mixing after 30 seconds. Over-mixing here activates gluten, which we want to avoid. Finish mixing by hand with a whisk to break up any remaining flour pockets.
Step 5: Baking and Cooling
Distribute batter evenly. Bake 4-inch pans for 18-22 minutes, or a 6-inch pan for 24-28 minutes. The cake is done when the internal structure springs back when touched, or an internal temperature registers roughly 200°F–205°F. Cool completely on a rack before assembly.
Step 6: The Buttercream Emulsion
Whip the butter for the frosting for 5 minutes until nearly white. This incorporates air and neutralizes the yellow hue. Add powdered sugar, liquid, and flavorings. Mix on low to combine, then whip to desired consistency. Removing air bubbles by paddling on low speed at the end creates a smoother finish for that minimal aesthetic.
Lauren’s Lab Notes

- Weigh Your Flour: We tested this recipe using the “scoop and sweep” method versus weighing. Scooping can pack up to 20% more flour into the cup, drying out the cake. Always use a digital scale for the 79g required.
- The Curdling Fix: If your batter looks like cottage cheese after adding the sour cream, do not panic. The flour will act as a hydrocolloid and bind the water, smoothing the emulsion back out.
- Temperature Checks: If your ingredients are cold, the batter will not aerate properly. If you are short on time, submerge the whole egg in warm water for 5 minutes and microwave the milk for 10 seconds.
- Mastering Basics: If you find this technique reliable, you should review our guide on foundational recipes to understand how these ratios apply to larger cakes.
Tested Iterations
- Chocolate Minimal Cake: Replace 2 Tbsp (15g) of the cake flour with high-quality Dutch-process cocoa powder. You may need to add an extra teaspoon of milk to account for the cocoa’s absorption.
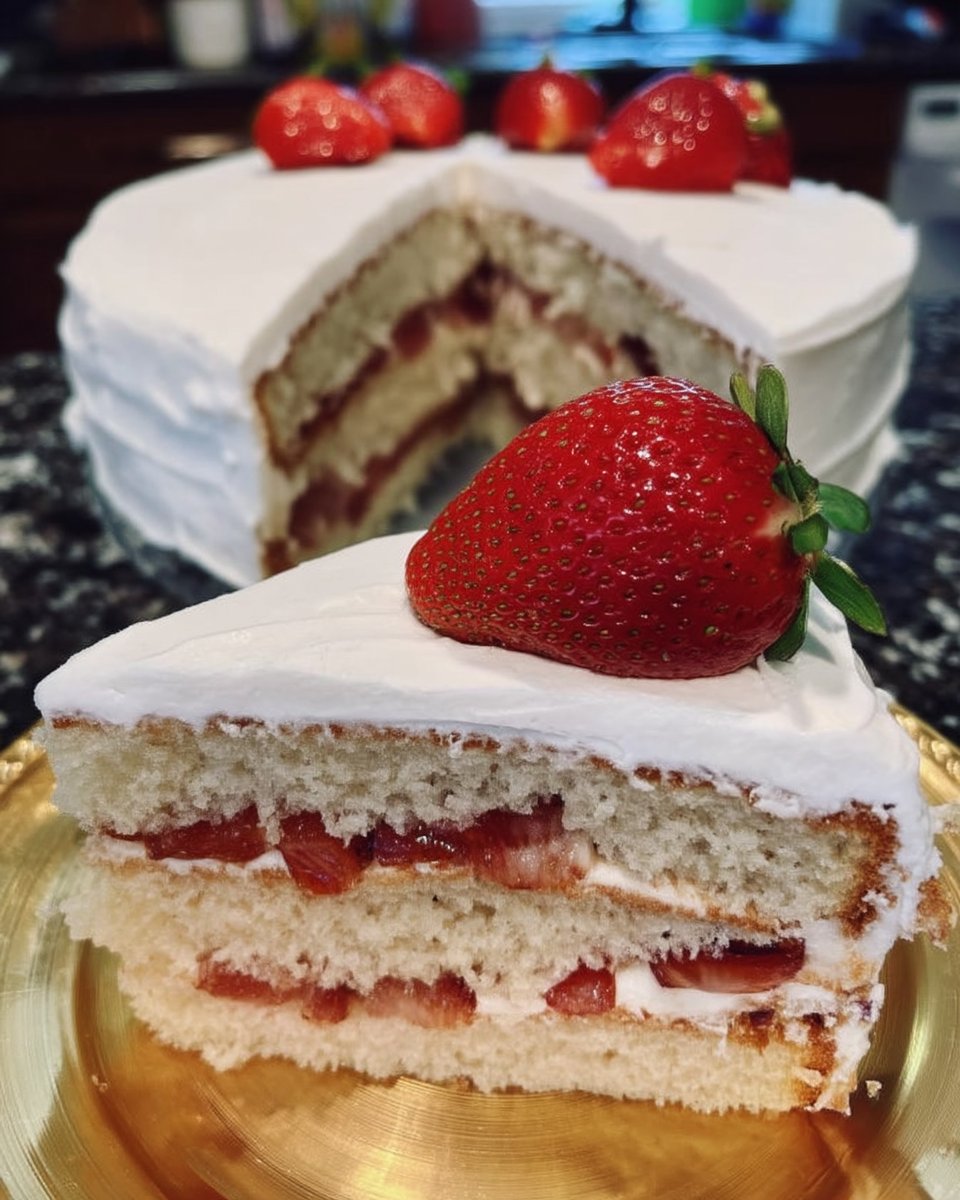
- Berry Infusion: Fold in 1/4 cup of chopped strawberries or raspberries. Toss them in a teaspoon of flour first to prevent sinking.
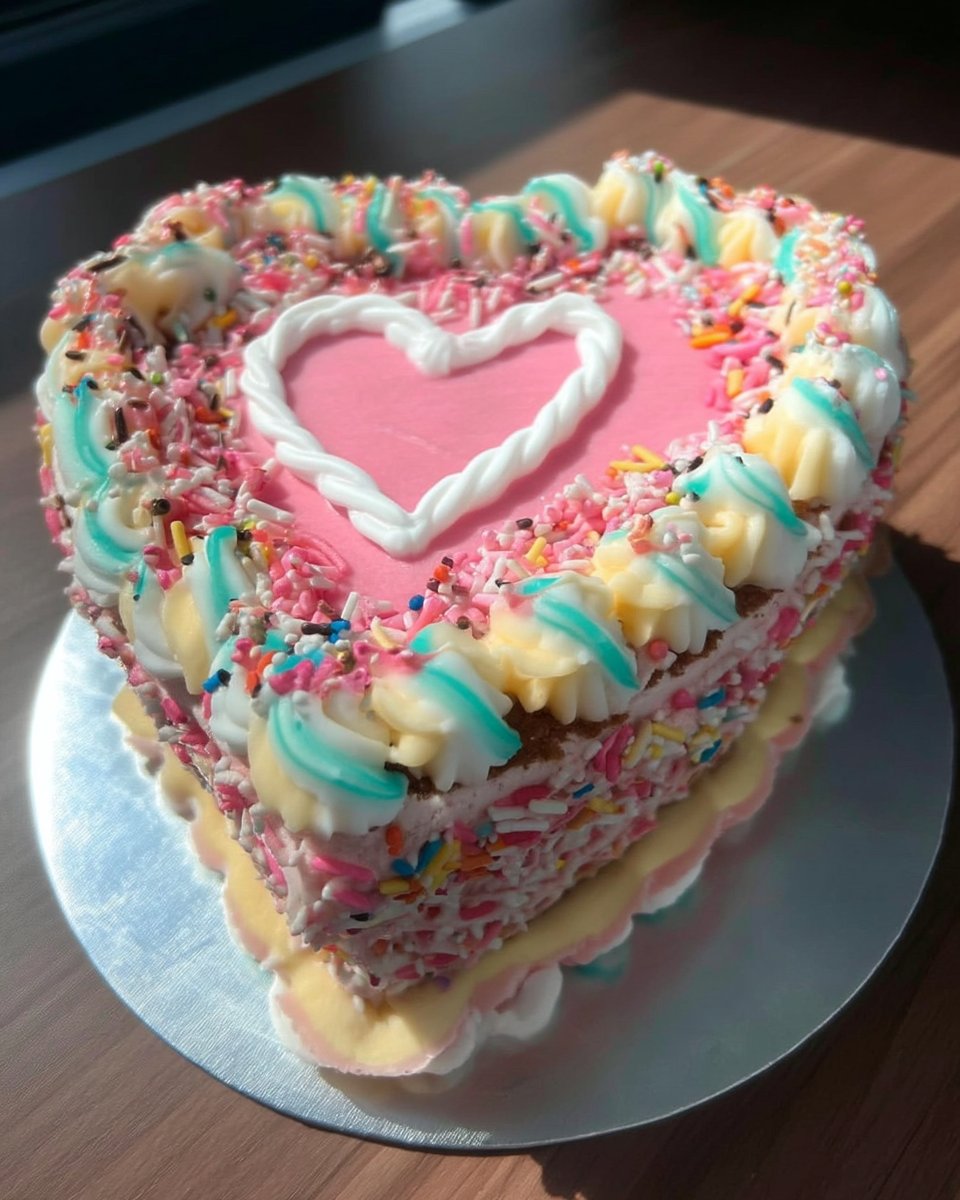
- Shape Modification: This batter works well in novelty shapes. We tested this in a heart cake pan, though you will need to reduce bake time by 3-5 minutes due to the shallower depth.
Presentation Physics

For the true minimal aesthetic, temperature control during decorating is vital. Chill your crumb-coated cake for at least 30 minutes before applying the final coat. This solidifies the butterfat, providing a firm foundation that allows you to scrape the final layer perfectly smooth without dragging crumbs.
Serve this cake at room temperature (around 70°F). If served cold from the fridge, the butter in the cake and frosting will be waxy, masking the flavor profile. For plating, consider the contemporary small format style—using oversized plates to emphasize the petite, deliberate nature of the cake.
The Final Analysis
Achieving the perfect minimal cake is an exercise in restraint and technical precision. By controlling the emulsion of fats and liquids, we create a dessert that is visually quiet but texturally loud. It proves that you do not need complex architecture to make a statement; you just need good chemistry.
While this follows a modern trend, the technique is timeless. Compare this crumb to our vintage cake recipes to see how mixing methods have evolved. For the original inspiration behind this small-batch formulation, we credit Sugar and Sparrow for their work on scaling basics.
Share your results with us on social media:
