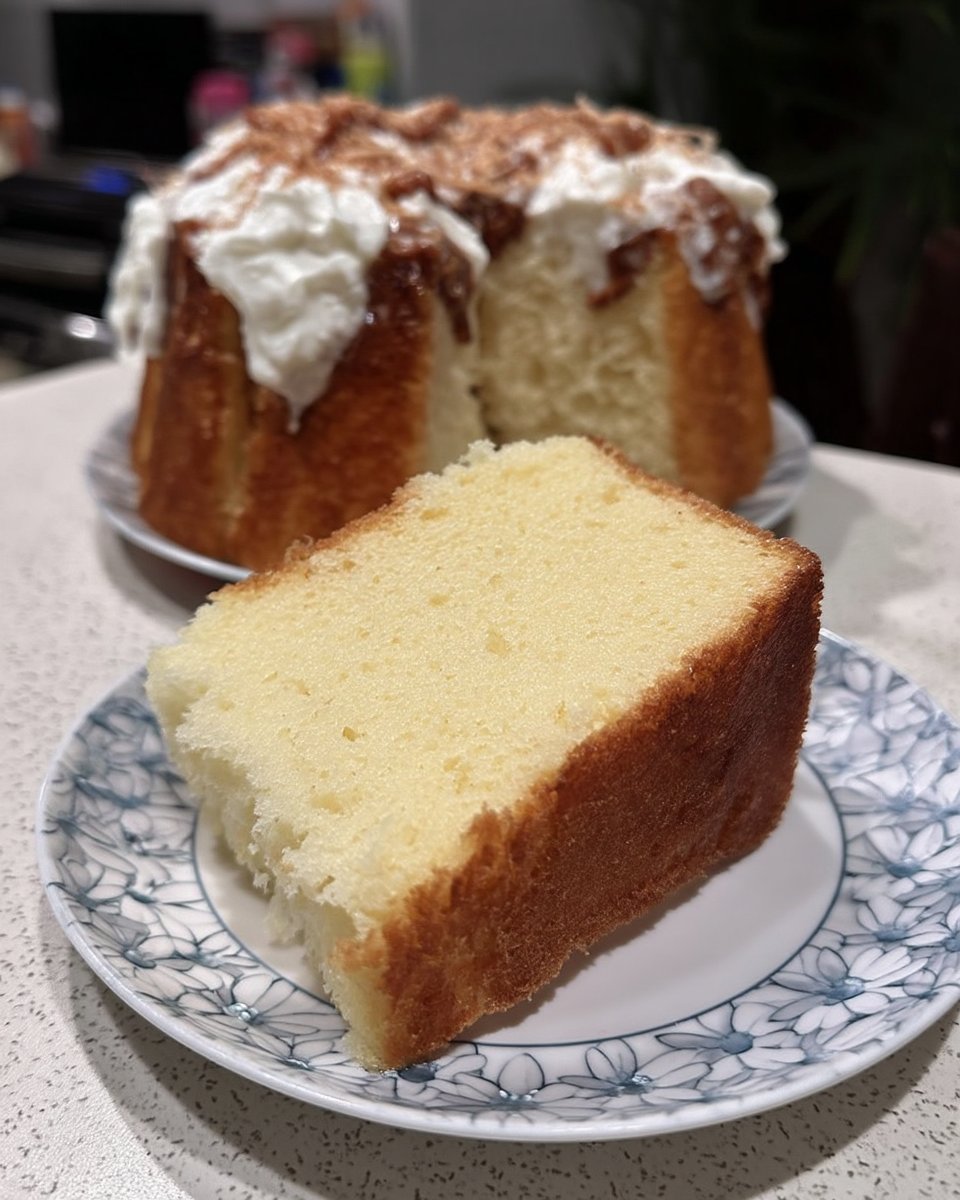
In the Cake Peak test kitchen, we tested this white cake formula fourteen times to solve a common baker’s dilemma: achieving a crumb that is tender enough to melt in your mouth but sturdy enough to stack. By combining all-purpose flour for protein structure and cake flour for softness, we created a hybrid matrix that supports the weight of frosting without becoming dense. We discovered that a full five minutes of creaming is the non-negotiable variable for creating the necessary aeration for this specific batter.

This Mother’s Day cake features a velvet-crumbed vanilla base paired with a duo of chocolate and vanilla buttercreams for high contrast. It is a scientifically calibrated crowd-pleaser designed for stability and flavor clarity, allowing you to frost and pipe with confidence. The result is a professional-quality layer cake that relies on precise chemistry rather than luck.
The Science of Success
This recipe succeeds because it controls the variables of hydration and protein development. Most home bakers struggle with white cakes that turn out dry or tough, but this formulation uses a precise ratio of liquid (milk and egg whites) to fat (butter) to maintain a moist crumb.
- Hybrid Flour Blend: Using both all-purpose and cake flours balances the gluten network. The lower protein content of the cake flour tenderizes, while the all-purpose flour provides the scaffolding needed for a layer cake.
- Extended Aeration: The five-minute creaming process mechanically forces air into the fat-sugar network, which expands during baking for maximum lift.
- Dual Buttercreams: We include data for both chocolate and vanilla buttercreams, allowing you to customize the flavor profile without altering the structural chemistry of the frosting.

Mother’s Day Cake
- Total Time: 50 mins
- Yield: 15 servings
- Diet: Vegetarian
Description
A scientifically perfected white cake that balances tenderness and structural integrity, specifically designed for holiday celebrations. This recipe uses a hybrid flour blend and a precise creaming method to achieve a professional-grade velvet crumb topped with dual-flavored buttercreams.
Ingredients
- 1 cup (226g) unsalted butter, room temperature
- 2 cups (400g) granulated sugar
- 1 cup (210g) egg whites
- 1 cup (245g) whole milk
- 2 teaspoons vanilla extract
- 1 1/2 cups all-purpose flour
- 1 1/2 cups cake flour
- 1 tablespoon baking powder
- 1/2 teaspoon salt
- 1/2 cup (113g) softened butter (for chocolate buttercream)
- 1/2 cup (55g) cocoa powder
- 3 cups (330g) confectioners’ sugar
- 1/3 cup (43g) milk
- 2 teaspoons vanilla extract
- 1 cup (226g) softened butter (for vanilla buttercream)
- 7–8 cups (1000g) confectioners’ sugar
- 1/4 cup (32g) milk
- Vanilla extract and salt to taste
Instructions
- Preheat your oven to 350°F (175°C) and prepare a 9×13 baking pan with grease and flour or professional pan release.
- In a stand mixer with a paddle attachment, cream 1 cup butter and granulated sugar on high speed for exactly 5 minutes until pale and fluffy.
- In a medium bowl, whisk together the egg whites, 1 cup milk, and 2 teaspoons vanilla extract.
- In a separate bowl, sift together the all-purpose flour, cake flour, baking powder, and salt to aerate.
- Set the mixer to low speed and alternate adding the dry flour mixture and the liquid mixture to the creamed butter, beginning and ending with the dry ingredients.
- Pour the batter into the prepared pan and bake for 25–30 minutes until the internal temperature reaches 200°F–205°F.
- Allow the cake to cool completely on a wire rack before attempting to frost.
- To make the chocolate buttercream, cream 1/2 cup butter, then beat in the sifted cocoa, 3 cups sugar, 1/3 cup milk, and vanilla until spreadable.
- To make the vanilla buttercream, whip 1 cup butter with vanilla and salt, then gradually add 7-8 cups sugar and 1/4 cup milk for 3 minutes until fluffy.
Notes
To ensure the most accurate results, use a kitchen scale to measure your ingredients in grams rather than volume. If your batter appears curdled during the mixing process, your liquid ingredients were likely too cold; ensure the milk and egg whites reach room temperature before beginning to maintain a stable emulsion.
- Prep Time: 20 mins
- Cook Time: 30 mins
- Category: Dessert
- Method: Baking
- Cuisine: American
Material Science: What You Need

Precision in ingredient selection is critical for consistent results. We recommend weighing ingredients in grams for the highest accuracy.
- Unsalted Butter (Room Temperature): Your butter should be pliable but cool, approximately 65°F–68°F. If it is too warm/oily, it will not hold air bubbles; if too cold, it won’t emulsify. We rely on this fat for flavor and aeration.
- Granulated Sugar: Sugar does more than sweeten; it is a tenderizer that competes with gluten for water. The sharp crystals also assist in the mechanical leavening during the creaming phase.
- Egg Whites: We use pure egg whites (no yolks) to maintain the pristine white color and distinct texture. The protein in the whites provides structure without the fat and emulsifiers found in yolks.
- Whole Milk: The fat content in whole milk is essential for a tender crumb. We tested skim and 2%, but whole milk consistently produced a superior mouthfeel.
- Flour Blend (All-Purpose & Cake): This 50/50 split (by volume) is the secret weapon. It targets a protein content of roughly 9%, which mimics pastry flour but with better availability.
- Baking Powder: The chemical leavener that reacts with the heat of the oven. Check your expiration date; inactive baking powder is a leading cause of flat cakes.
- Vanilla Extract: Use a high-quality extract for the base flavor note. In the chocolate buttercream, it rounds out the sharpness of the cocoa.
- Confectioners’ Sugar: Essential for the buttercream. Ensure it is lump-free (sifting is recommended) to avoid clogging piping tips.
Method: Step-by-Step Protocol
Step 1: Preparation and Temperature Control
Preheat your oven to 350°F (175°C). Verify this with an oven thermometer, as internal dials can drift by 25-50 degrees. Prepare a 9×13 baking pan with professional pan release or a grease-and-flour coating to guarantee a clean release.
Step 2: Mechanical Leavening (Creaming)
In the bowl of a stand mixer fitted with the paddle attachment, cream the 1 cup (226g) of butter and 2 cups (400g) of granulated sugar. Beat on high speed for exactly 5 minutes. The mixture should transition from yellow and gritty to pale white and fluffy. This step creates the air pocket matrix that the chemical leaveners will expand later.
Step 3: Liquid Pre-Mixture
While the butter creams, combine the 1 cup (210g) of egg whites, 1 cup (245g) of whole milk, and 2 teaspoons of vanilla extract in a medium bowl. Whisk slightly to break up the egg whites. Setting this aside allows the proteins to relax and the liquids to equilibrate in temperature.
Step 4: Dry Ingredient Integration
In a separate bowl, sift together the all-purpose flour, cake flour, baking powder, and salt. Sifting is crucial here not just for mixing, but to aerate the flour and remove any compacted lumps that could cause density in the final crumb.
Step 5: The Emulsion Technique
Reduce the mixer speed to low. Add about one-third of the dry flour mixture to the creamed butter. Once barely incorporated, add half of the liquid egg/milk mixture. Repeat this pattern: dry, wet, dry, wet, ending with the dry ingredients. This “dry-wet-dry” method prevents the batter from breaking (curdling) by maintaining a stable emulsion of fat and liquid.
Step 6: Baking and Cooling
Pour the batter immediately into the prepared pan. Bake for 25–30 minutes. The cake is done when the internal temperature reaches roughly 200°F–205°F, or a toothpick inserted in the center comes out with only a few moist crumbs attached. Allow the cake to cool completely in the pan on a wire rack before frosting. Frosting a warm cake will melt the butter structure of your icing.
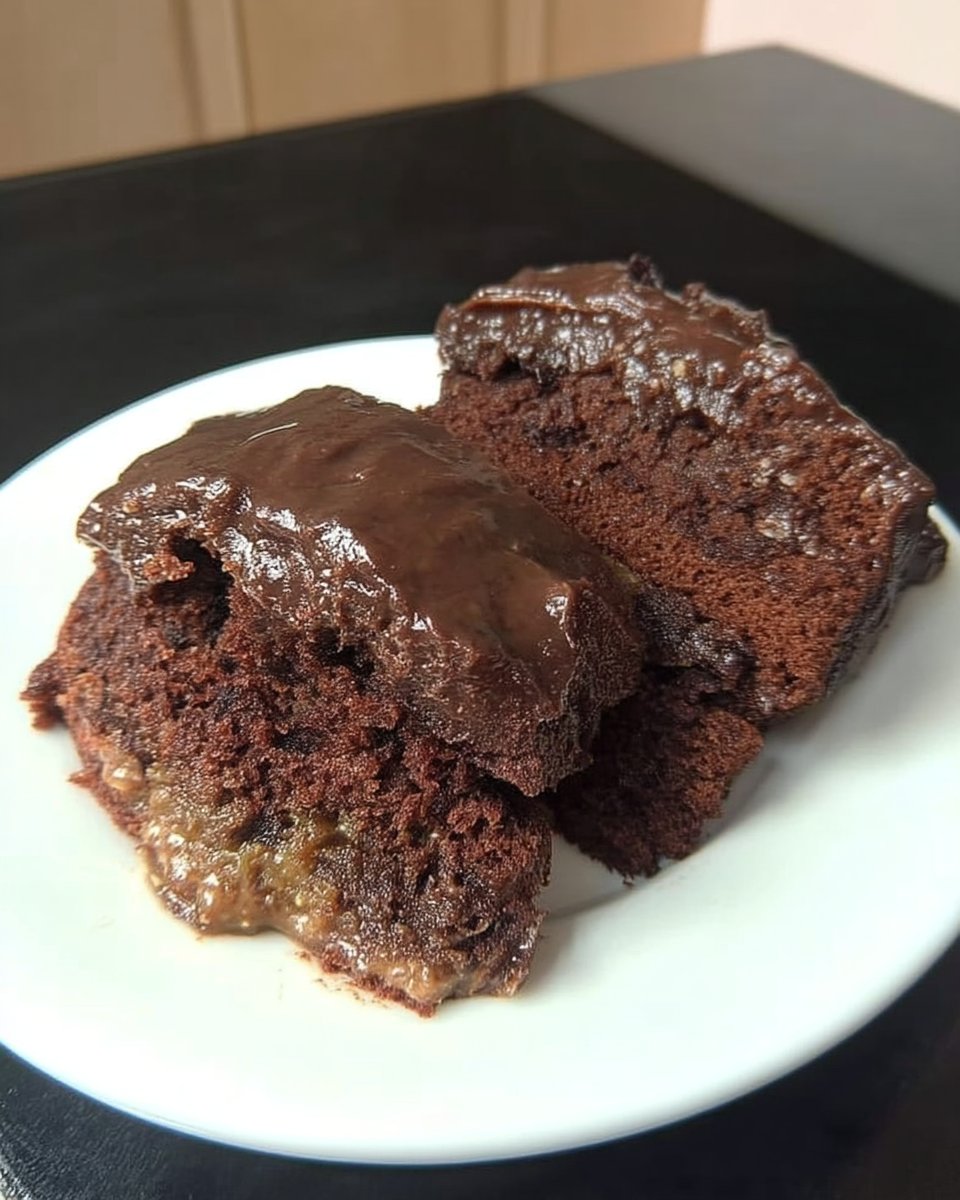
Step 7: Chocolate Buttercream Synthesis
Cream 1/2 cup (113g) of softened butter until smooth. Sift the 1/2 cup (55g) of cocoa powder and 3 cups (330g) of confectioners’ sugar together to prevent lumps. Add the dry mix to the butter, alternating with the 1/3 cup (43g) of milk and 2 teaspoons of vanilla. Beat until spreadable. Adjust consistency with milk by the teaspoon if needed.
Step 8: Vanilla Buttercream Synthesis
Place 1 cup (226g) of softened butter, vanilla, and a dash of salt into the mixer. Add the 7-8 cups (1000g) of confectioners’ sugar one cup at a time, alternating with the 1/4 cup (32g) of milk. Whip on medium-high for 3 minutes to dissolve the sugar and incorporate air for a fluffy texture.
Lauren’s Lab Notes for Success

Through rigorous testing in the Cake Peak lab, we identified the most common failure points for this specific recipe.
- The Temperature Variable: If your butter is too warm (over 70°F), the cake will be greasy and dense. If your milk and egg whites are cold from the fridge, they will shock the butter, causing the batter to curdle. This results in a coarse, uneven crumb. Room temperature (approx 68°F) for all ingredients is the gold standard.
- Scraping the Bowl: During the creaming and mixing stages, a dense film of butter and sugar often adheres to the bottom of the bowl. Stop the mixer twice during the process to scrape it down. Unmixed butter pockets create holes in the baked cake.
- Piping Consistency: If you plan to decorate with vintage cake style piping, your buttercream needs to be slightly stiffer. Reduce the milk in the vanilla buttercream by 1 tablespoon to maintain sharper definition in your ruffles and rosettes.
- Flour Measurement: We always recommend weighing flour. If you must use cups, use the “spoon and level” method. Dipping the cup directly into the bag compacts the flour, adding up to 20% more mass, which guarantees a dry, tough cake.
Tested Variations & Modifications
We love this base recipe because its chemical stability accepts flavor modifications well. Here are a few lab-tested tweaks.
- Berry Infusion: To add a fruity dimension without wrecking the moisture balance, apply a stabilized fruit filling between layers rather than mixing fruit into the batter. This mimics the profile of our raspberry white chocolate cake while keeping the white cake structure intact.
- Almond Variation: Swap half of the vanilla extract in the cake batter for almond extract. The nutty aroma pairs exceptionally well with the white crumb profile.
- Swiss Meringue Option: If you find American buttercream too sweet, this cake is sturdy enough to support a Swiss Meringue Buttercream, which relies on cooked egg whites and butter for a silkier, less sugary finish.
- Chocolate Chip: Toss 1 cup of mini chocolate chips in 1 tablespoon of flour (to prevent sinking) and fold them into the batter just before pouring it into the pan.
Presentation & Stability

This cake is best served at room temperature. Butter-based cakes solidify in the refrigerator, meaning the texture will feel like hard butter if served cold. Allow the cake to sit out for at least 2 hours before serving if it has been chilled.
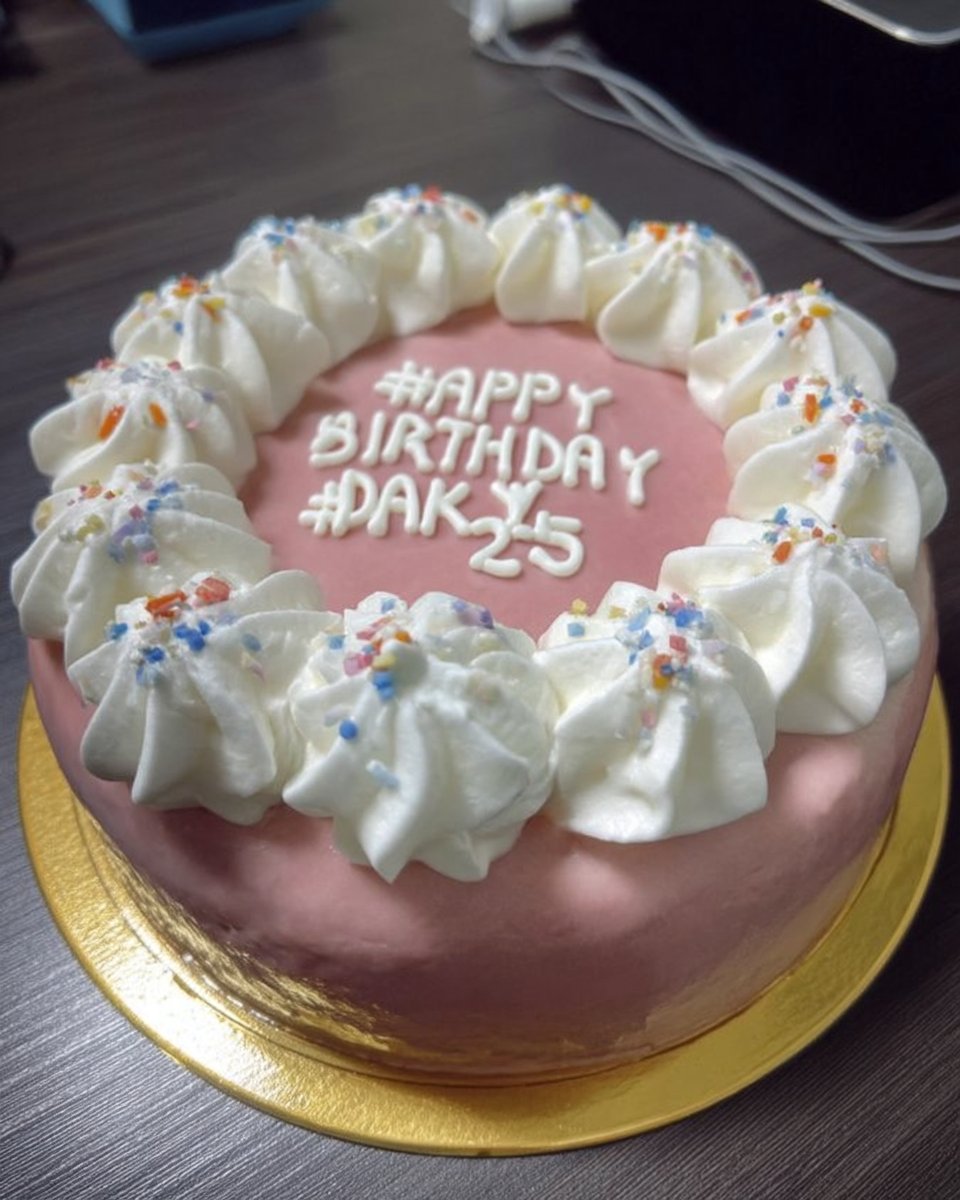
For a stunning presentation, consider baking this batter in varying round pans to create tiers, or cut the sheet cake into shapes. We have seen beautiful results using this base for a heart cake, which adds a thematic visual element perfect for Mother’s Day. Use a hot, clean knife to slice the cake; dipping your knife in hot water and wiping it dry between cuts melts the buttercream slightly for a razor-sharp edge.
Final Analysis
Mastering this Mother’s Day cake comes down to respecting the chemistry of the emulsion and the physics of aeration. When you follow the data—creaming for the full five minutes and alternating your wet and dry ingredients—you achieve a texture that is chemically destined to succeed. It is a perfect canvas for your creativity, whether you stick to the classic chocolate-vanilla pairing or experiment with fruit elements like those in our strawberry tres leches cake.
For those looking for additional inspiration or different stylistic approaches to holiday baking, resources like The Squeaky Mixer also offer interesting perspectives on celebratory treats. We encourage you to log your results, note your oven’s quirks, and continue refining your technique.
