We cut into dozens of test cakes to determine the structural integrity required for a hollow center. If the crumb is too soft, the weight of the top layers collapses the cavity; too dense, and the slice eats like a brick. This recipe finds the equilibrium: a sturdy crumb that remains tender, specifically engineered to hold a payload of candy without buckling under pressure.

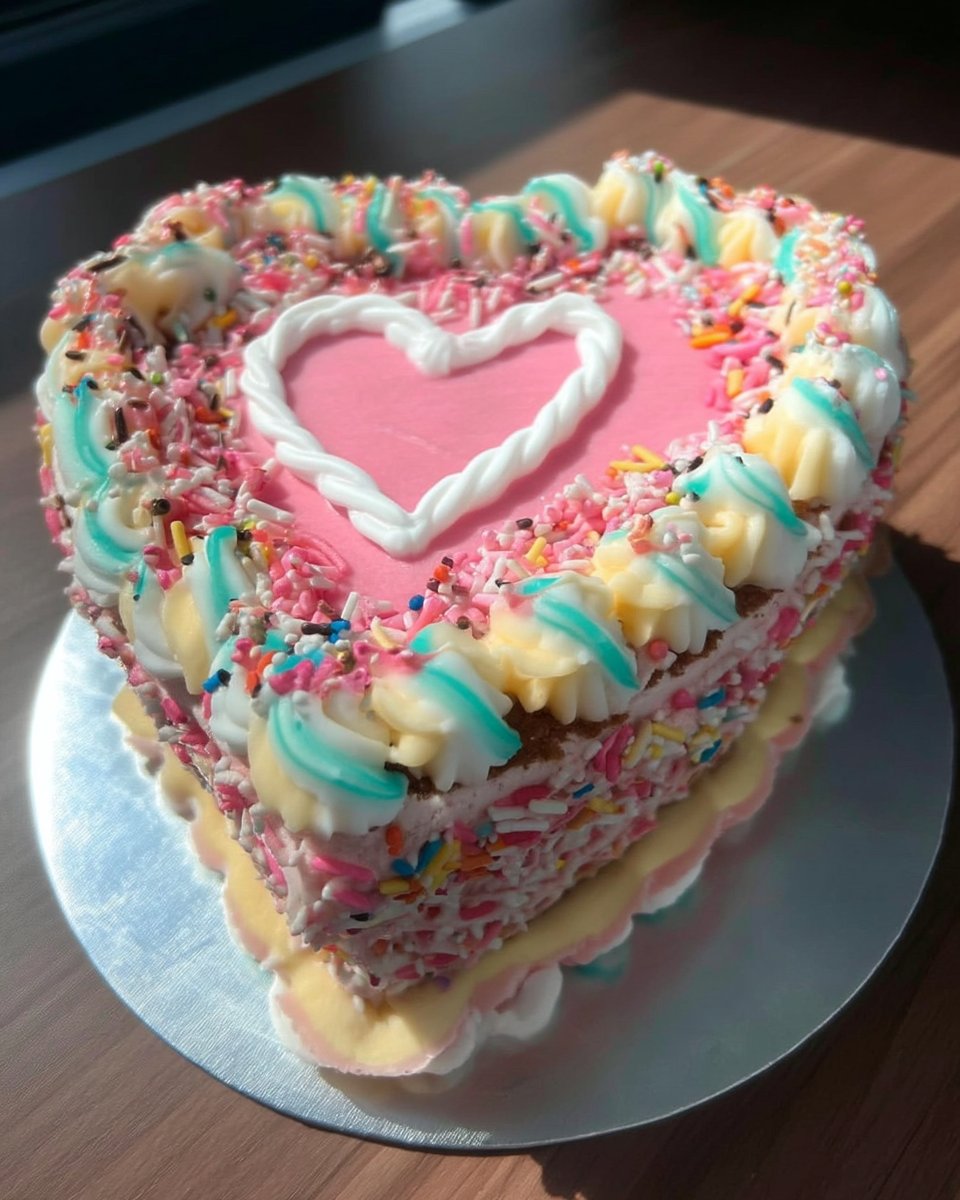
This four-layer vanilla buttermilk cake hides a secret center filled with sprinkles and treats. We use a reverse-creaming hybrid method to ensure a velvety texture that pairs perfectly with tangy cream cheese frosting. It is precision engineering meeting pure fun, resulting in a showstopper that tastes as good as it looks.
The Science of Success
This recipe works because we prioritize stability without sacrificing moisture. The buttermilk reacts with the baking soda (sodium bicarbonate) to produce carbon dioxide, creating lift and tenderizing the gluten strands. Simultaneously, the fat content in the cream cheese frosting acts as a structural adhesive, essential for holding the multi-layered architecture together.
Furthermore, the use of gel food coloring is critical. Unlike liquid drops, gel contains minimal water, meaning it won’t throw off the moisture balance of your batter or cause the proteins to seize. The result is vibrant, distinct layers that bake evenly and support the candy core perfectly.
Print
Pinata Cake
- Total Time: 1 hour 10 mins
- Yield: 16 servings
- Diet: Vegetarian
Description
This impressive four-layer vanilla buttermilk cake features a secret hollow core filled with a cascade of colorful candies. Engineered for structural integrity and a velvety crumb, it is the ultimate showstopping dessert for birthdays and celebrations.
Ingredients
- 3 1/2 cups sifted all-purpose flour
- 1 teaspoon salt
- 1 tablespoon baking powder
- 1/2 teaspoon baking soda
- 1 cup unsalted butter, room temperature
- 2 cups granulated sugar
- 4 large eggs, room temperature
- 2 teaspoons vanilla extract
- 1 1/4 cups buttermilk
- Gel food coloring (green, blue, and purple)
- 1 1/2 cups hard-shelled candies or sprinkles
- 16 ounces full-fat block cream cheese, softened
- 1/2 cup unsalted butter, softened (for frosting)
- 4 cups confectioners’ sugar
- 2 tablespoons heavy cream
Instructions
- Preheat oven to 350°F (175°C) and grease four 9-inch cake pans, tapping out excess flour.
- In a medium bowl, whisk together the sifted flour, salt, baking powder, and baking soda.
- Using a stand mixer with a paddle attachment, beat the room-temperature butter for 1 minute, then add sugar and cream on high speed for 5 minutes.
- Reduce speed to medium-high and add eggs one at a time, followed by the vanilla extract, ensuring each is fully incorporated.
- On low speed, add the dry ingredients in three parts alternating with the buttermilk, starting and ending with the flour.
- Divide the batter into four bowls, tint each with gel food coloring, and bake for 25 minutes or until a toothpick comes out clean.
- Cool the cakes in the pans for 10 minutes before transferring to wire racks to cool completely.
- Prepare the frosting by beating the cream cheese and butter for 2 minutes, then adding confectioners’ sugar, cream, and vanilla on high for 3 minutes.
- Use a 4-inch cutter to remove the centers of two cake layers; stack one solid layer, the two rings (frosting between), fill the cavity with candy, and top with the final solid layer.
- Frost the exterior of the cake and pipe decorative borders to finish.
Notes
For the best structural results, chill the cake layers for 30 minutes before cutting the center holes to minimize crumbling. To prevent candy colors from bleeding into the cake, you can lightly coat the interior of the hollow core with a thin layer of frosting or melted white chocolate before filling. Always serve this cake at room temperature to ensure the cream cheese frosting has a smooth, creamy mouthfeel.
- Prep Time: 45 mins
- Cook Time: 25 mins
- Category: Dessert
- Method: Baking
- Cuisine: American
The Variables

To achieve consistent results, every variable must be controlled. Here is the science behind the key components:
- Sifted All-Purpose Flour: We rely on all-purpose flour for the framework. Sifting before measuring is non-negotiable; it aerates the flour, preventing a dense, heavy cake that could crush the hollow center.
- Butter & Eggs (Room Temperature): Your butter and eggs must be at 68–70°F. This allows them to emulsify properly with the sugar, trapping air bubbles that expand during baking for maximum lift.
- Buttermilk: The acidity in buttermilk breaks down long gluten strands, resulting in a softer crumb. It also activates the baking soda.
- Gel Food Coloring: We specify gel over liquid to maintain the batter’s viscosity. Green, blue, and purple create the classic look, but precision is key—add drop by drop.
- The “Payload” (Candies): We recommend dry, hard-shelled candies like M&Ms or sprinkles. Avoid anything with moisture (like cut fruit) or sticky caramels, as they can degrade the cake’s interior texture over time.
- Cream Cheese: Use full-fat block cream cheese, softened. This adds tang to cut the sugar’s sweetness and provides a denser frosting structure than pure buttercream.
The Method
Step 1: Prep and Temperature Control
Preheat your oven to 350°F (175°C). Precision here matters; an oven thermometer is recommended to verify accuracy. Grease and lightly flour four 9-inch cake pans. Tap out excess flour to prevent white streaks on your colorful layers.
Step 2: Dry Ingredient Homogenization
In a medium bowl, whisk together the sifted flour, salt, baking powder, and baking soda. Ensure the leavening agents are evenly distributed so the cake rises uniformly without “hot spots” of chemical activity.
Step 3: Aeration
In a stand mixer fitted with the paddle attachment, beat the room-temperature butter for exactly 1 minute until creamy. Add the sugar and beat on high speed for 5 minutes. This long creaming process relies on the sugar crystals cutting into the butter to create air pockets.
Step 4: Emulsification
Reduce the mixer speed to medium-high. Add the eggs one at a time, allowing each to fully incorporate before adding the next. This prevents the batter from curdling (breaking the emulsion). Mix in the vanilla extract.
Step 5: The Alternating Mix
Turn the mixer to low. Add the flour mixture in three additions, alternating with the buttermilk. Start and end with the dry ingredients. Mix only until the batter is smooth and slightly thick. Do not overmix; engaging the mixer too long at this stage develops tough gluten.
Step 6: Coloring and Baking
Divide the batter evenly into four bowls (use a digital scale for accuracy). Tint each with gel coloring. Pour into prepared pans. Bake for 25 minutes, or until a toothpick inserted in the center comes out clean. Cool in pans for 10 minutes, then transfer to wire racks to cool completely. Warm cake lacks the structural rigidity needed for cutting.
Step 7: Frosting Formulation
Beat the butter and cream cheese with a clean paddle attachment for 2 minutes. Add confectioners’ sugar, heavy cream, and vanilla. Beat on low for 60 seconds to incorporate, then increase to high for 3 minutes until fluffy. The frosting should be stiff enough to hold its shape.
Step 8: Structural Assembly
Use a 4-inch round cookie cutter to remove the center from two of the cake layers. Place an intact layer on your stand and spread with frosting. Stack the two rings on top, frosting between each to create a seal. Fill the central cavity with your candies. Top with the final intact layer. Frost the exterior and pipe decorations.
Lauren’s Lab Notes

- The Cooling Period: Never attempt to cut the center holes while the cake is warm. The starch molecules need time to retrograde (set) as they cool. Cutting warm cake leads to crumbling and structural failure.
- The Dam Technique: When stacking the ring layers, apply the frosting specifically to create a “dam.” This prevents the layers from sliding. If you are interested in advanced stacking architecture, review our celebration-design-studio guide for detailed diagrams.
- Moisture Barrier: If using candies that might bleed color (like non-coated sprinkles), brush the inside of the hole with a thin layer of white chocolate. This creates an impermeable lipid barrier between the moist cake and the sugar candy.
- Clean Cuts: If you lack a cutter, trace a circle with parchment paper and use a sharp paring knife. Vertical cuts are crucial for stability.
Tested Variations
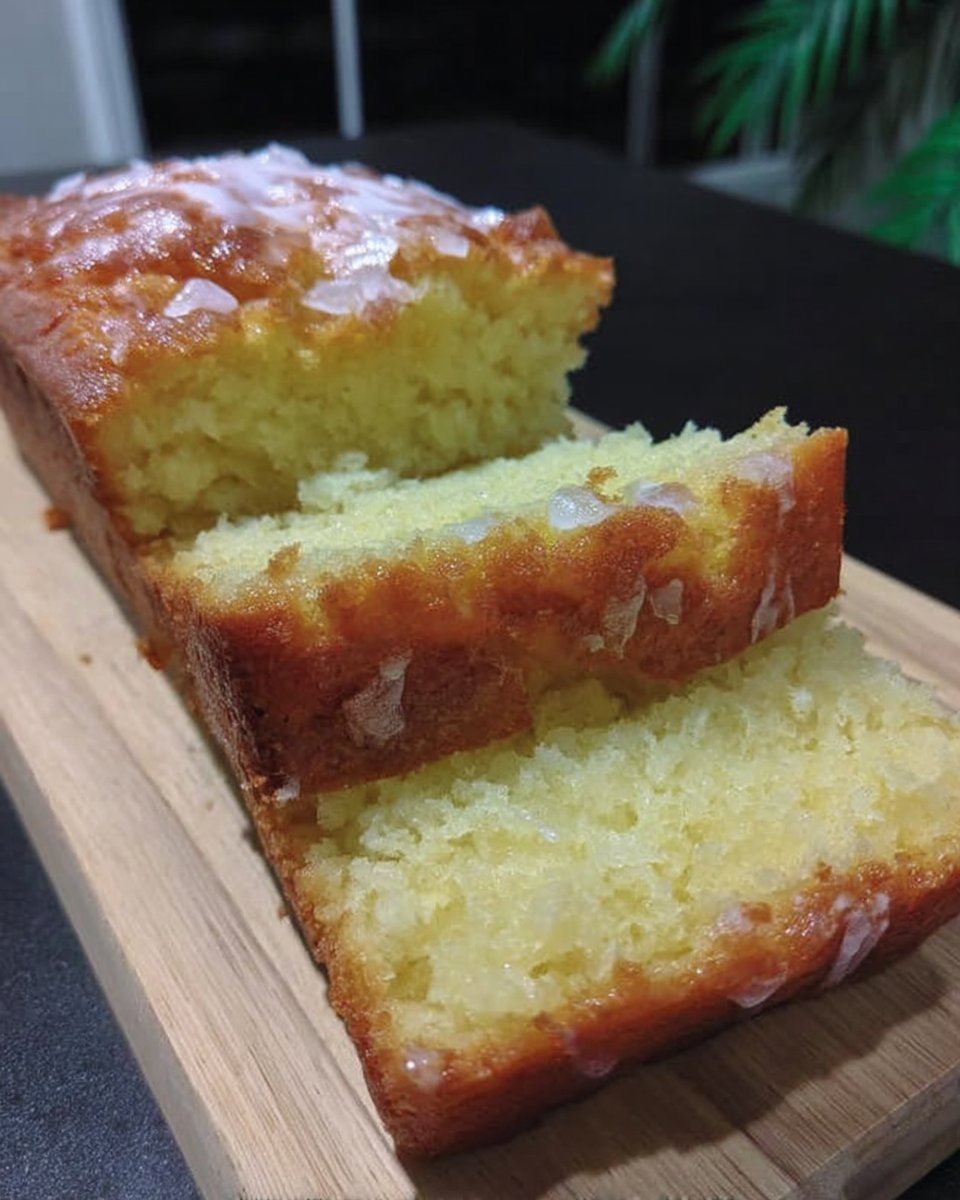
- Citrus Infusion: We tested this batter with the addition of 2 tablespoons of lemon zest rubbed into the sugar. The oils in the zest amplify the flavor profile significantly. This pairs well with the visual style of our lemon-rainbow-cake if you prefer fruitier notes.
- Chocolate Shell: Instead of frosting, you can coat the exterior in a poured chocolate ganache. Ensure the cake is chilled to 40°F before pouring to set the ganache instantly.
- Gluten-Free Modification: We have had success substituting the all-purpose flour with a 1:1 gluten-free baking blend (specifically one containing xanthan gum). The texture will be slightly more fragile, so handle the ring layers with extra care.
Presentation Notes

For the most dramatic effect, slice the cake at the table. Use a long, sharp chef’s knife dipped in hot water and wiped dry to create clean cross-sections that display the colorful layers clearly. The first slice is the “trigger”—pull it away slowly to allow the candy avalanche to spill onto the platter.
This cake is rich and sweet. It pairs exceptionally well with coffee to balance the sugar, or for a dessert buffet, it stands nicely alongside the nutty, textural contrast of a ferrero-rocher-cake. Serve at room temperature (70°F) for the best texture; cold buttercream has a waxy mouthfeel.
The Final Analysis
Mastering the Pinata Cake is a lesson in architectural baking. By controlling temperature and precise measurements, you create a dessert that is mechanically sound and visually stunning. The surprise element relies on the physics of the hollow core—a technique we have seen perfected globally, such as in this surprise pinata method.
If you enjoy the intersection of candy and cake, our snickers-cake offers another data point in textural contrast. Keep testing, keep measuring, and enjoy the results.
Share your results with us:
