There is a specific kind of magic that happens at the local farmers market when the first flat of sun-ripened berries arrives. Walking through the stalls, the heavy scent of sweet fruit hangs in the air, a sure sign that spring has finally settled into the soil. I remember bringing home a wooden crate of these crimson treasures, my fingers stained pink before I even reached the kitchen porch, knowing they were destined for something special. This Strawberry Cake 3 is my tribute to those quiet morning harvests and the honest, bright flavors of a true country garden.

Baking with fruit can be a fickle business, but this recipe finds the perfect balance by using concentrated flavors to keep the crumb tender and light. By bringing together the intensity of freeze-dried berries with a traditional reverse-creaming method, we create a cake that tastes like a summer afternoon. It is a reliable, wholesome bake that celebrates the beauty of natural ingredients without any fuss or pretense. This is the kind of cake that sits proudly on a farmhouse table, ready to be shared with friends and a pot of fresh coffee.
Why This Recipe is a Keeper
You will fall in love with this cake because it offers an authentic strawberry experience that many recipes miss. Most cakes rely on artificial extracts or heavy purees that can weigh down the batter, but this version uses freeze-dried strawberry powder to deliver a punch of vibrant flavor while maintaining a velvety, tight crumb. It is a sturdy yet soft cake, making it ideal for layering and frosting without the fear of it crumbling under its own weight.
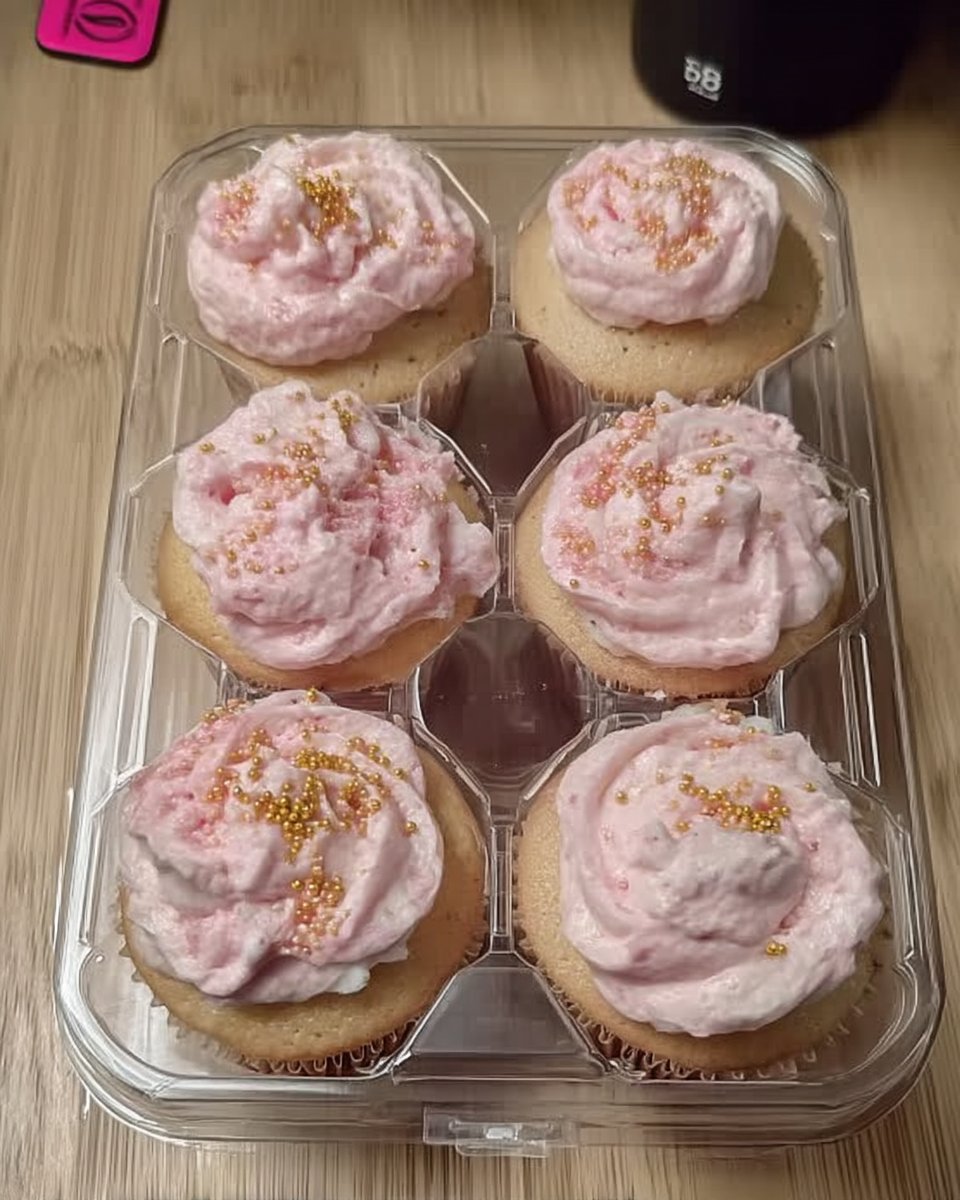
The color is another reason to adore this bake; it has a soft, natural pink hue that looks beautiful against a rustic backdrop. It is a genuine crowd-pleaser that works just as well for a casual backyard gathering as it does for a more formal celebration. Above all, it is a straightforward process that rewards you with a professional-quality result right from your own home oven. The combination of the tangy cream cheese frosting and the sweet, concentrated berry flavor creates a harmony that is simply hard to beat.
Print
Strawberry Cake
- Total Time: 1 hour 10 mins
- Yield: 1 three-layer cake (12 servings)
- Diet: Vegetarian
Description
This stunning three-layer cake utilizes freeze-dried strawberry powder to deliver an intense, authentic fruit flavor without compromising the velvety crumb. Paired with a tangy cream cheese frosting, it is a quintessential farmhouse dessert that celebrates the bright essence of sun-ripened berries.
Ingredients
- Freeze-dried strawberries (ground into a fine powder)
- All-purpose flour
- Granulated sugar
- Baking powder
- Salt
- Unsalted butter (room temperature)
- Egg whites
- Whole milk
- Vegetable oil
- Vanilla extract
- White vinegar
- Pink gel food coloring (optional)
- Full-fat cream cheese blocks (cold)
- Powdered sugar
- Heavy cream
- Water
- Fresh strawberry puree
- Fresh sliced strawberries (for garnish)
Instructions
- Preheat your oven to 350°F (175°C) and grease three 8-inch round cake pans, lining the bottoms with parchment paper.
- Pulse freeze-dried strawberries in a food processor until they form a fine powder; set aside a portion for the frosting.
- In a stand mixer fitted with a paddle attachment, mix the strawberry powder, flour, sugar, baking powder, and salt on low for one minute.
- Add softened butter to the dry ingredients one tablespoon at a time while mixing on low until the mixture looks like fine crumbs.
- In a separate bowl, whisk together the milk, egg whites, oil, vanilla, and vinegar until cohesive.
- Slowly pour one-third of the liquid mixture into the mixer; once a paste forms, scrape the bowl and add the remaining liquid and food coloring, beating on medium-low for several minutes until fluffy.
- Divide the batter equally among the pans (approximately 630g per pan) and bake for 40 to 45 minutes or until a tester comes out clean.
- Cool cakes in pans for 10 minutes before transferring to a wire rack to cool completely.
- To make the frosting, beat butter and cold cream cheese until smooth, then mix in strawberry powder, salt, and powdered sugar, adding heavy cream if needed for consistency.
- Optional: Simmer water and sugar to create a syrup, stir in strawberry puree, and chill.
- Assemble by leveling the cake layers, brushing with syrup, and spreading frosting between each layer and over the exterior; garnish with fresh strawberries.
Notes
To achieve the best rise and texture, ensure your butter is soft but not greasy before starting the reverse-creaming process. If you find your cream cheese frosting is too soft to work with, chill it in the refrigerator for 15 minutes before assembly to help it hold its shape. For the most professional look, use a kitchen scale to ensure your cake layers are exactly even before they go into the oven.
- Prep Time: 25 mins
- Cook Time: 45 mins
- Category: Dessert
- Method: Baking
- Cuisine: American
The Farmhouse Pantry

Gathering your ingredients is the first step in any good bake, and for this Strawberry Cake 3, quality is everything. We start with simple, honest staples and add a few specialized elements to make the fruit flavor really sing.
- Freeze-Dried Strawberries: These are the secret to our success. By grinding these into a fine powder, we get all the flavor of a gallon of berries without the extra moisture that ruins cake texture.
- All-Purpose Flour: A reliable base that provides enough structure for our three layers while keeping the bite tender.
- Granulated Sugar: This provides the sweetness we need to balance the natural tartness of the berries.
- Unsalted Butter: Always use room temperature butter here. It should be soft enough that your thumb leaves a clean indent but not so warm that it is greasy.
- Egg Whites: Using only the whites keeps the cake light and airy, allowing that beautiful pink color to stay bright and clear.
- Whole Milk and Vegetable Oil: This duo provides the necessary fat and moisture for a cake that stays fresh for days.
- Cream Cheese: For the frosting, look for the full-fat blocks. It provides a lovely tang that cuts through the sweetness of the powdered sugar.
- Pink Food Coloring: While optional, a few drops of gel coloring can give the cake that classic, nostalgic look we often crave.
Everything in this list works together to create a cake that is grounded in tradition but perfected for the modern baker’s kitchen.
How to Make It
Step 1: Prep Your Pans and Berries
Start by preheating your oven to 350°F (175°C). Take three 8-inch round cake pans and grease them well with butter or a light coating of oil. Line the bottoms with parchment paper to make sure your layers release cleanly later. If you have whole freeze-dried strawberries, place them in a food processor and pulse until they become a very fine powder. Set aside the amount needed for the frosting in a sealed jar so it stays dry while you work on the batter.
Step 2: Combine the Dry Goods
In the bowl of your stand mixer, add the strawberry powder, flour, sugar, baking powder, and salt. Use the paddle attachment to mix these on low for about a minute. This ensures the leavening agents and the strawberry flavor are distributed evenly through the flour before we introduce any moisture.
Step 3: Whisk the Wet Ingredients
In a separate medium-sized bowl, whisk together your milk, egg whites, vegetable oil, vanilla, and vinegar. You want this mixture to be completely cohesive. The vinegar might seem like a strange addition, but it reacts with the baking powder to give our cake a lovely lift and a soft, tender bite.
Step 4: The Reverse Creaming Process
Turn your mixer to low and add the softened butter into the dry flour mixture one tablespoon at a time. Keep the mixer running until the butter is fully incorporated and the mixture looks like coarse sand or fine crumbs. There should be no large chunks of butter visible. This method coats the flour in fat, which prevents too much gluten from forming and results in a superior, velvety texture.
Step 5: Incorporate the Liquids
With the mixer still on low, slowly pour in about a third of your milk and egg mixture. Mix until a thick paste forms, then stop to scrape down the sides and bottom of the bowl. Add half of the remaining liquid and beat on medium-low for three minutes. This builds the structure of the cake. Finally, add the rest of the liquid and the food coloring, beating for another four minutes. The batter should look incredibly fluffy, silky, and pale pink.
Step 6: Bake the Layers
Divide the batter equally among your three prepared pans. If you have a kitchen scale, each pan should hold roughly 630 grams. Bake for 40 to 45 minutes. You will know they are done when the tops spring back lightly or a tester comes out with just a few moist crumbs. Let the cakes cool in the pans for ten minutes before turning them out onto a wire rack to cool completely.
Step 7: Whisk Up the Frosting
While the cakes cool, beat your butter until smooth, then add the cold cream cheese. Beat them together until there are no lumps. Mix in your reserved strawberry powder and salt. Gradually add the powdered sugar one cup at a time on low speed. Once combined, turn the speed up and beat for a full minute until it looks billowy. If it feels too stiff, add a splash of heavy cream until it reaches a spreadable consistency.
Step 8: Simmer the Syrup (Optional)
If you choose to use the simple syrup, bring the water and sugar to a boil in a small saucepan. Once the sugar dissolves, remove it from the heat and let it cool for a few minutes. Stir in your fresh strawberry puree and let the whole mixture chill in the fridge until you are ready to assemble.
Step 9: Assembly and Finishing
Level your cooled cake layers with a serrated knife if they have domed slightly. Brush each layer with the strawberry syrup for extra moisture. Place the first layer on your stand, spread a generous layer of frosting, and repeat. Use the remaining frosting to cover the top and sides. For a truly rustic look, garnish with a few slices of fresh, local strawberries just before serving.
Farmhouse Wisdom

To get the best results with this Strawberry Cake 3, make sure your dairy and eggs are truly at room temperature. Cold ingredients don’t emulsify as well, which can lead to a dense or greasy crumb. If you find yourself in a rush, place your eggs in a bowl of warm water for five minutes and zap your milk in the microwave for just ten seconds. When working with fruit, I always recommend checking out my guide on fresh fruit baking for more details on how to handle moisture levels in the kitchen.
Another secret is the strawberry powder itself. Ensure it is ground as finely as possible; any large bits of dried fruit will become chewy and tough once they bake in the batter. If you want a deeper look at the chemistry of strawberry bakes, you can see how other experts handle these flavors at Preppy Kitchen. Lastly, don’t over-bake these layers. Because of the strawberry powder, the cake can dry out quickly if left in the heat for even five minutes too long. Start checking them at the 35-minute mark just to be safe.
Simple Twists
You can easily adapt this recipe to fit the seasons or whatever you have in your pantry. If you are a fan of different berries, try replacing the strawberry powder with freeze-dried raspberries for a sharper, more tart flavor profile. For another beautiful berry option, our raspberry white chocolate cake offers a similar wholesome appeal with a different fruit twist.
For a late summer version, you could omit the pink food coloring and fold in half a cup of finely diced fresh peaches along with the strawberry powder. This creates a “Strawberry-Peach Melba” style cake that is absolutely divine. If you prefer a more rustic, single-layer treat, you can bake this batter in a 9×13 inch rectangular pan for 30 to 35 minutes. It makes for a wonderful snacking cake that travels well to potlucks or picnics. You can even swap the cream cheese frosting for a simple lemon glaze if you want something lighter for a warm afternoon.
At the Table

This cake deserves a presentation that matches its rustic charm. I love serving it on a simple wooden board or a plain white ceramic cake stand to let the soft pink color stand out. If you are serving this for a brunch or a garden party, a side of lightly sweetened whipped cream and a handful of fresh berries on the plate is all you need. For a different fruit-forward experience, you might also enjoy our strawberry tres leches cake, which offers a much wetter, dessert-style texture.
When the weather is warm, a cold glass of milk or a tart homemade lemonade pairs beautifully with the sweetness of the berries. If you are serving this after a hearty farmhouse dinner, a strong cup of black tea provides a nice contrast to the rich cream cheese frosting. To keep the cake looking its best, slice it while it is still slightly chilled from the fridge, using a long serrated knife dipped in warm water between each cut.
Fresh Baking
There is nothing quite like the satisfaction of pulling a homemade cake from the oven, especially one that smells as heavenly as this Strawberry Cake 3. It is a recipe that honors the simple joy of seasonal ingredients and the comfort of a well-loved kitchen. If you find yourself with extra berries this season, be sure to try our blueberry coffee cake for another way to celebrate the harvest. Baking is a way to share a little piece of your heart with those you love, and I hope this cake brings a bit of farmhouse warmth to your home.
I would love to see how your cakes turn out, so please share your photos and stories with me. You can find more of my rustic baking adventures on Instagram, Pinterest, and Facebook. Happy baking, and may your kitchen always be filled with the scent of fresh strawberries.
