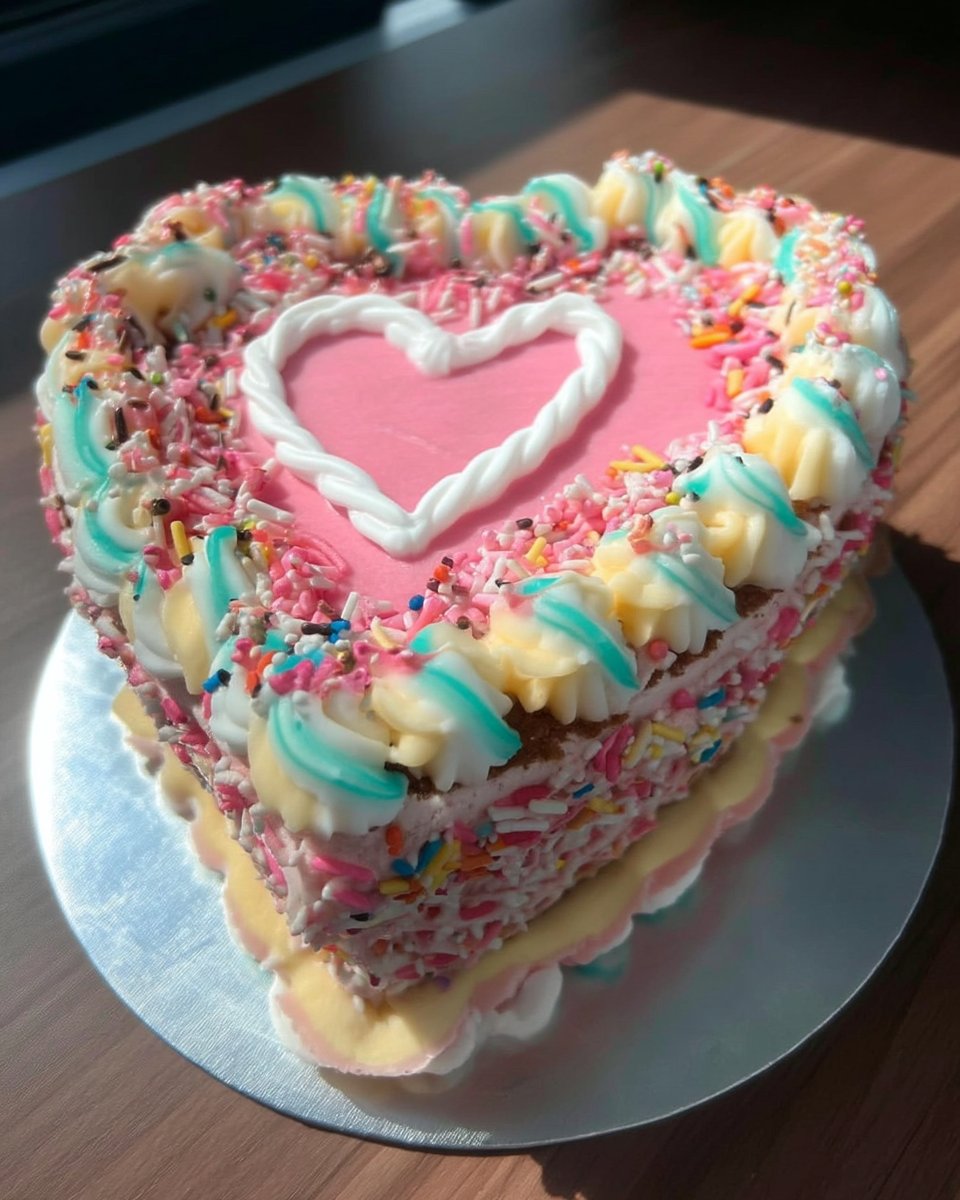
You don’t need a specialty pan to create a show-stopping heart shape; you just need a little geometry. In the Cake Peak test kitchen, we love this method because it relies on precise cutting and arrangement rather than single-use equipment. By baking one square cake and one round cake, then adhering to a strict assembly diagram, we create a seamless heart that looks professional and tastes nostalgic.

Beneath the festive shape lies a robust vanilla-almond white cake with a tight, tender crumb. We use a high ratio of sugar to flour here to ensure the cake stays moist even after the trimming and frosting process. This recipe pairs a classic American buttercream with a sturdy crumb, making it the perfect vessel for your Valentine’s Day creativity.
The Science of Structure
This recipe works because it balances structural integrity with tenderness. Many white cakes are too delicate to handle the cutting and maneuvering required for this assembly, but this formula—relying on the protein in the egg whites and the milk solids—creates a crumb that cuts cleanly without crumbling. Additionally, the almond extract provides a distinct aromatic profile often associated with high-end wedding cakes, offering a sophisticated flavor depth beyond simple vanilla.
Print
Valentine Cake
- Total Time: 3 hours
- Yield: 12 servings
- Diet: Vegetarian
Description
Learn how to transform simple square and round layers into a stunning heart-shaped masterpiece using basic geometry. This moist vanilla-almond cake features a sturdy yet tender crumb, making it the ideal canvas for festive buttercream designs.
Ingredients
- 1 cup unsalted butter, softened to 68°F
- 2 cups granulated sugar
- 4 large eggs, room temperature
- 1 teaspoon vanilla extract
- 1/2 teaspoon almond extract
- 1 teaspoon baking powder
- 1/2 teaspoon baking soda
- 3 cups all-purpose flour (360g)
- 1 1/3 cups whole milk
- 4 cups confectioners’ sugar
- 1 cup unsalted butter, softened (for frosting)
- 1 tablespoon vanilla extract (for frosting)
Instructions
- Preheat oven to 350°F and grease, flour, and line one 8-inch square pan and one 8-inch round pan with parchment paper.
- Beat softened butter and granulated sugar with an electric mixer for 3–5 minutes until pale and fluffy.
- Incorporate eggs, vanilla extract, and almond extract, scraping down the sides of the bowl to ensure a smooth emulsion.
- Stir in the baking powder and baking soda until evenly distributed.
- Alternately add flour and milk in three parts, beginning and ending with flour, mixing just until the last streaks disappear.
- Divide the batter equally by weight between the two pans and bake for 30 to 40 minutes until a toothpick comes out clean.
- Cool in pans for 10 minutes, then transfer to a wire rack to cool completely for at least 2 hours before assembly.
- Prepare the buttercream by whipping confectioners’ sugar, butter, and vanilla on high speed for 3 minutes until white and airy.
- To assemble, place the square cake on a board as a diamond; cut the round cake in half and attach each half to the top flat sides of the diamond using frosting as glue.
- Apply a thin crumb coat to the entire heart shape, chill for 20 minutes, then apply the final layer of smooth buttercream.
Notes
To ensure a perfectly flat surface for the heart assembly, use a serrated knife to level the tops of both cakes before joining them. If your kitchen is warm, chill the cake layers for 30 minutes before cutting the round cake to prevent excess crumbling during the geometric shaping process.
- Prep Time: 20 mins
- Cook Time: 40 mins
- Category: Dessert
- Method: Baking
- Cuisine: American
Ingredient Variables & Precision

- Butter: We recommend using unsalted butter softened to exactly 68°F. At this temperature, the butter is plastic enough to expand and hold air bubbles during the creaming process but cool enough to maintain structure.
- Sugar: White granulated sugar does more than sweeten; it acts as a tenderizer by absorbing water and delaying gluten formation. The high quantity here ensures a soft texture.
- Eggs: You will need 4 standard large eggs. Room temperature eggs emulsify easier into the butter-sugar mixture, preventing the batter from curdling.
- Milk: Whole milk (approx. 3.5% fat) is preferred for the richest mouthfeel. The liquid hydrates the flour’s starch and protein, allowing the chemical leaveners to react.
- Extracts: We use a blend of vanilla and almond. The almond extract is potent; measure precisely to avoid an overpowering medicinal taste.
- Leavening Agents: A combination of baking soda and baking powder provides the necessary lift. Ensure your baking powder is aluminum-free to avoid any metallic aftertaste.
The Method
Step 1: Precise Prep
Preheat your oven to 350°F (175°C). Verify this with an oven thermometer, as temperature fluctuations can cause the cakes to dome unevenly. Grease and flour one 8-inch square pan and one 8-inch round pan. For best release, line the bottoms with parchment paper.
Step 2: Aeration
In a large mixing bowl, beat the softened butter and sugar with an electric mixer for 3–5 minutes. You are looking for a pale, fluffy texture where the sugar crystals have begun to dissolve and air has been incorporated. This mechanical aeration is crucial for the cake’s final volume.
Step 3: Emulsification
Add the beaten eggs, vanilla extract, and almond extract. Mix until fully combined. Scrape down the sides of the bowl to ensure no butter is stuck at the bottom; unmixed butter streaks can create dense spots in the baked cake. Stir in the baking powder and baking soda.
Step 4: The Two-Stage Mix
Add the flour and milk alternately to the butter mixture. Start with 1 cup of flour, mix just until combined, then add 2/3 cup milk. Repeat this process, ending with flour. *Lauren’s Note:* Stop mixing the moment the last streak of flour disappears. Overmixing develops gluten, which leads to a tough, rubbery cake.
Step 5: The Bake
Divide the batter between the prepared pans. To ensure the heart shape is even, the height of the square and round cakes must match. We recommend weighing the batter into the pans to ensure an equal fill level. Bake for 30 to 40 minutes, or until a toothpick inserted in the center measures 205°F–210°F or comes out clean. Cool in pans for 10 minutes, then turn out onto a wire rack to cool completely (at least 2 hours).
Step 6: Buttercream Synthesis
While the cakes cool, beat the confectioners’ sugar, softened butter, and vanilla until smooth. Beat on high speed for at least 3 minutes to aerate the frosting, making it white and spreadable.
Step 7: Geometric Assembly
Place the square cake on a large board or platter, oriented as a diamond. Cut the round cake exactly in half. Place one half-circle against the top-left flat side of the diamond and the other against the top-right side. Use a small amount of icing as “glue” between the pieces.
Step 8: Final Coat
Cover the entire assembled cake with the remaining icing. For a smoother finish, apply a thin “crumb coat” first, chill for 20 minutes, and then apply the final layer.
Lauren’s Lab Notes

- Temperature Matters: If your ingredients are cold, the batter may appear curdled. If this happens, the cake will likely still bake okay, but the rise may be slightly inhibited. Aim for all ingredients to be between 65°F and 70°F.
- Leveling is Critical: Because we are attaching two different cake shapes, they must be level on top. If your cakes domed during baking, use a serrated knife to trim the tops flat before assembly. This ensures a seamless transition where the round meets the square.
- The Crumb Coat: White cakes are notorious for showing crumbs in the icing. Do not skip the crumb coat step. It locks in loose particles so your final presentation is pristine. If you enjoy this retro assembly style, you might also appreciate the techniques used in our vintage cake tutorial.
- Measuring Flour: Weigh your flour (120g per cup) rather than scooping. Scooping compacts the flour, which can lead to a dry, heavy cake.
Tested Variations
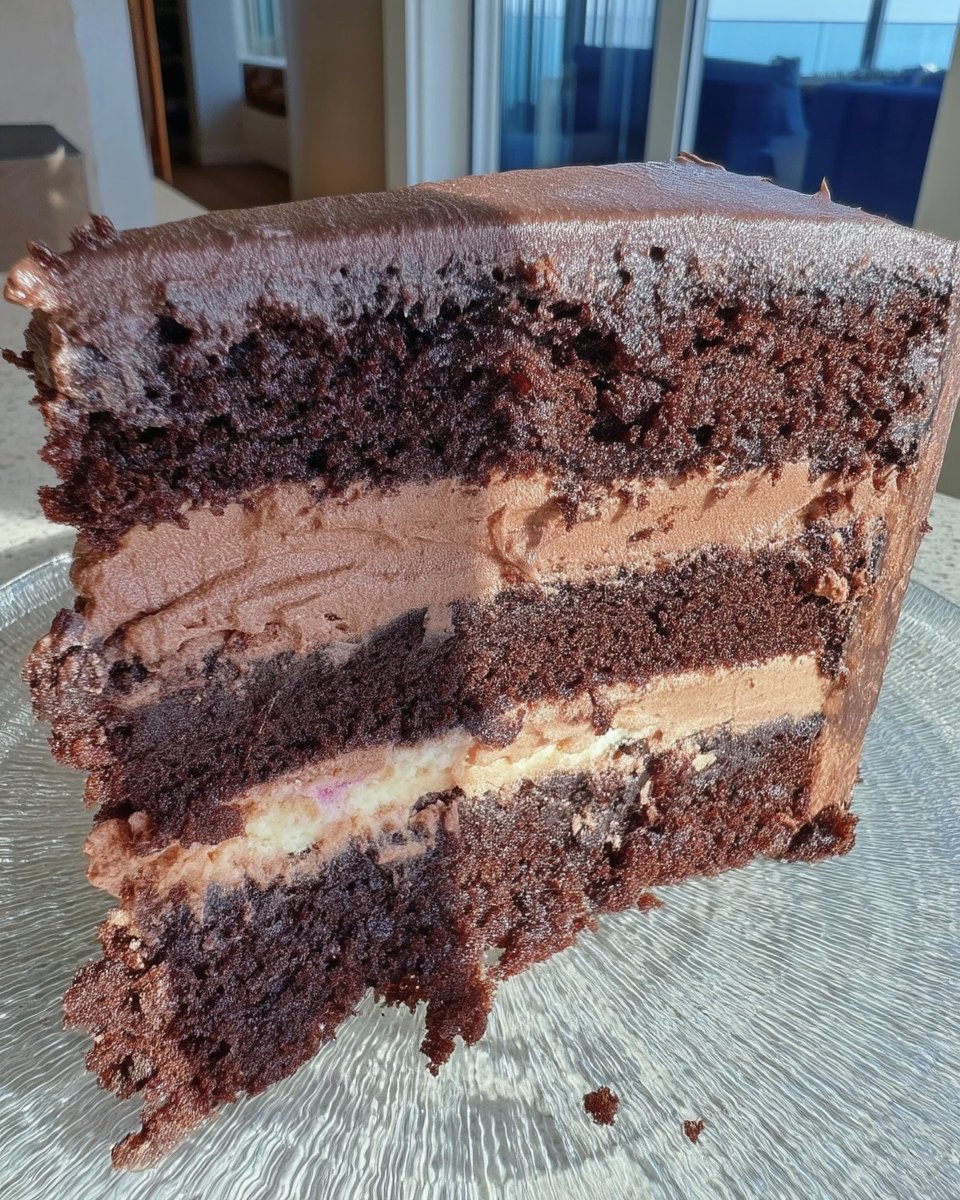
- The Chocolate Swap: This recipe relies on a white cake base, but if you prefer chocolate, replace 1/2 cup of the flour with high-quality Dutch-process cocoa powder and increase the milk by 2 tablespoons.
- Fruit Infusion: For a fresher profile, rub 1 tablespoon of lemon zest into the sugar before creaming. This releases the essential oils for maximum flavor. You could also fill the layers with jam, similar to our raspberry white chocolate cake.
- Dairy-Free Option: We have tested this with plant-based butter blocks and almond milk. The texture is slightly less rich, but the structure holds up well for the assembly.
Presentation & Pairing

Since this cake is rich with buttercream, it is best served at room temperature where the frosting is silky, not hard. Slice across the width of the heart to ensure every guest gets an equal ratio of cake to frosting.
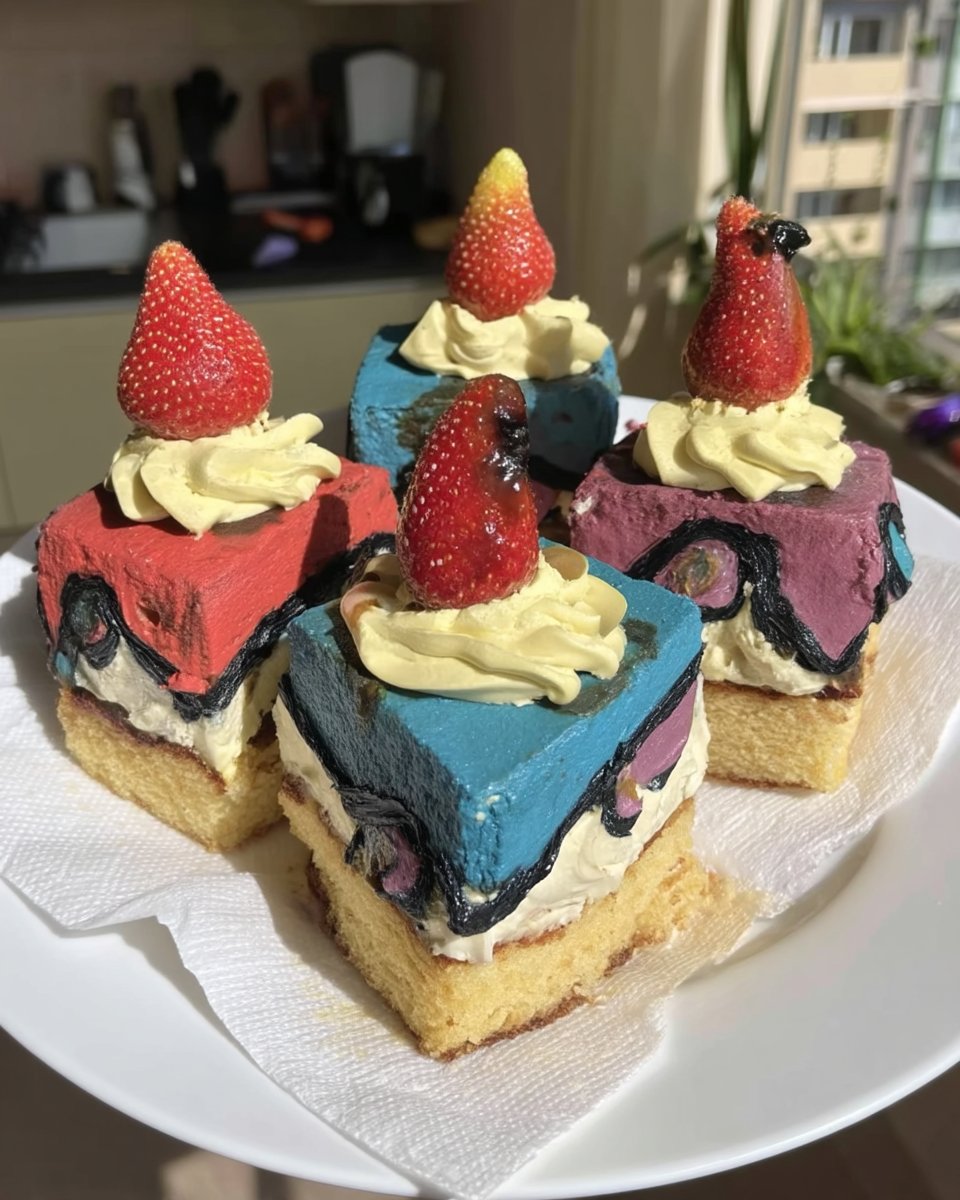
For a balanced dessert course, the sweetness of this white cake pairs beautifully with the acidity of fresh berries or a tart fruit coulis. If you love fruit-forward desserts, check out our strawberry tres leches cake for inspiration on handling fresh fruit toppings.
Mastery Through Science
This Valentine Cake proves that you don’t need a pantry full of specialty gadgets to create something beautiful; you just need a reliable recipe and a bit of geometric know-how. By controlling your mixing times and temperatures, you achieve a crumb that is both sturdy and tender.
If you find yourself baking for romance often, you might want to eventually invest in a dedicated pan and try our heart cake recipe, but mastering this manual assembly technique is a skill that serves a baker for a lifetime. For more intricate design ideas, we also recommend checking out Handle the Heat’s take on Valentine’s cakes.
We want to see your geometric triumphs! Share your results with us on Pinterest, Instagram, or Facebook.

