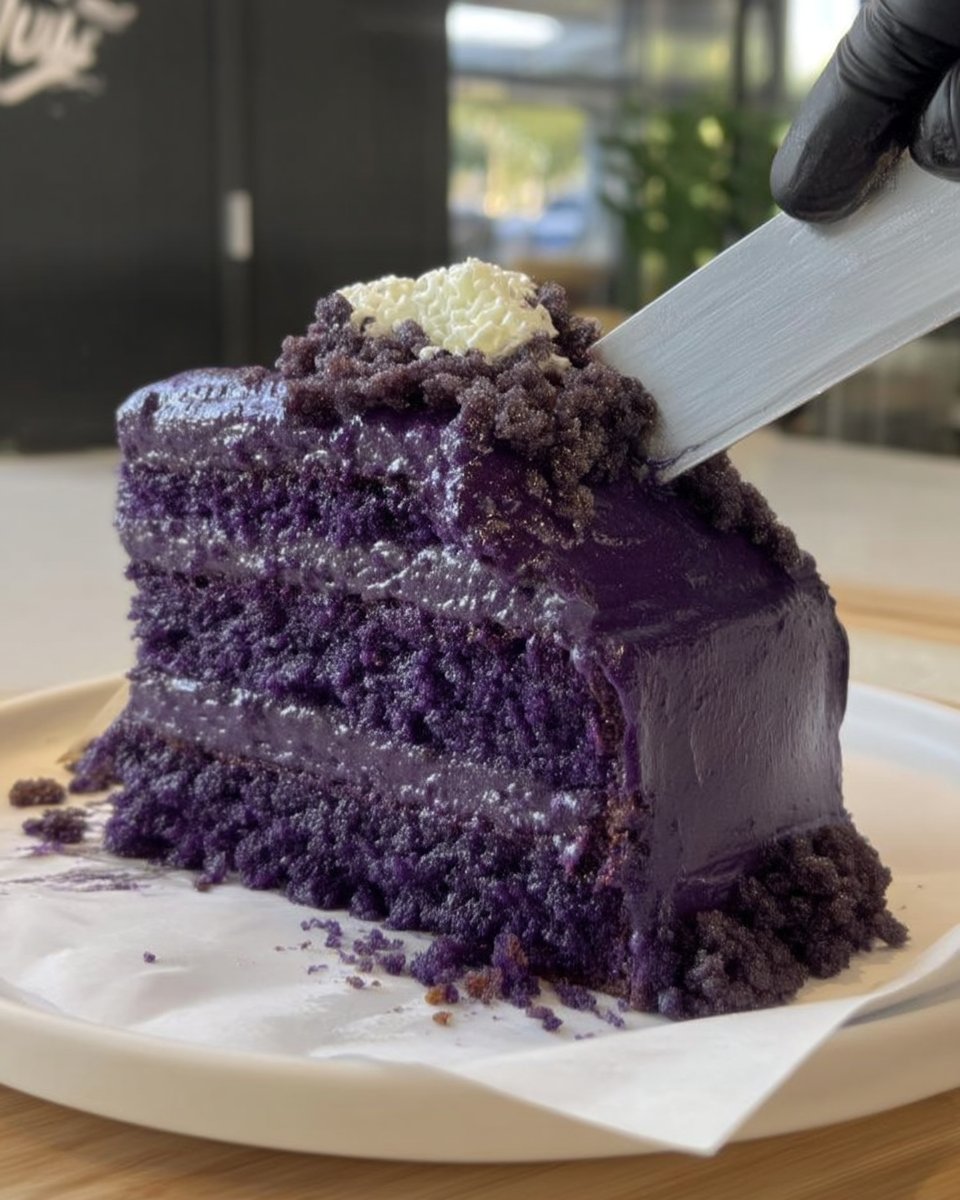
I still remember the first time I saw a velvet-textured cake in a patisserie window; it looked less like food and more like soft, tufted fabric. That matte, flocked finish brings a quiet, modern elegance to even the simplest mousse cake, turning a home kitchen experiment into a professional-looking centerpiece. It captures the light beautifully and adds a delicate, crisp snap that complements creamy fillings perfectly.

This velvet spray cake recipe relies on a simple mixture of chocolate and cocoa butter sprayed at the precise temperature. While it can be a bit messy to apply—think of it as a creative art project—the result is a stunning, sophisticated finish that celebrates the natural beauty of chocolate. It is a wonderful technique to have in your baking repertoire for special occasions when you want to create something truly memorable.
A Beautifully Textured Finish
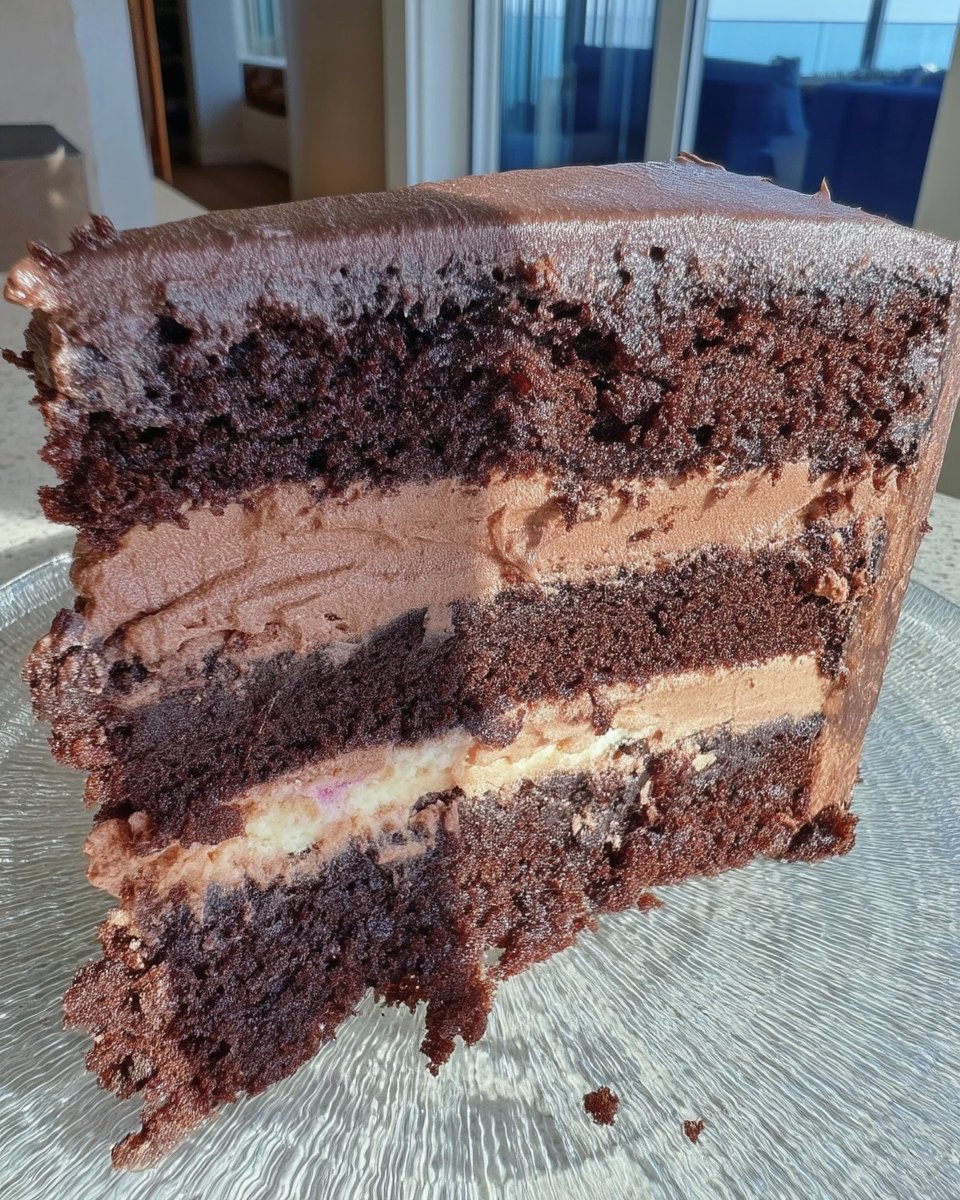
There is something deeply satisfying about the contrast between a crisp, velvet shell and the soft mousse underneath. It is a texture that feels luxurious but is achieved with just two or three honest ingredients. This recipe is adaptable, allowing you to use white, milk, or dark chocolate depending on the season and your mood.
While the technique might seem intimidating, it is grounded in simple thermal science. The “velvet” effect is just cocoa butter crystalizing instantly on a frozen surface. It is rustic baking meets modern technique—imperfectly perfect and always impressive on the table.
Print
Velvet Spray Cake
- Total Time: 30 mins
- Yield: 1 cake
- Diet: Gluten-Free
Description
Transform your homemade mousse cakes into professional patisserie masterpieces with this elegant velvet spray technique. By using a precise blend of melted chocolate and cocoa butter, you can create a stunning matte finish that adds both texture and visual appeal to any special occasion dessert.
Ingredients
- 100g food-grade cocoa butter
- 100g high-quality couverture chocolate (white, milk, or dark)
- Oil-based food coloring (optional, for use with white chocolate)
- 1 fully frozen mousse cake
Instructions
- Combine the chocolate and cocoa butter in a bowl and melt them together using a double boiler or a microwave, stirring occasionally until smooth.
- If using white chocolate, add oil-based food coloring and use an immersion blender to incorporate the color and ensure the mixture is homogenous.
- Filter the mixture through a fine-mesh sieve into the spray gun reservoir to remove any particles that might clog the nozzle.
- Prepare your workspace by placing a turntable inside a large cardboard box or utilizing an empty dishwasher to contain the chocolate mist.
- Monitor the chocolate mixture until it reaches exactly 42°C (107.6°F) and prepare your spray gun.
- Remove the rock-solid frozen cake from the freezer, wipe away any surface frost, and spray from a distance of 12 inches while slowly rotating the turntable.
- Once evenly coated, immediately move the cake to the refrigerator to thaw for at least 6 hours before serving.
Notes
The success of the velvet effect depends entirely on the temperature difference between the warm spray and the frozen cake. Ensure your cake is frozen solid—ideally overnight—and use a digital thermometer to confirm the spray mixture is at the recommended temperature before you begin to avoid a runny or clumpy finish.
- Prep Time: 15 mins
- Cook Time: 15 mins
- Category: Dessert
- Method: Spraying
- Cuisine: Modern Patisserie
The Farmhouse Pantry

For this recipe, quality is key. Since there are so few ingredients, let the natural flavors of the chocolate shine through.
- Cocoa Butter: The essential component for creating that fluid consistency and matte finish. Look for food-grade cocoa butter that smells faintly of chocolate.
- Chocolate: You can use white, dark, or milk chocolate (or Dulcey for a caramel note). High-quality couverture chocolate melts best.
- Oil-Based Food Coloring: If using white chocolate and you want a specific color, you must use fat-soluble (oil-based) colors. Water-based colors will cause the chocolate to seize.
- Frozen Mousse Cake: The cake itself acts as an ingredient here; it must be frozen solid for the thermal shock to work.
How to Make It
Step 1: Melt and Mix
Start by melting your chocolate and cocoa butter. You can do this in a double boiler or melt them together in the same container. If you are using white chocolate and want a color, add your fat-soluble coloring now. Use an immersion blender to mix everything thoroughly until smooth. Strain the mixture through a fine sieve to remove any lumps that could clog your spray gun.
Step 2: Prepare Your Work Station
This process creates a fine mist of chocolate that settles everywhere, so preparation is vital. You can set up a large cardboard box on a counter with a turntable inside to catch the overspray. Alternatively, for easier cleanup, some bakers spray inside an empty dishwasher—the hot water cycle cleans it up afterward. Choose the setup that feels right for your kitchen, but cover your surfaces.
Step 3: The Spraying Process
Check the temperature of your mixture; it should be exactly 42°C (107.6°F). Pour it into your spray gun reservoir. Remove your mousse cake from the freezer, unmold it, and place it on a turntable. Gently rub the surface to remove any ice crystals. Hold the gun about 12 inches (30 cm) away and spray in continuous, sweeping motions while rotating the cake.
Step 4: Let It Set and Thaw
Stop spraying once you have an even coat; too thick a layer may crack. Transfer the cake to a serving dish immediately. Let the cake thaw in the refrigerator for at least 6 hours, or 2 hours at room temperature. A slow defrost in the fridge usually yields the best texture for the mousse inside.
Christine’s Tips for Success

Temperature is the secret ingredient here. If your mixture is too cool, it will clog the nozzle; if it is too hot, it will run off the cake instead of crystallizing into that beautiful velvet nap. Always use a thermometer to hit that sweet spot of 42°C.
Also, make sure your mousse cake is rock hard and frozen. The velvet texture relies on the thermal shock between the warm spray and the cold cake. This technique is one of our foundational recipes for moving beyond basic glazing.
Seasonal Shades and Flavors
You can easily adapt this recipe to the seasons. In autumn, a dark chocolate velvet spray needs no coloring and offers a deep, rich aesthetic. For spring, use white chocolate with a touch of pink or yellow oil-based coloring to match fresh berries or lemon flavors.
If you love caramel notes, try using Dulcey chocolate. It provides a warm, golden hue and a toasted flavor that pairs beautifully with nut-based cakes. Understanding the properties of your ingredients through chocolate alchemy allows you to swap chocolates with confidence.
Rustic Presentation

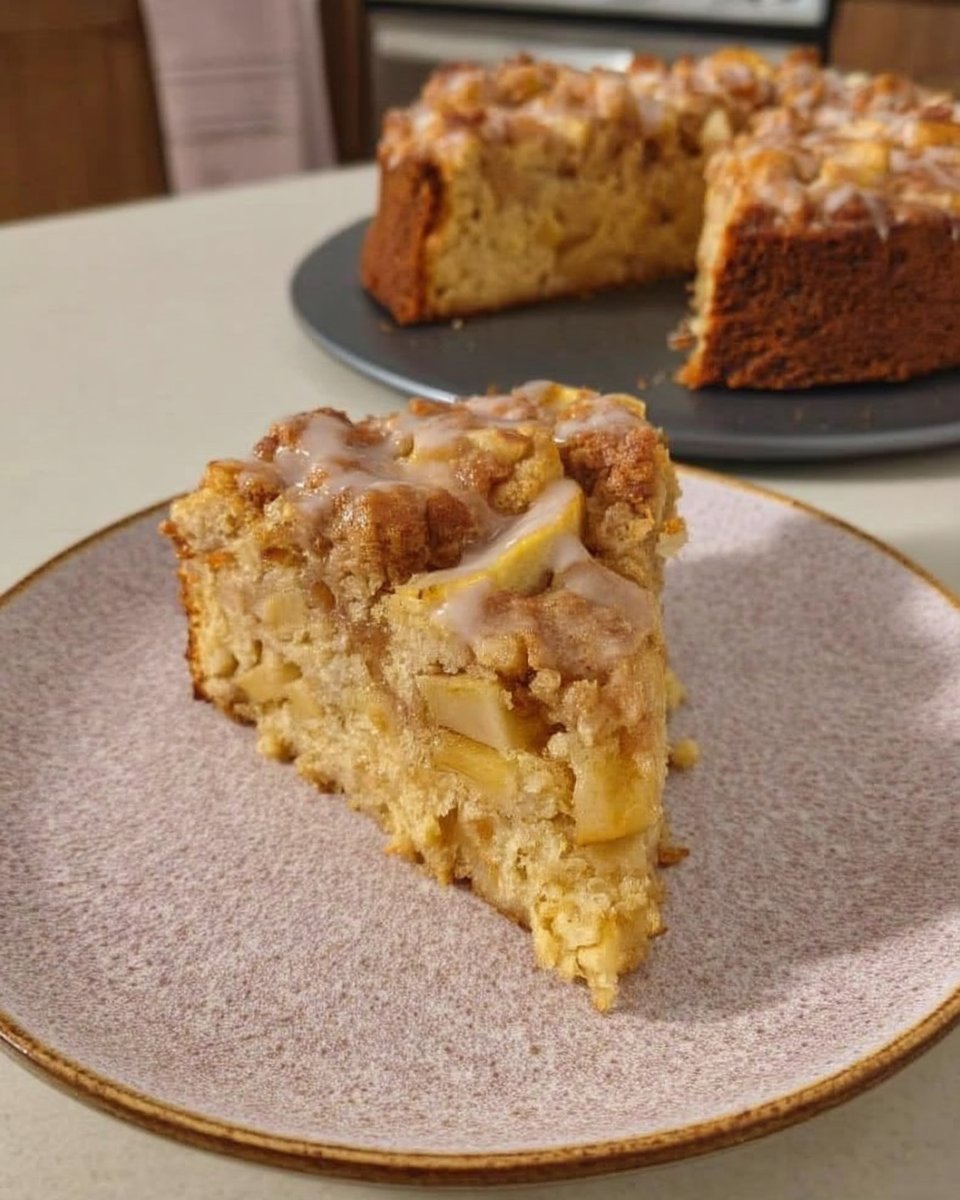
A velvet spray cake is a statement on its own, so keep the serving simple. I like to serve it on a ceramic platter that contrasts with the cake’s color. Since the texture is matte, a garnish of fresh, shiny fruit or a dollop of soft whipped cream adds a lovely visual balance.
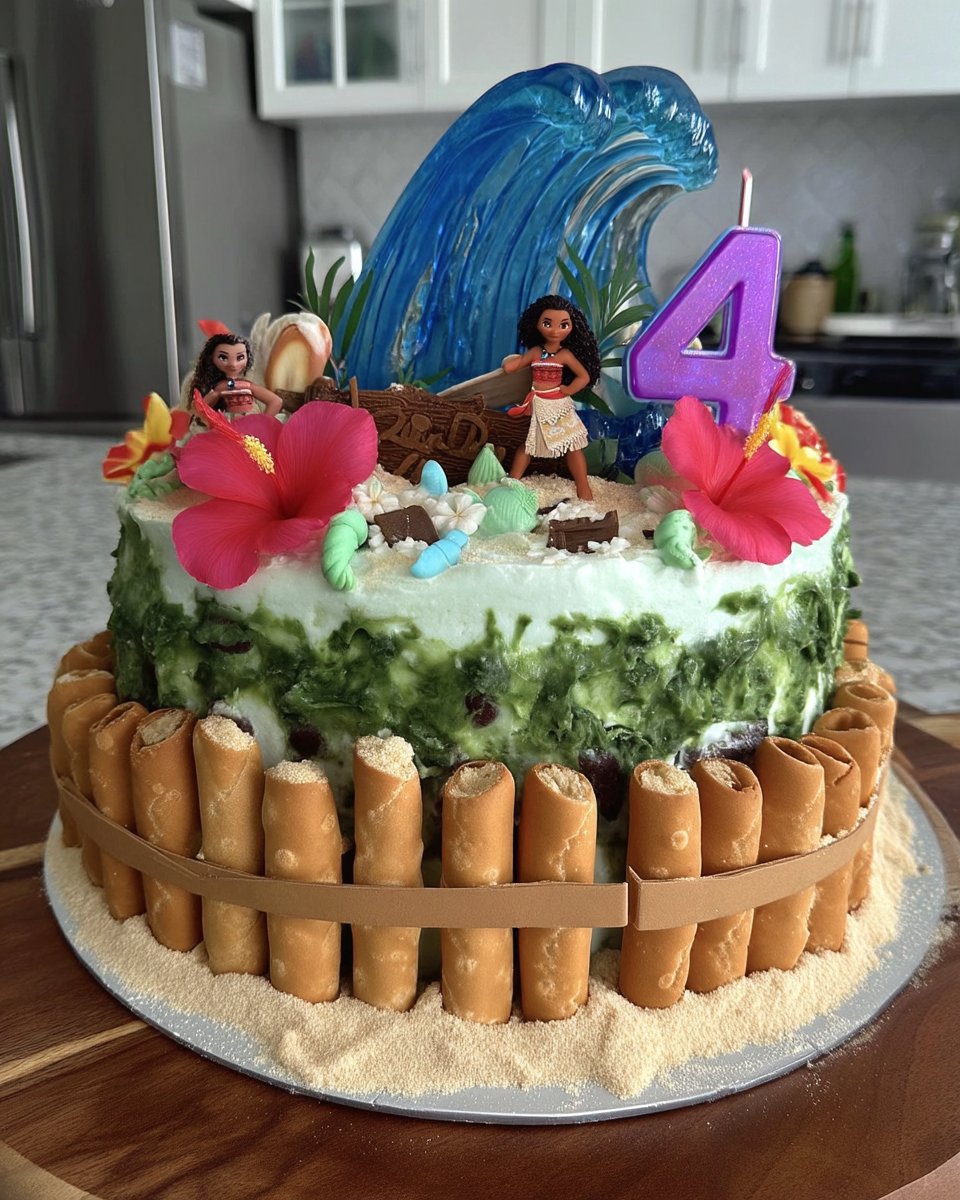
For a summer gathering, edible flowers look stunning against the flocked surface. If you are looking for more ideas on how to style your desserts, take a peek at our celebration design studio for inspiration.
Fresh Baking and Honest Flavors
While using a spray gun might feel like a departure from wooden spoons and mixing bowls, the result is undeniably beautiful. It protects the delicate mousse inside and offers a unique texture that guests always love. Whether you are making a large entremets or testing this on contemporary small format cakes, the effort is well worth it.
For those interested in the technical side, this method is a great example of how simple ingredients can be transformed, a technique often highlighted by experts like those at Gateau et Cuisine Rachida. I hope you give this rustic yet refined finish a try in your own kitchen.
