We tested this recipe repeatedly in the Cake Peak kitchen to understand why traditional methods often yield superior textures. By baking at a lower temperature of 320°F (160°C), we discovered that the batter sets evenly without doming, creating that dense, velvety crumb characteristic of a true vintage cake. It is a lesson in patience—low and slow allows the chemical leavening to act before the crust hardens.

This isn’t just a sponge; it’s a chemistry experiment in fat and acidity. The inclusion of crème fraîche introduces lactic acid, which tenderizes gluten strands for a melt-in-your-mouth consistency that butter alone cannot achieve. It is the perfect canvas for the classic marble swirl, offering a nostalgic bite that feels both comforting and technically precise.
The Science of Texture and Nostalgia
This recipe works because it balances the structural integrity of a pound cake with the tenderness of a high-ratio cake. We love it because the 320°F (160°C) baking temperature prevents the ‘volcano effect’ common in modern convection ovens, ensuring a flat, decorate-ready top. Additionally, the fat-to-flour ratio is calibrated to keep the crumb moist for days, not just hours. It is a reliable, data-backed formula for a showstopping centerpiece.
Print
Vintage Cake
- Total Time: 1 hour 5 mins
- Yield: 10 servings
- Diet: Vegetarian
Description
A sophisticated marble cake that relies on precise temperatures and high-quality fats for a velvety, dense crumb. This vintage-inspired bake uses crème fraîche and a low-and-slow oven technique to ensure a perfectly flat top and a moist, tender finish.
Ingredients
- 4 large eggs, room temperature (approx. 70°F/21°C)
- 200g granulated sugar
- 200g all-purpose flour (10-11% protein)
- 200ml crème fraîche
- 10g baking powder
- 2 tablespoons unsweetened cocoa powder (Dutch-processed preferred)
Instructions
- Preheat your oven to 320°F (160°C) and grease and flour your cake mold or line it with parchment paper.
- In a stand mixer, whisk the eggs and sugar on high speed for 5–7 minutes until the mixture triples in volume and reaches the ribbon stage.
- Sift the flour and baking powder together, then gently fold them into the egg mixture until no flour streaks remain.
- Carefully fold the crème fraîche into the batter until the mixture is glossy and thick.
- Pour two-thirds of the batter into the prepared mold.
- Fold the cocoa powder into the remaining one-third of the batter, then pour over the vanilla batter and swirl once or twice with a knife.
- Bake for approximately 50 minutes until an instant-read thermometer reads 205°F–210°F (96°C–99°C).
- Cool completely on a wire rack before unmolding.
Notes
For the most consistent crumb, use a digital scale to weigh your flour and crème fraîche rather than relying on volume measurements. Ensure your eggs are truly at room temperature before starting, as cold eggs will prevent the batter from reaching the necessary volume during the whisking stage.
- Prep Time: 15 mins
- Cook Time: 50 mins
- Category: Dessert
- Method: Baking
- Cuisine: French-American
The Variables for Success
- Eggs (Room Temperature): You need exactly 4 large eggs. They must be at room temperature (approx. 70°F/21°C) to reach maximum volume during the ribbon stage. Cold eggs will break the emulsion.
- Granulated Sugar: Provides structure and retains moisture. We cream this with the eggs to incorporate mechanical leavening (air bubbles).
- All-Purpose Flour: A protein content of 10-11% is ideal here. Weighing this (200g) is non-negotiable; scooping can add up to 30% more mass, leading to a dry cake.
- Crème Fraîche: This is the variable that matters most. Its high fat content and acidity interfere with gluten formation, resulting in a tender crumb. Sour cream is a viable substitute, but crème fraîche offers a superior, nutty flavor profile.
- Baking Powder: We use 10g (approx. 2 teaspoons) for lift. Ensure yours is fresh; expired leavening is the number one cause of dense failures.
- Unsweetened Cocoa Powder: Used to create the classic vintage marble effect. Dutch-processed cocoa yields a darker color and mellower flavor.
Precision Method
Step 1: Thermal Prep
Preheat your oven to 320°F (160°C). This lower temperature is crucial for an even bake. Grease and flour your mold, or line it with parchment paper for guaranteed release.
Step 2: The Ribbon Stage
In a stand mixer or large bowl, whisk the 4 eggs and 200g sugar on high speed. You are looking for the ‘ribbon stage’—the mixture should triple in volume, turn pale white, and fall from the whisk in a thick ribbon that holds its shape for 3 seconds. This takes about 5–7 minutes.
Step 3: Dry Incorporation
Sift the 200g flour and 10g baking powder together. Gently fold this into the egg mixture. Do not overmix; stop as soon as the flour streaks disappear to avoid toughening the gluten.
Step 4: The Fat Emulsion
Fold in the 200ml (approx. 200g) crème fraîche. The batter should look glossy and thick.
Step 5: The Marble Technique
Pour two-thirds of the batter into your prepared mold. Sift the 2 tablespoons of cocoa powder into the remaining one-third of the batter and fold gently until combined. Pour the chocolate batter over the vanilla batter and swirl once or twice with a knife for that signature vintage look.
Step 6: The Slow Bake
Bake for approximately 50 minutes. The cake is done when an instant-read thermometer inserted into the center reads 205°F–210°F (96°C–99°C), or a skewer comes out clean. Cool on a rack completely before unmolding.
Lauren’s Lab Notes
- Temperature Control: If your oven runs hot, this cake will dome and crack. We highly recommend using an oven thermometer to verify the internal ambient temperature is exactly 320°F (160°C).
- The Cocoa Paste Trick: If you find the chocolate swirl too dry, mix the cocoa powder with a teaspoon of hot water or extra cream before adding it to the batter. This blooms the cocoa flavor and matches the hydration levels of the vanilla batter. For more on handling chocolate ingredients, see our guide on Chocolate Alchemy.
- Troubleshooting Sinking: If the cake sinks in the middle, it was likely underbaked. Chemical leavening needs heat to set the structure permanently. If you pull it out before the center hits 205°F, the structure will collapse.
Tested Variations
- Citrus Infusion: We tested adding lemon zest to the sugar during the creaming stage. The oils bond with the sugar crystals, distributing flavor more effectively than adding juice alone. This pairs beautifully with our Fresh Fruit Baking techniques.
- Vintage Layer Cake: To replicate the towering cakes seen in mid-century cookbooks, double the recipe and bake in two 8-inch pans. Reduce bake time to 35–40 minutes. A baker on Reddit recently shared their success with similar structural adjustments for layer cakes, noting that patience in cooling is key to preventing sliding layers.
- Almond Variation: Swap 30g of flour for almond flour for a denser, marzipan-like texture.
Presentation and Pairing
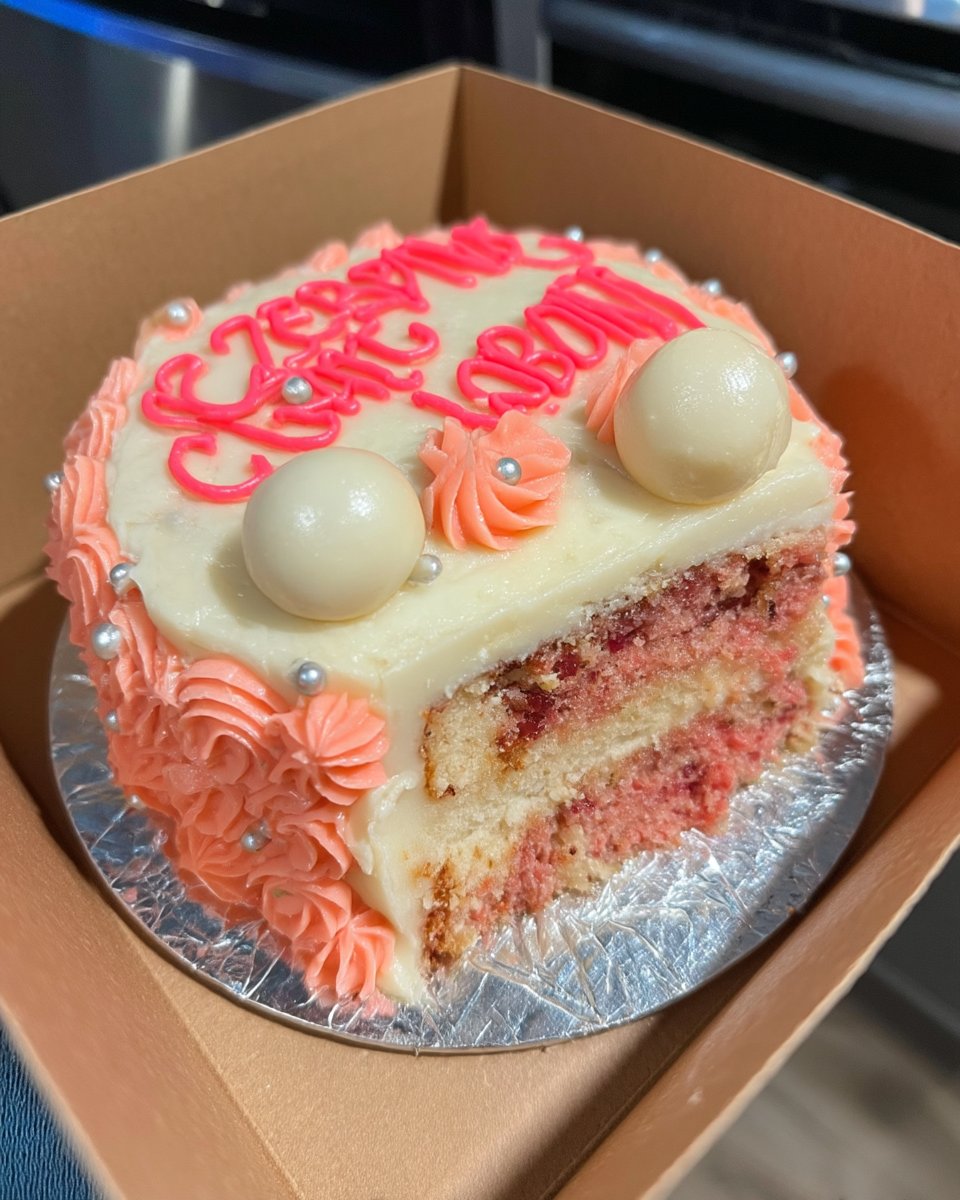
Because this cake contains crème fraîche, it has excellent keeping qualities and tastes even better the next day after the flavors have melded. For a true vintage aesthetic, dust heavily with confectioners’ sugar or glaze with a simple water icing. If you want to attempt the intricate piping associated with this trend, ensure your cake is completely cool—chilled even—before applying buttercream. You can find inspiration for retro piping designs in our Celebration Design Studio archives.
Mastery Through Science
This Vintage Cake is a testament to the power of simple ingredients treated with respect and precision. By controlling the baking temperature and emulsifying the fats correctly, you achieve a result that is timeless. We encourage you to master this base recipe before experimenting with complex frostings. For more essential techniques that build your baking confidence, explore our Foundational Recipes.
Did you achieve the perfect ribbon stage? Share your results with us on social media!

