Bakers often struggle with dry, crumbly mini cakes that sink in the middle, but this recipe solves that frustration by delivering a tender crumb that holds its shape beautifully.

When you set out to bake a miniature dessert, the margin for error shrinks. Too often, small layers bake up dry as cardboard or collapse under the weight of even the simplest frosting. My Chocolate Lunch Box Cake changes all of that by combining a rich, buttermilk-based batter with professional techniques to guarantee a soft, velvety texture. It is the perfect solution for anyone who wants the luxury of a bakery-style layer cake in a small, giftable package.
The Heart of This Chocolate Lunch Box Cake Recipe
Prep: 30 min · Serves: 2 · Difficulty: Medium
- Tender crumb that stays moist for days.
- Perfect size for gifting or small celebrations.
- Rich cocoa flavor with a velvety finish.
- Sturdy layers that frost with complete ease.
- Simple pantry staples yield professional-grade results.
You will enjoy baking this sweet, small-scale treat.
This miniature masterpiece brings the charm of a classic bakery layer cake down to a personal scale. Many home bakers find that small-scale cakes dry out quickly in the oven, but our buttermilk and oil emulsion keeps the crumb incredibly soft. Whether you are new to cake decorating or a seasoned baker, this recipe is designed to help you succeed every single time. It is a wonderful way to share a sweet gesture with someone special without committing to a massive dessert.
Get The Full Cake Recipe
Print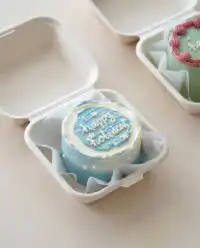
Chocolate Lunch Box Cake
- Total Time: 1 hour 55 mins
- Yield: 2 6-inch cakes
- Diet: Vegetarian
Description
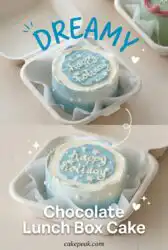
A rich and moist chocolate bento cake made with a soft buttermilk crumb and topped with a silky vanilla buttercream frosting. Perfectly portioned to make two adorable six-inch cakes that fit snugly inside standard lunch boxes for gifting.
Ingredients
- 1 cup all-purpose flour (130g)
- 1 cup granulated sugar (200g)
- 1/3 cup dark or Dutch-processed cocoa powder (30g)
- 1 tsp baking powder (4g)
- 3/4 tsp baking soda (5g)
- 1/2 tsp fine salt (3g)
- 1/2 cup hot water (120g)
- 1/2 cup buttermilk, room temperature (120g)
- 1/4 cup vegetable or canola oil (55g)
- 1 large egg, room temperature (56g)
- 1 tsp vanilla extract or vanilla bean paste (4g)
- 1 cup unsalted butter, room temperature (226g)
- 1 tsp vanilla extract (for frosting) (4g)
- 1/4 tsp fine salt (for frosting) (2g)
- 3 cups powdered sugar (375g)
- 1/2 cup heavy whipping cream, room temperature (120g)
- gel food coloring (optional)
Instructions
- Prep the Oven and Pans. Preheat oven to 350°F/175°C. Grease and line two 6-inch pans with parchment paper.
- Combine Dry Ingredients. Whisk together flour, sugar, dark cocoa powder, baking powder, baking soda, and salt in a large bowl.
- Mix Wet Ingredients. In a separate bowl, whisk together the hot water, buttermilk, oil, egg, and vanilla until fully incorporated.
- Make the Batter. Pour wet ingredients into dry ingredients and mix just until incorporated. Divide batter evenly between the prepared pans.
- Bake the Layers. Bake for 25-28 minutes or until a toothpick inserted in the center comes out with a few moist crumbs. Cool completely.
- Slice and Prepare. Slice each cooled cake layer horizontally with a serrated knife to create four thin layers in total.
- Make the Buttercream. Beat butter on medium speed for 30 seconds. Add vanilla and salt, then slowly mix in powdered sugar and heavy cream until smooth.
- Assemble and Decorate. Stack layers on parchment paper with buttercream in between. Apply a crumb coat, chill for 10 minutes, then apply a final smooth layer of frosting. Use gel-colored buttercream to pipe your message.
Notes
- Room Temperature: Make sure cold ingredients like eggs and buttermilk are at room temp for a smooth batter emulsion.
- Chill Before Stacking: Place the cake layers in the freezer for 15 minutes before assembling to prevent crumbs from getting into your frosting.
- Precision Weighing: Use a kitchen scale to divide your batter evenly between the pans for perfectly level baking.
- Prep Time: 30 mins
- Cook Time: 25 mins
- Category: Cakes
- Method: Baking
- Cuisine: American
Gather These From the Pantry
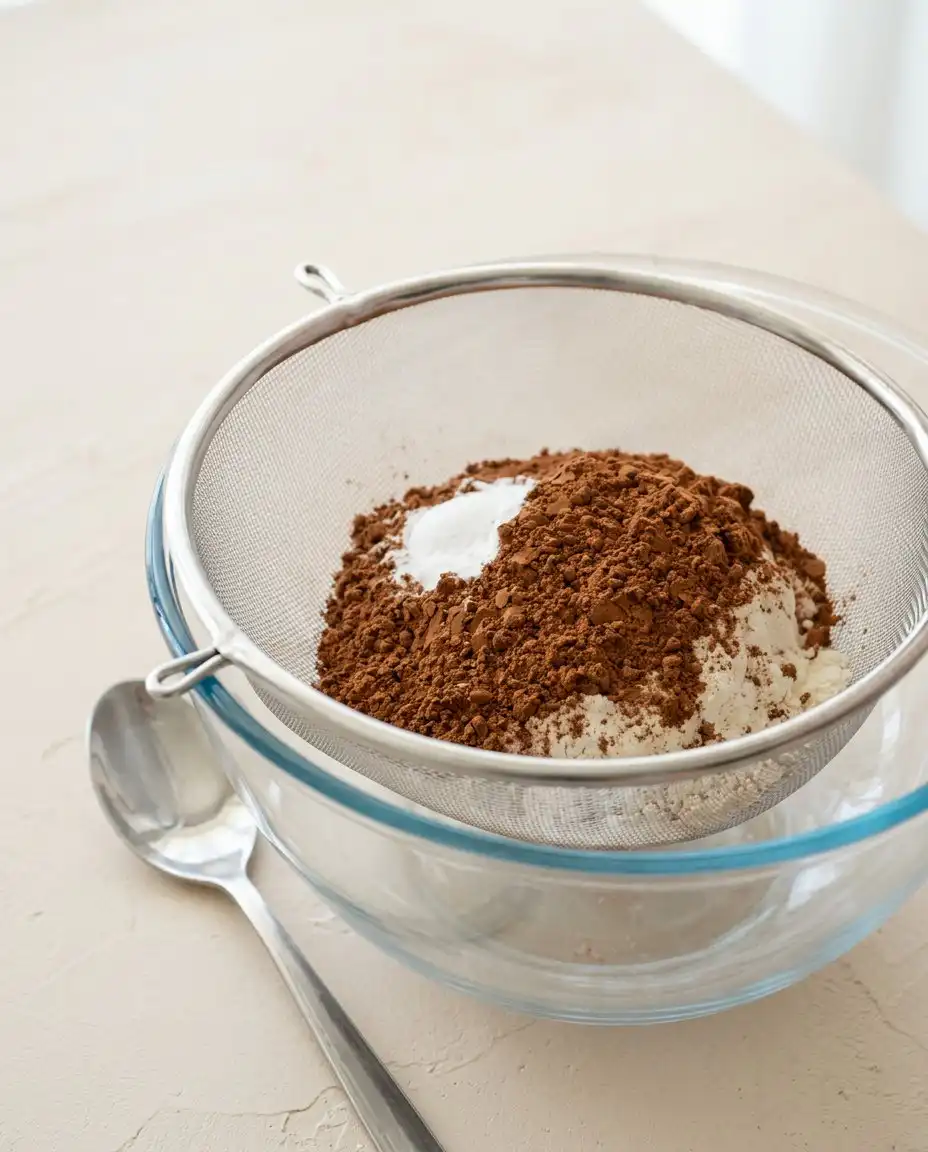
Creating a deep, chocolatey flavor in a small cake requires the right balance of moisture and high-quality cocoa. We use everyday pantry items but combine them with specific temperatures to make sure the batter develops a smooth, uniform structure. Let us look at the key elements that give this dessert its exceptional texture and rich taste.
- Dark cocoa powder: This provides the deep, robust chocolate foundation and intense color that makes the crumb look as good as it tastes.
- Buttermilk: The natural acidity tenderizes the gluten in the flour, resulting in a soft texture that practically melts on your tongue.
- Hot water: Pouring hot liquid into the cocoa powder blooms the chocolate, releasing its full aromatic potential before baking.
- Vegetable oil: Liquid fat keeps the cake layers incredibly moist and soft, even after they have been chilled in the refrigerator.
- Unsalted butter: Using room-temperature butter for the frosting creates a stable, silky base that holds its shape beautifully when piped.
- Heavy whipping cream: This thins out the powdered sugar while adding a luxurious richness to the sweet American buttercream.
| Ingredient | Why It Matters |
|---|---|
| Dark Cocoa Powder | Blooms with hot water to create a rich, intense chocolate base. |
| Buttermilk | Tenderizes the gluten, ensuring the crumb stays soft and moist. |
| Vegetable Oil | Keeps the miniature cake layers from drying out during the bake. |
| Unsalted Butter | Provides the structural foundation for a smooth, pipeable frosting. |
| Heavy Cream | Adds a creamy texture and helps smooth out the sweet buttercream. |
Walking Through the Bake
Step 1: Prep Your Pans and Oven
Start by preheating your oven to 350 degrees Fahrenheit so it reaches the proper temperature before the batter is mixed. Prepare your two six-inch cake pans by greasing them thoroughly and lining the bottoms with parchment paper circles. This step guarantees a clean release, which is critical when you are working with delicate, small-scale layers that can easily break.
Step 2: Whisk the Dry Ingredients
Sift your all-purpose flour, sugar, dark cocoa powder, baking powder, baking soda, and fine salt into a large mixing bowl. Whisking these dry ingredients together breaks up any stubborn cocoa lumps and distributes the leavening agents evenly. You will notice the mixture turns a uniform, light brown color with a light, aerated texture.
Step 3: Combine the Wet Ingredients
In a separate medium bowl, whisk together the hot water, room-temperature buttermilk, vegetable oil, large egg, and vanilla extract until fully combined. The hot water will feel warm to the touch, which helps dissolve the sugar and bloom the cocoa once mixed. Make sure your egg and buttermilk are at room temperature to prevent the batter from curdling or separating.
Step 4: Mix the Batter
Slowly pour the wet ingredients into the dry mixture, stirring gently with a spatula or whisk just until the flour disappears. Overmixing at this stage will develop too much gluten, which makes the cake dense instead of light and fluffy. The batter will look relatively thin and pourable, with a glossy, dark chocolate sheen and a rich aroma.
Step 5: Bake the Layers
Divide the chocolate batter evenly between your two prepared six-inch pans, using a kitchen scale for precision if you want identical heights. Bake the layers for twenty-five to twenty-eight minutes, keeping a close eye on them during the final minutes of baking. They are finished when a toothpick inserted into the center comes out with a few moist crumbs clinging to it.
Step 6: Cool and Slice the Cake
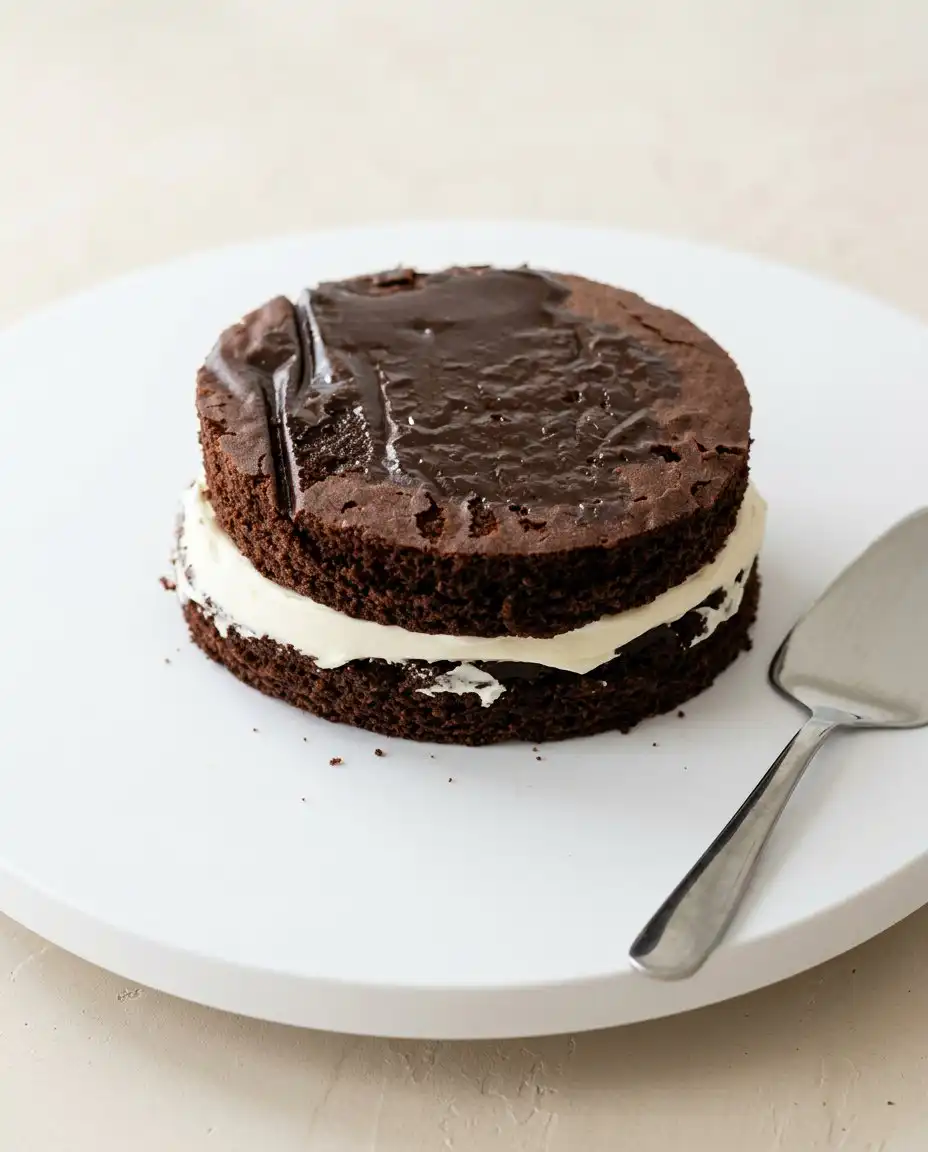
Let the baked layers cool in their pans on a wire rack for ten minutes before gently turning them out to cool completely. Once they reach room temperature, use a sharp serrated knife to slice each layer horizontally to create four thin, delicate layers. Slicing them while cool makes sure you get clean cuts with minimal crumbs, giving you the perfect base for stacking.
Step 7: Prepare the Silk Buttercream
Beat the room-temperature unsalted butter in a stand mixer fitted with a paddle attachment for thirty seconds until smooth. Add the vanilla extract and salt, then slowly incorporate the powdered sugar, alternating with splashes of heavy cream. Beat on low speed until the frosting is creamy, thick, and free of air bubbles, perfect for spreading.
Step 8: Assembling the Chocolate Lunch Box Cake
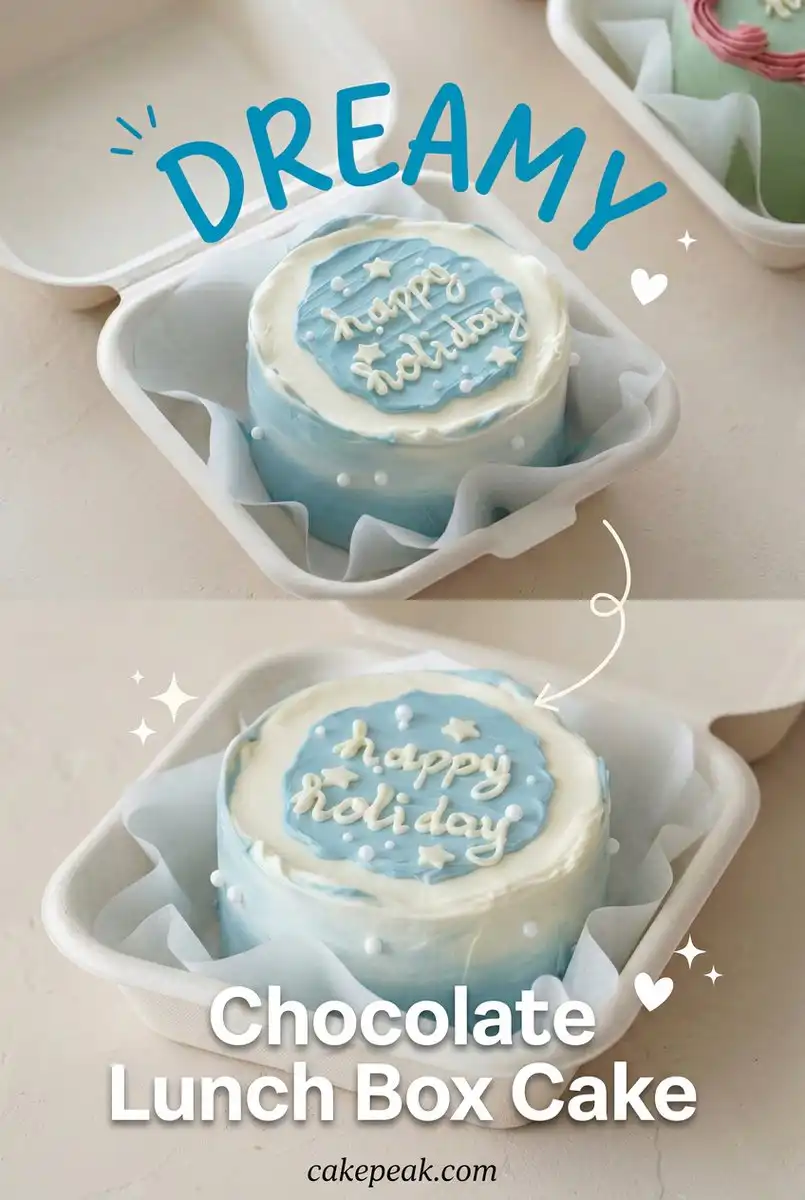
Place a sheet of parchment paper inside your container, then stack and frost your thin chocolate layers with even spreads of buttercream. Cover the assembled cake with a thin crumb coat, chill for ten minutes, and then apply a final smooth layer of frosting. Use your tinted buttercream to pipe a charming message on top, creating a beautiful presentation that fits snugly inside the box.
Southern Baker’s Secrets
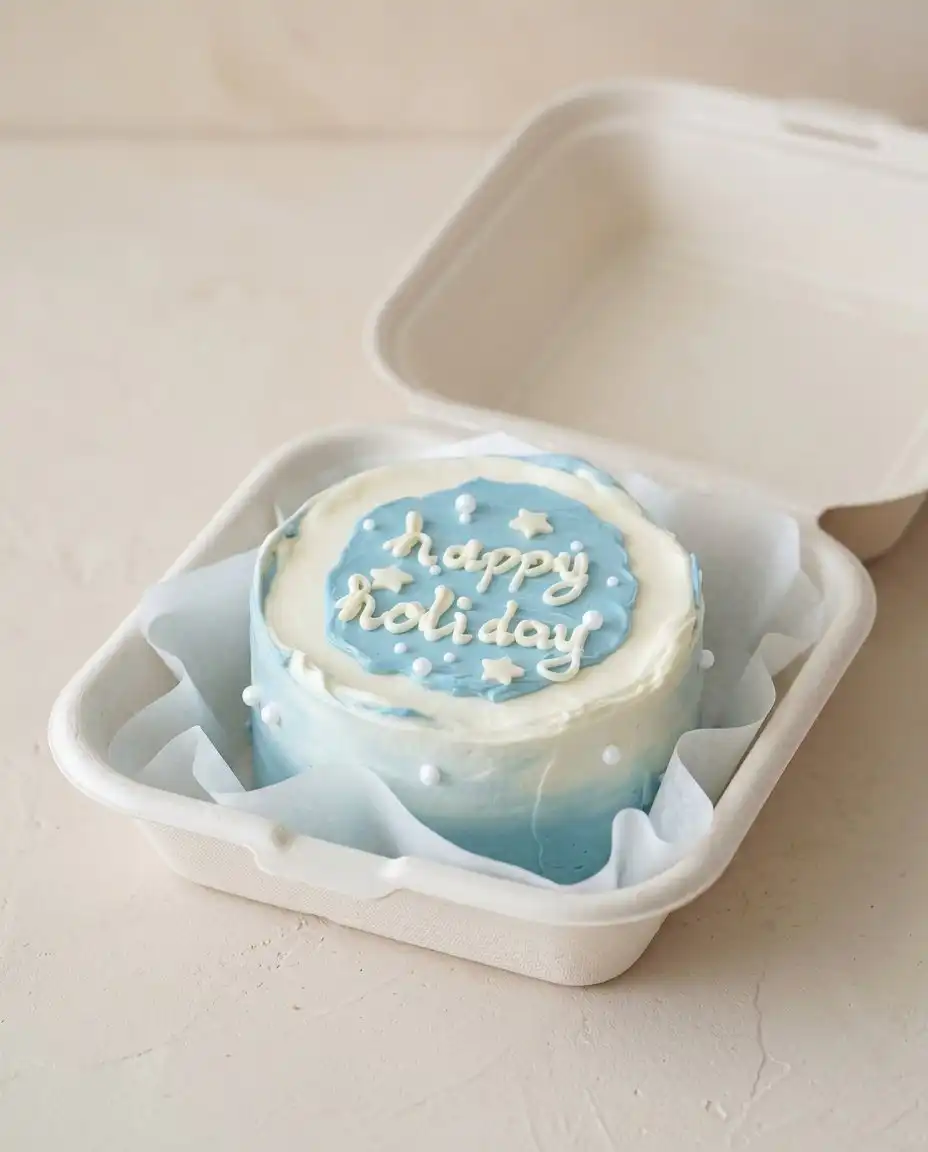
To get the most professional look on your miniature desserts, always chill your layers in the freezer for fifteen minutes before you begin stacking. Cold cake layers are much firmer, which means they will not slide around or shed loose crumbs into your pristine white buttercream. This simple step makes the entire assembly process much cleaner and stress-free.
If your buttercream starts to look curdled or separated during the mixing process, your butter or heavy cream was likely too cold. You can easily fix this by taking a small cup of the frosting, melting it in the microwave for five seconds, and whipping it back into the main batch. This warms the emulsion just enough to bring the ingredients back together into a silky, smooth consistency.
When writing messages on top of your cake, always sketch out the letters with a toothpick or a scribe before you pick up the piping bag. This gives you a clear guide to follow and helps make sure your lettering is centered and fits perfectly on the small surface. For more styling inspiration, you can read our guide on creating a beautiful minimal cake that looks clean and modern.
Weighing your cake pans on a digital kitchen scale is the best way to make sure your layers bake to the exact same height. When layers are uneven, the cake can tilt or lean, which is especially noticeable in a small lunch box presentation. Taking a few seconds to balance the batter weight makes a massive difference in the final look.
If you find that your frosting is full of tiny air bubbles that ruin your smooth finish, use a rubber spatula to beat the buttercream by hand. Smashing the frosting against the sides of the bowl for two minutes forces the trapped air out, leaving you with a glossy texture. For a detailed breakdown of this technique, check out this helpful lunch box cake assembly guide for extra visual help.
Always use gel food coloring instead of liquid food coloring when tinting your buttercream for writing and borders. Liquid colors add too much moisture to the frosting, which can cause your detailed piping to sag, bleed, or lose its shape. Gel colors are highly concentrated, meaning you only need a tiny drop to achieve deep, beautiful shades.
Frequently Asked Questions
What is a lunch box cake?
A lunch box cake, also known as a bento cake, is a miniature cake that is typically two to four inches tall and fits inside a standard takeout container. Originating in South Korea, these adorable desserts are designed for small celebrations, gifting, or personal indulgence without the waste of a full-sized cake.
What size is a bento lunch box cake?
These miniature treats are typically baked in four-inch or six-inch pans and assembled to fit inside an eight-inch square container. The tapered bottom of most takeout boxes means a six-inch cake layer will sit perfectly flush against the base, leaving just enough room for decorative borders.
How many people does a lunch box cake feed?
A standard six-inch lunch box cake easily serves two to three people, making it the perfect size for couples or small family gatherings. Because the layers are torted into thin slices, each portion feels satisfyingly rich and substantial without being overwhelming.
Can you make lunch box cakes from a box mix?
Yes, you can use a high-quality box mix, but a scratch-made buttermilk batter provides a much sturdier crumb for stacking and slicing. Box mixes tend to be very light and crumbly, which can make it difficult to cut the layers horizontally without them falling apart.
What kind of box do you use for lunchbox cakes?
The most common containers are eco-friendly sugarcane bagasse or paper pulp clamshell boxes, typically measuring eight inches square. You can easily find these online or at local restaurant supply stores, and they provide a rustic, charming presentation when tied with a simple ribbon.
How do you keep lunchbox cakes moist?
The secret to keeping these small cakes moist is using a combination of buttermilk and vegetable oil in the batter, which retains moisture better than butter alone. Additionally, applying a thin crumb coat of buttercream locks in the moisture and prevents the cake from drying out in the fridge.
What frosting works best for mini lunch box cakes?
A classic American buttercream or a Swiss meringue buttercream works best because they are stable, easy to smooth, and hold piped details beautifully. Avoid whipped cream or cream cheese frostings if the cake will sit out of the fridge, as they can become too soft and slide off the layers.
What kind of cake do you need for lunchbox cakes?
You need a cake with a fine, tight crumb that does not produce excessive crumbs when sliced or handled. Sponge cakes, butter cakes, and oil-based chocolate cakes are all excellent choices because they maintain their structural integrity when stacked into multiple thin layers.
Family Twists & Variations
For a delightful texture contrast, you can add a layer of rich chocolate ganache or chocolate chips between the cake layers. Just spread a thin layer of ganache over the buttercream before stacking the next layer to create a double-chocolate experience. This variation pairs beautifully with a cup of hot coffee and is reminiscent of a decadent chocolate cheesecake in terms of pure richness.
If you want to bring a touch of fruitiness to this dessert, spread a thin layer of raspberry or strawberry jam directly onto the cake layers before adding the buttercream. The tartness of the berries cuts through the sweetness of the vanilla frosting and complements the deep cocoa notes perfectly. It is an elegant twist that works wonderfully for spring celebrations or anniversaries.
You can also create a salted caramel version by drizzling homemade caramel sauce and a pinch of flaky sea salt between the layers. This adds a sophisticated sweet-and-salt balance that makes the chocolate taste even deeper and more complex. It is a crowd-pleasing option that elevates the simple chocolate base into something truly extraordinary.
Serve It Southern-Style
When it comes to presenting these beautiful creations, the container itself is half the charm. Line your clamshell box with a sheet of greaseproof parchment paper that is slightly larger than the box, allowing the edges to ruffle slightly over the sides. This not only protects the container but also makes it incredibly easy to lift the cake out when it is time to slice and serve.
If you want to create a fun, playful presentation, you can use bright colors and thick black outlines to make a trendy cartoon cake design. This modern style looks stunning inside a simple cardboard box and is guaranteed to delight whoever receives it. Serve each slice with a small wooden fork or spoon tucked into the lid of the box for a rustic touch.
These miniature cakes are perfect for outdoor picnics, casual birthday parties, or as a thoughtful sweet delivery to a friend. Pair a slice of this rich chocolate cake with a tall glass of cold milk or a fresh cup of dark roast coffee to balance the sweetness of the buttercream. The small size makes it feel like an exclusive, personal treat that turns any ordinary afternoon into a special occasion.
From My Kitchen to Yours
Baking is a wonderful way to show someone you care, and these little cakes are the ultimate expression of kitchen hospitality. They prove that you do not need a grand occasion or a massive crowd to enjoy a beautifully decorated, scratch-made dessert. I hope you find as much joy in decorating and gifting these treats as I do in sharing my recipes with you.
If you try this recipe, please let me know how it turned out and share your beautiful creations with our baking community. For more recipes, tips, and sweet inspiration, visit us at Cake Peak where we share our favorite classic desserts. You can also connect with us and share your baking journey on Pinterest, Facebook, and Telegram to stay updated on our latest kitchen creations.