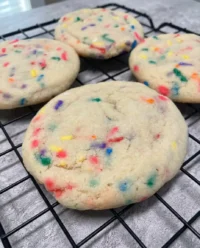
I still remember the sweet scent of grandmother’s vanilla sheet cakes cooling on the porch table after church service, when even a tiny slice felt like a soft blessing on a warm summer afternoon.

When you crave that nostalgic aroma but do not want to bake a whole layer cake, my warm 1-Minute Vanilla Mug Cake is the sweetest comfort. This tiny treat rises beautifully in a standard coffee mug, bringing that tender Southern crumb straight to your kitchen counter without any fuss. It is the perfect single-serving dessert for those quiet evening hours when the house is still and you want a little taste of home.
Why This 1-Minute Vanilla Mug Cake Earns Its Place
Prep: 3 min · Serves: 1 · Difficulty: Easy
- Warm vanilla comfort in sixty seconds.
- Simple ingredients already in your pantry.
- Perfectly soft and tender crumb texture.
- Zero leftover cake to tempt you later.
- Clean baking with only one dirty mug.
While some nights call for a rich chocolate mug cake, this golden vanilla version holds a truly special place in my heart. The simplicity of this quick recipe reminds me of sweet tea on a hot porch. You will find yourself stirring up this simple sweet treat week after week.
Get The Full Cake Recipe
Print
1-Minute Vanilla Mug Cake
- Total Time: 4 mins
- Yield: 1 serving
- Diet: Vegetarian
Description
This easy 1-minute vanilla mug cake delivers a soft, tender crumb and nostalgic buttery flavor in a single serving. It is the perfect quick dessert for when you want a homemade treat without baking an entire cake.
Ingredients
- 4 tablespoons all-purpose flour
- 2 tablespoons granulated sugar
- 1/4 teaspoon baking powder
- 1 pinch salt
- 2 tablespoons unsalted butter, melted
- 3 tablespoons whole milk
- 1/4 teaspoon pure vanilla extract
- 1 teaspoon rainbow sprinkles (optional)
Instructions
- Whisk dry ingredients. Combine flour, sugar, baking powder, and salt in a microwave-safe mug and stir until fully integrated.
- Incorporate wet ingredients. Add the melted butter, milk, and vanilla extract, then stir until the batter is smooth and glossy.
- Microwave the cake. Cook on high for eighty seconds, or until the top is set but still glistening.
- Rest before serving. Let the mug sit untouched in the microwave for sixty seconds to allow the center to finish cooking gently.
- Check for doneness. Insert a toothpick into the center to ensure it comes out with a few moist crumbs; if raw, add 15 seconds of microwave time.
- Add festive toppings. Scatter extra sprinkles, powdered sugar, or whipped cream over the warm cake before serving immediately.
Notes
- Use a 12-ounce mug or larger to ensure there is enough room for the cake to rise without spilling over.
- If your microwave has lower wattage, add 10 to 15 seconds to the cooking time to ensure the center is set.
- Avoid over-mixing the batter, as this develops gluten and can result in a rubbery, tough texture rather than a soft cake.
- Use room temperature milk to help the butter incorporate smoothly without hardening into small clumps.
- Prep Time: 3 mins
- Cook Time: 1 min
- Category: Dessert
- Method: Microwave
- Cuisine: American
What You’ll Need
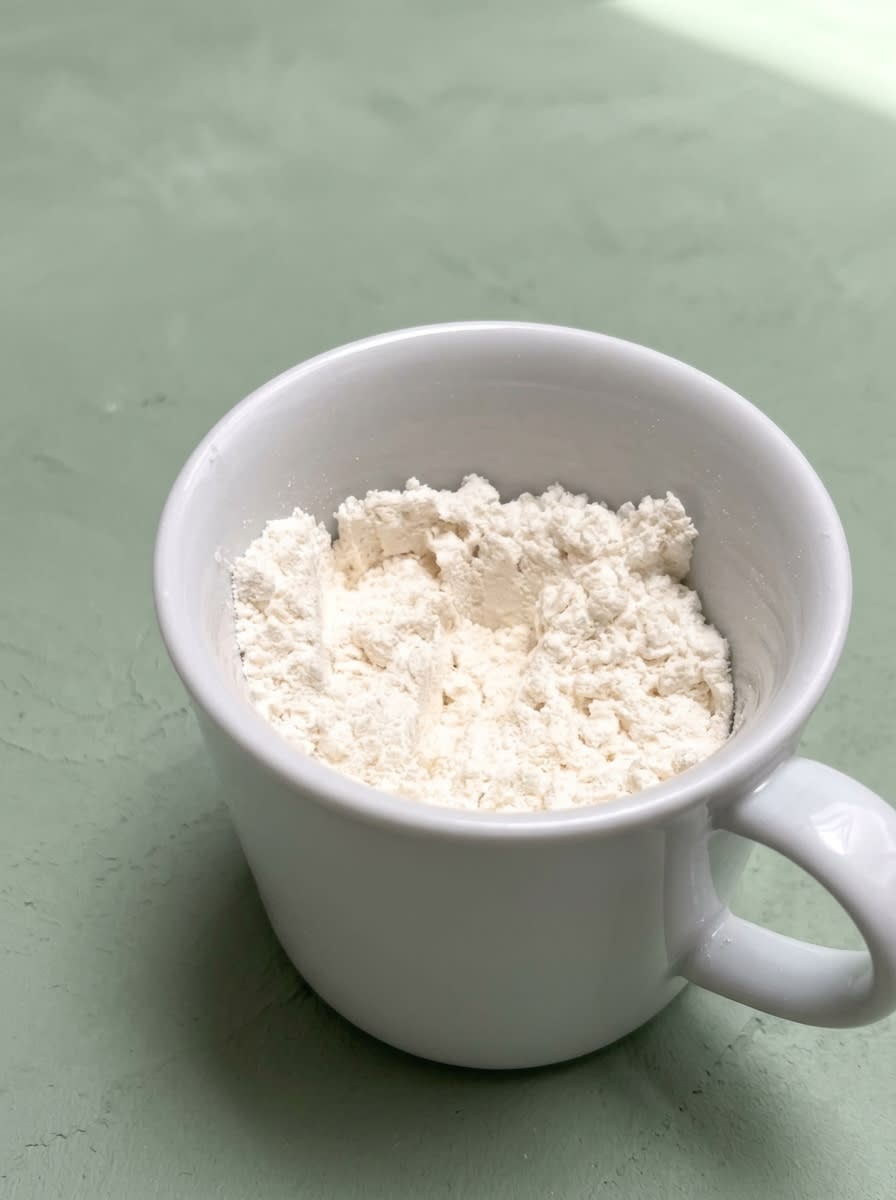
Baking a tiny dessert requires the same respect for ingredients as building a three-tier wedding cake. Since we are not using eggs, we rely on the precise balance of simple pantry staples to create that melt-in-your-mouth texture. Gathering high-quality elements guarantees your quick treat tastes like a labor of love.
- All-Purpose Flour: This forms the structural foundation of our quick treat, providing enough gluten to support the rise. Measure your flour with a light hand to keep the cake light.
- Granulated Sugar: Beyond adding sweet comfort, sugar retains moisture to keep our quick sponge tender and soft. It also helps create a golden color as it cooks.
- Baking Powder: Our primary leavening agent that creates a light, airy rise in the absence of eggs. Always double-check that your baking powder is fresh for the best results.
- Melted Butter: Unsalted butter gives a rich, traditional bakery flavor that oil cannot replicate. It coats the flour proteins to ensure a wonderfully tender bite.
- Whole Milk: Milk provides the essential liquid base and fat that hydrates our flour and keeps the crumb wonderfully soft. Room temperature milk mixes much better with the melted butter.
- Vanilla Extract: A generous splash of real vanilla extract gives this tiny cake its soulful, nostalgic aroma. Do not skimp on this, as it is the star flavor of our dish.
- Colorful Sprinkles: Rainbow sprinkles add a joyful touch of church potluck whimsy to every single bite. They melt slightly during cooking, creating beautiful pockets of color.
| Ingredient | Why It Matters |
|---|---|
| All-Purpose Flour | Builds the delicate structural crumb. |
| Melted Butter | Delivers rich flavor and moisture. |
| Baking Powder | Ensures a rapid, fluffy rise. |
| Vanilla Extract | Provides a classic, comforting aroma. |
How to Bake It
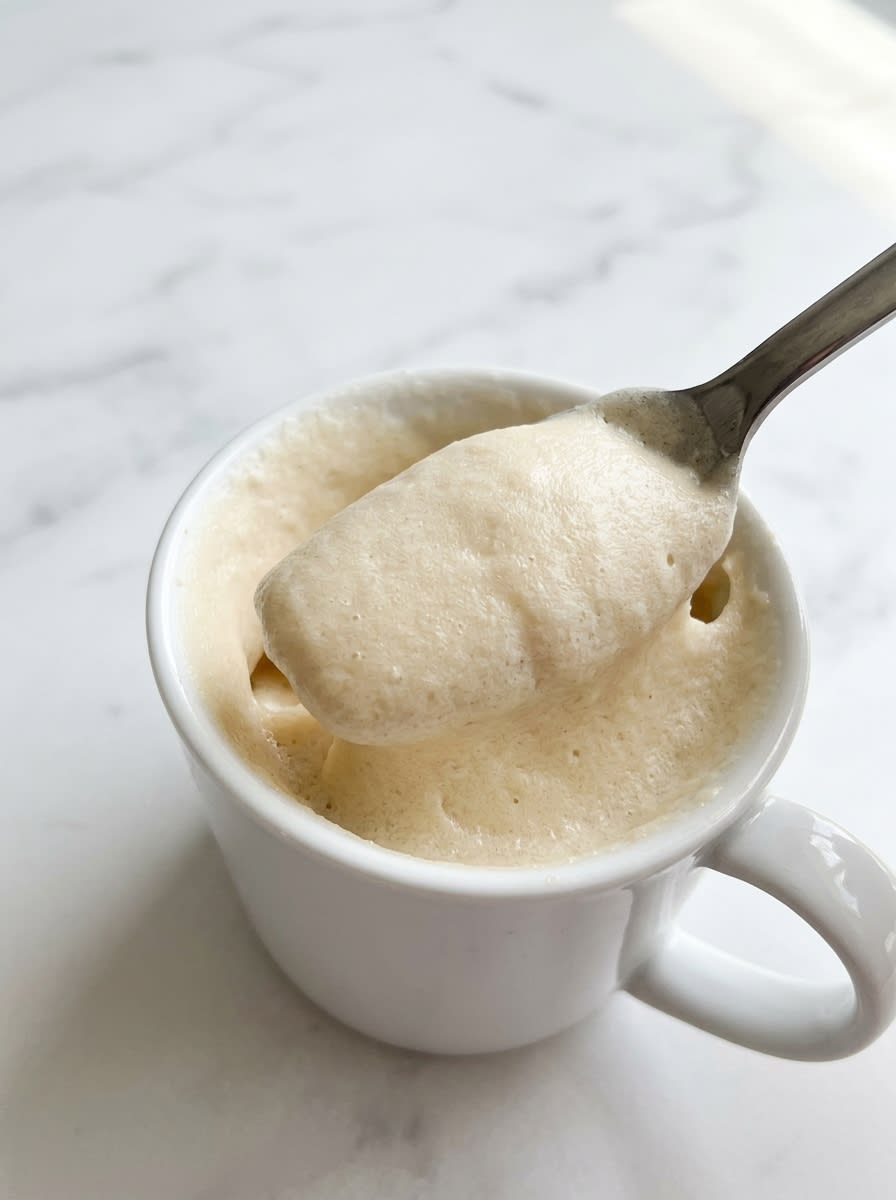
Step 1: Whisk Your Dry Ingredients
Gather your favorite microwave-safe ceramic mug and add the all-purpose flour, granulated sugar, baking powder, and a tiny dash of salt. Use a small wire whisk or a common dinner fork to stir these dry elements together until they are fully integrated. You want to make sure there are no lumps of flour or baking powder hiding in the corners of your vessel. When the dry mix looks uniform and powdery, you are ready to move forward.
Step 2: Incorporate the Wet Ingredients
Pour the melted unsalted butter, whole milk, and pure vanilla extract directly into the center of your dry mixture. Take your fork and stir the ingredients with a gentle, circular motion, starting from the center and working your way outward. Be sure to scrape the very bottom and the tight corners of the mug where dry flour loves to hide. Stir the batter until it is smooth and resembles thick, glossy pancake batter.
Step 3: Microwave Your 1-Minute Vanilla Mug Cake
Place your mug directly in the center of your microwave plate to ensure even heat distribution. Set the timer for eighty seconds, keeping a watchful eye through the glass window as the magic happens. You will see the batter puff up beautifully and rise toward the rim of the mug, filling your kitchen with a rich bakery aroma. Stop the cooking when the top of the cake looks set but still displays a faint, glistening shine.
Step 4: Let the Cake Rest
Leave the mug untouched inside the closed microwave for a full sixty seconds after the timer finishes. This resting period allows the gentle steam to finish cooking the center of the cake without drying out the delicate edges. The puffed top will settle down slightly as it cools, forming a dense and soft structure that holds together on a fork. Touching the side of the mug will reveal a pleasant warmth rather than blistering heat.
Step 5: Check the Crumb Texture
Insert a clean wooden toothpick or a metal tester directly into the center of your warm cake to verify its doneness. The tester should emerge with a few moist crumbs clinging to it, which indicates a perfectly soft and juicy center. If the tester comes out wet with raw batter, return the mug to the microwave for another fifteen seconds. Remember that a slightly undercooked mug cake is always superior to an overcooked, dry one.
Step 6: Add Your Festive Toppings
Scatter a few extra rainbow sprinkles or a dusting of powdered sugar over the warm surface of your finished dessert. You can also place a small dollop of whipped cream or a tiny scoop of vanilla bean ice cream right on top. The warmth of the cake will slowly melt the cream, creating a luscious glaze that seeps down into the tender sponge. Serve this delightful treat immediately while it remains warm and comforting.
Tips From My Kitchen
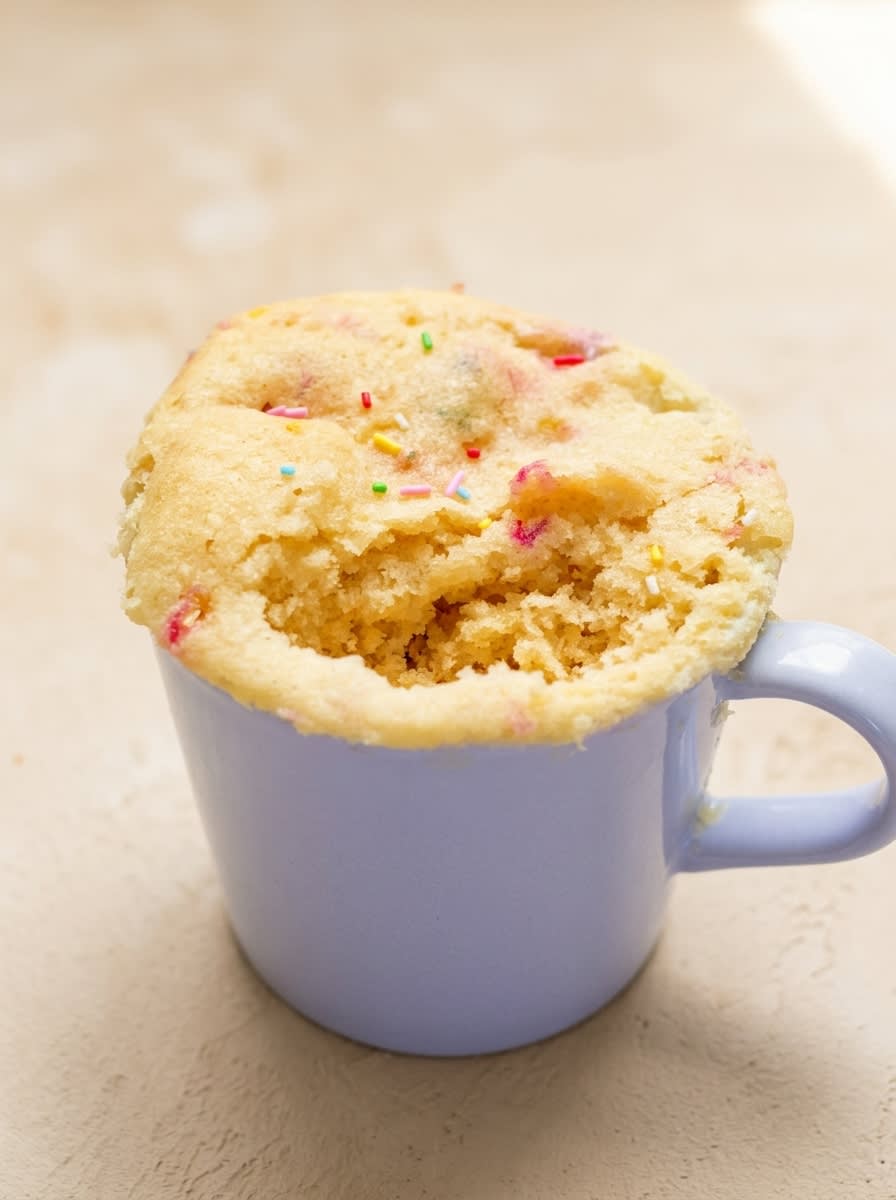
Selecting the correct vessel is the first step toward a perfect microwave bake. You want to use a standard ceramic mug that holds at least twelve ounces of liquid to prevent any batter from climbing over the edges. Avoid narrow or unusually tall mugs, as they prevent the microwave waves from cooking the center of your cake evenly.
If your cake turns out dry and crumbly, you likely cooked it for a few seconds too long. Microwave ovens vary wildly in wattage, so it is always wise to start with a shorter cooking time and check progress early. You want to pull the cake out when the center is barely set, allowing the residual heat to finish the job during the resting phase.
For those who enjoy a brighter fruit profile in their quick bakes, you can try my lemon mug cake as a delightful sunny alternative. The citrus notes pair beautifully with the same simple pantry ingredients you used today. It is another wonderful single-serving option for your recipe box.
Measuring your flour correctly is the secret to achieving that coveted, melt-in-your-mouth crumb when baking a 1-Minute Vanilla Mug Cake. Instead of scooping the flour directly with your measuring cup, use a spoon to fluff the flour and gently deposit it into the cup before leveling it with a knife. For a precise and reliable science-based approach to single-serving treats, you can consult this reliable microwave dessert ratio to understand the delicate balance of flour and liquid.
Always use real melted butter instead of vegetable oil if you want that classic Southern bakery flavor. Butter contains water solids that create steam during the microwave process, which helps lift the cake batter and creates a lighter crumb. Oil can sometimes make a small microwave cake feel greasy rather than buttery and soft.
Avoid over-stirring the batter if you notice a few tiny lumps in your mug. Over-mixing develops the gluten in the flour, which will lead to a tough and chewy texture instead of a tender crumb. A few tiny lumps in your mug cake batter are perfectly fine and will disappear during the rapid microwave rise.
Frequently Asked Questions
Can you make a mug cake without eggs?
Yes, you can certainly make a wonderful 1-Minute Vanilla Mug Cake without using any eggs. In fact, leaving the egg out of single-serving microwave recipes is the best way to prevent a rubbery or spongy texture. Because a mug cake is so small, a whole egg is simply too much liquid and protein, which often results in an unpleasant, custard-like consistency. Our recipe relies on baking powder and the moisture of milk and butter to create a light rise.
Why is my mug cake rubbery or chewy?
A rubbery mug cake is usually the result of over-mixing the batter or over-cooking the cake in the microwave. When you stir flour and liquid together, gluten starts to form, and too much stirring creates a tough structure that hardens under rapid heat. Additionally, cooking the cake past the point of doneness evaporates all the moisture, leaving behind a chewy texture. Always mix just until the ingredients combine and stop cooking while the top is still slightly shiny.
Can I use oil instead of butter in a mug cake?
You can use vegetable oil, canola oil, or melted coconut oil in place of melted butter if you are looking for a dairy-free alternative. However, butter provides a rich, nostalgic flavor that oil cannot match. If you choose to use oil, we recommend adding a tiny pinch of extra salt to help bring out the vanilla notes. The texture will remain quite soft, but the flavor profile will be slightly less rich than the butter version.
Why did my mug cake overflow in the microwave?
A 1-Minute Vanilla Mug Cake will generally overflow when the baking vessel is too small or if too much baking powder was added to the batter. For this recipe, you want to use a mug that holds at least twelve ounces of liquid, leaving plenty of room for the batter to rise. If your mug is small, the expanding steam will push the batter up and over the sides of the rim. Always measure your baking powder precisely with a proper measuring spoon to avoid an overactive rise.
Can I use self-raising flour instead of all-purpose flour?
You can use self-raising flour in this recipe if you do not have all-purpose flour and baking powder in your pantry. Simply substitute the same amount of self-raising flour and omit the baking powder and the pinch of salt from the dry mixture. Self-raising flour already contains the perfect balance of leavening agents and salt, so your cake will rise beautifully. Be sure not to add any extra baking powder, or your cake may rise too quickly and collapse.
Why does my mug cake taste dense and tough?
A dense and tough mug cake is typically caused by too much flour or a lack of proper leavener. If you scoop your flour directly from the bag with a measuring cup, you will pack too much flour into the recipe, which throws off the liquid ratio. This excess flour absorbs all the moisture, leaving the cake heavy and dry. To fix this, always use the spoon-and-level method for measuring flour and ensure your baking powder is fresh and active.
Make It Your Own
If you want to add a burst of orchard sweetness to your afternoon, you can easily turn this base into a fruit-filled delight. Toss a tablespoon of fresh blueberries with a pinch of flour before folding them gently into your vanilla batter. For a wonderful seasonal twist, you can also check out my easy blueberry mug cake which has been perfected for fruit lovers.
Chocolate enthusiasts can easily transform this recipe by pressing a single chocolate truffle or a tablespoon of chocolate chips into the center of the batter. As the microwave heats the cake, the chocolate will melt into a rich, molten core that surprises you with your first spoonful. This variation gives you the best of both worlds: a golden vanilla sponge with a warm chocolate heart.
Another crowd-favorite option is the addition of warm fall spices to match a cozy autumn evening. Stir in a quarter teaspoon of ground cinnamon and a pinch of nutmeg along with your dry ingredients to create a snickerdoodle style treat. You can top this spiced version with a quick cinnamon-sugar dusting right before cooking to create a sweet, crackly crust.
How to Serve It
This quick dessert is best enjoyed warm, straight out of the microwave while the crumb is at its softest. To make it feel like a true Southern Sunday dinner treat, serve it alongside a tall glass of sweet tea or a hot cup of black coffee. The bitter notes of the coffee complement the sweet vanilla aroma of the warm sponge beautifully.
If you are serving this to guests for a casual weeknight treat, you can set out a variety of toppings in small bowls. Guests can customize their warm mugs with things like chocolate syrup, toasted pecans, or fresh berries. For a truly decadent twist, you can suggest they try my easy nutella mug cake if they prefer a rich hazelnut flavor profile.
For a beautiful presentation, dust the top of the cake with a tiny bit of cocoa powder or powdered sugar through a fine-mesh strainer. You can place the mug on a delicate saucer with a vintage silver spoon to capture that classic front-porch hospitality. Adding a single fresh mint leaf on top of a dollop of cream adds a touch of professional polish to this simple comfort food.

A Final Slice
There is nothing quite like the simple comfort of a warm, fresh cake when the day is drawing to a close. This simple single-serving treat proves that you do not need hours in the kitchen or a sink full of dirty dishes to enjoy a soulful dessert. It is my favorite way to bring a little bit of Southern bakery magic into any ordinary evening.
If you ever find yourself craving a deeper cocoa flavor, you can always transition over to my chocolate mug cake 2 for another rapid microwave option. It carries that same comforting, tender crumb that makes single-serving baking such a joy. No matter which flavor you choose, these quick bakes are perfect for satisfying your sweet tooth in an instant.
I would love to hear how your cake turned out and what creative toppings you decided to pile on top. Please share your sweet creations with our community of home bakers online. Connect with us on Pinterest, follow our latest kitchen adventures on Facebook, watch our quick video tips on TikTok, or join our recipe group on Telegram to stay inspired.