Few things are more frustrating than spending hours on dessert only to have your cake pops crumble off their sticks, but this foolproof method solves that mess once and for all.

When you set out to make Brownie Cake Pops, you deserve a treat that is fudgy on the inside and perfectly snappy on the outside. My recipe skips the fussy buttercream binder because brownies already possess all the rich moisture needed to hold their shape on a lollipop stick. You will get a deep chocolate flavor that mimics a premium bakery truffle without any complicated kitchen equipment or stressful techniques. It is the perfect sweet treat to bring to your next family gathering or neighborhood potluck.
The Heart of This Recipe and Why Brownie Cake Pops Work So Well
Prep: 10 min · Serves: 24 · Difficulty: Easy
- Fudgy chocolate flavor in every single bite.
- No messy frosting binder is required here.
- Kids and adults love eating dessert on sticks.
- Simple box mix speeds up your prep time.
- Perfect crowd-pleasing treat for family reunions.
Growing up, we always looked forward to the dessert tables at church potlucks, and these little treats bring that same excitement to a new generation. They combine the traditional comfort of a homemade fudge brownie with a modern, convenient presentation that makes serving a breeze.
Making homemade treats should be a joyful experience, not a chore that leaves your kitchen covered in chocolate and crumbs. I have taught countless home bakers how to master cake pops without losing their minds in the process. This specific brownie version is a true miracle because the natural fudgy density of the baked batter creates a secure hold on the stick. You do not have to worry about your hard work sliding off into the dipping bowl before the party starts. This is the recipe your family will request for every single sweet celebration.
Get The Full Cake Recipe
Print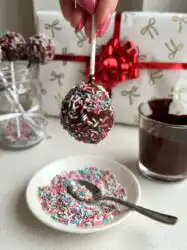
Brownie Cake Pops
- Total Time: 2 hours 50 mins
- Yield: 24 pops
Description
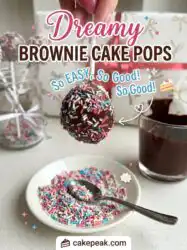
These decadent brownie cake pops feature a rich, fudgy center coated in a smooth chocolate shell for a bakery-quality treat. Perfectly portable and mess-free, they are the ideal dessert for potlucks, parties, and sweet celebrations.
Ingredients
- 1 box brownie fudge mix
- 12 ounces chocolate candy melts
- 2 teaspoons vegetable shortening
- 1/4 cup white nonpareil sprinkles
- 24 paper cake pop sticks
Instructions
- Bake and cool. Prepare the brownie mix according to package directions, then allow it to cool completely in the pan until firm.
- Trim the edges. Remove the cooled brownie block from the pan and cut away all hard, chewy outer edges and the top crust.
- Mash and shape. Crumble the soft center pieces into a bowl, mix into a pliable dough, and roll into 24 even golf-ball-sized spheres.
- Attach the sticks. Dip the tip of each paper stick in melted chocolate, insert into a brownie ball, and freeze the pops for at least two hours.
- Prepare the coating. Melt the remaining candy wafers with vegetable shortening in a deep mug using thirty-second microwave intervals until smooth.
- Dip and decorate. Dip each chilled pop into the chocolate, tap to remove excess, sprinkle with nonpareils, and stand upright to set completely.
Notes
- Ensure the brownies are completely cool before crumbling to achieve the best texture for shaping.
- Keep the dipping chocolate warm during the process but allow it to cool slightly so it does not melt the chilled centers.
- Avoid any contact with water or steam during the melting process to prevent the chocolate from seizing.
- Use a deep, narrow mug for dipping to ensure full coverage of the brownie ball in a single motion.
- Prep Time: 10 mins
- Cook Time: 40 mins
- Category: Dessert
- Method: Baking and Dipping
- Cuisine: American
Your Ingredient Lineup
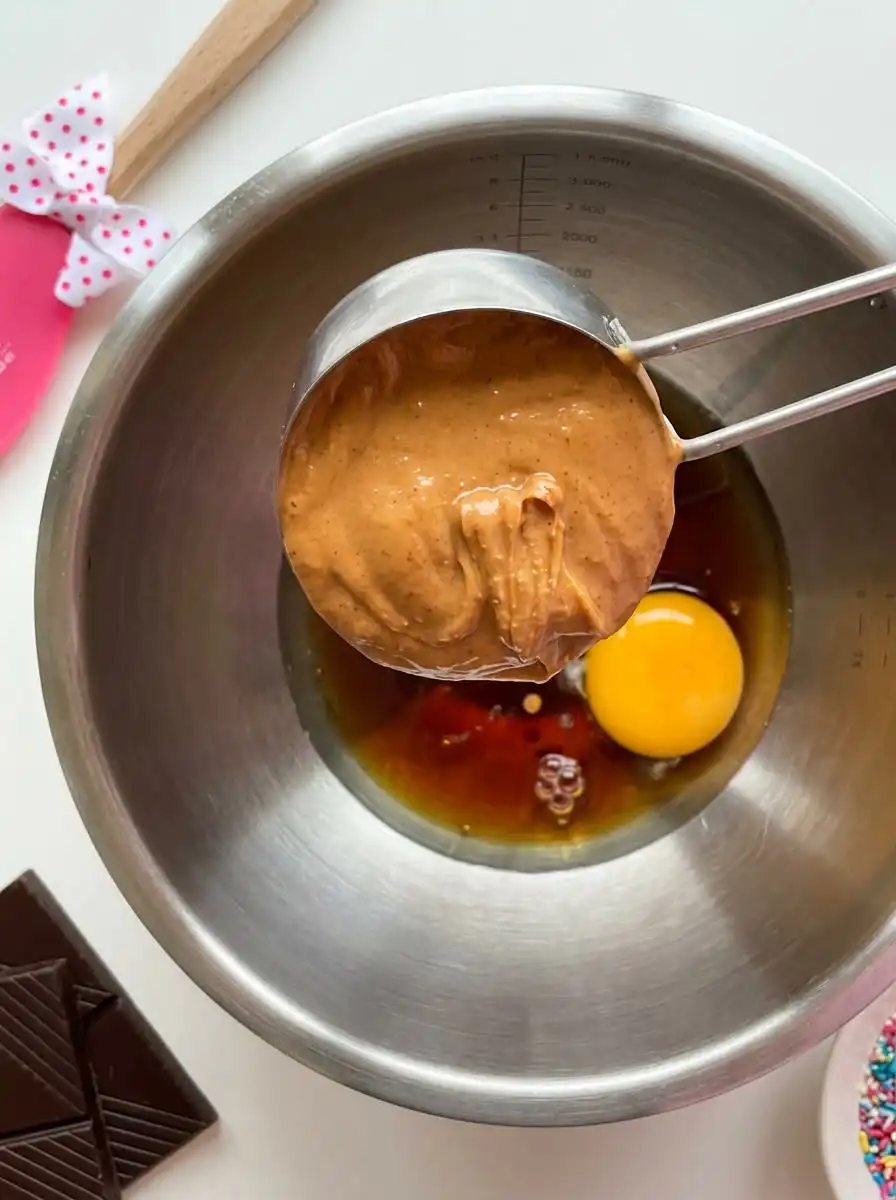
You do not need a long list of fancy ingredients to create a dessert that tastes like it came from a high-end bakery. A few carefully selected pantry staples will give you the rich, chocolatey foundation and smooth, beautiful coating needed for success. Gather these simple items from your cupboards before you begin.
- Brownie Fudge Mix: Using a standard box mix guarantees consistent moisture and fat levels, which are critical for getting that perfect, dense crumb.
- Chocolate Candy Melts: These vanilla-flavored wafers melt down smoothly and set quickly into a firm, snappy shell that keeps the centers fresh.
- Shortening: Adding a small spoonful of solid vegetable fat thins out the melted candy coating to the perfect dipping consistency without affecting its setting ability.
- White Sprinkles: Traditional nonpareils add a pleasant, crunchy contrast to the velvety chocolate and make each treat look festive on the platter.
- Cake Pop Sticks: Solid paper lollipop sticks provide the sturdy support needed to lift and dip the heavy chocolate centers without bending.
| Ingredient | Why It Matters |
|---|---|
| Brownie Fudge Mix | Provides the reliable, fudgy base and rich chocolate flavor. |
| Chocolate Candy Melts | Creates a beautiful, snappy outer shell that dries quickly. |
| Shortening | Thins the melted coating to prevent thick, clumpy layers. |
| White Sprinkles | Offers a traditional festive look and a sweet, crunchy texture. |
The Method, Step by Step
Step 1: Bake and Cool the Fudgy Brownies
Set your oven according to the package instructions and bake your chocolate fudge mix in a standard pan. Let the baked sheet cool completely at room temperature until the center feels firm and no longer warm to the touch. Cutting into warm brownies will result in a sticky paste instead of the perfect crumbly texture needed for shaping. Patience at this stage guarantees your treats have the ideal consistency.
Step 2: Remove the Crisp Outer Edges
Lift the cooled block of chocolate goodness out of the baking pan and set it on a large cutting board. Use a sharp chef’s knife to trim away the dry, chewy outer edges and the crinkly top crust. Discard these pieces or save them for snacking later, as they are too dry to blend smoothly into the dough. You want only the soft, dense, moist inner crumb for the rolling process.
Step 3: Mash and Shape the Centers
Crumble the remaining moist pieces into a wide mixing bowl using your clean hands until no large chunks remain. Press and mash the crumbs together firmly until they form a cohesive, pliable dough that feels like thick clay. Scoop even portions of the chocolate mixture and roll them between your palms into tight, smooth rounds about the size of a golf ball. Arrange these round portions on a baking sheet lined with parchment paper.
Step 4: Secure the Sticks and Chill
Melt a small handful of the candy wafers in a microwave-safe bowl to use as your chocolate glue. Dip the tip of each paper stick about half an inch into the warm liquid, then push it directly into the center of each chocolate round. Place the baking sheet into the freezer for at least two hours until the chocolate rounds feel solid and icy cold. This chilling process is what secures the stick firmly inside the moist center.
Step 5: Melt the Candy Coating
Combine the remaining candy melts and two teaspoons of vegetable shortening in a deep, heat-safe ceramic mug. Heat the mixture in your microwave in brief thirty-second intervals, stirring thoroughly after each round with a long spoon. Stop heating once the mixture flows smoothly like warm cream and has no remaining solid lumps. Let it cool for a minute so the heat does not melt your chilled chocolate rounds during dipping.
Step 6: Dip Your Brownie Cake Pops to Perfection
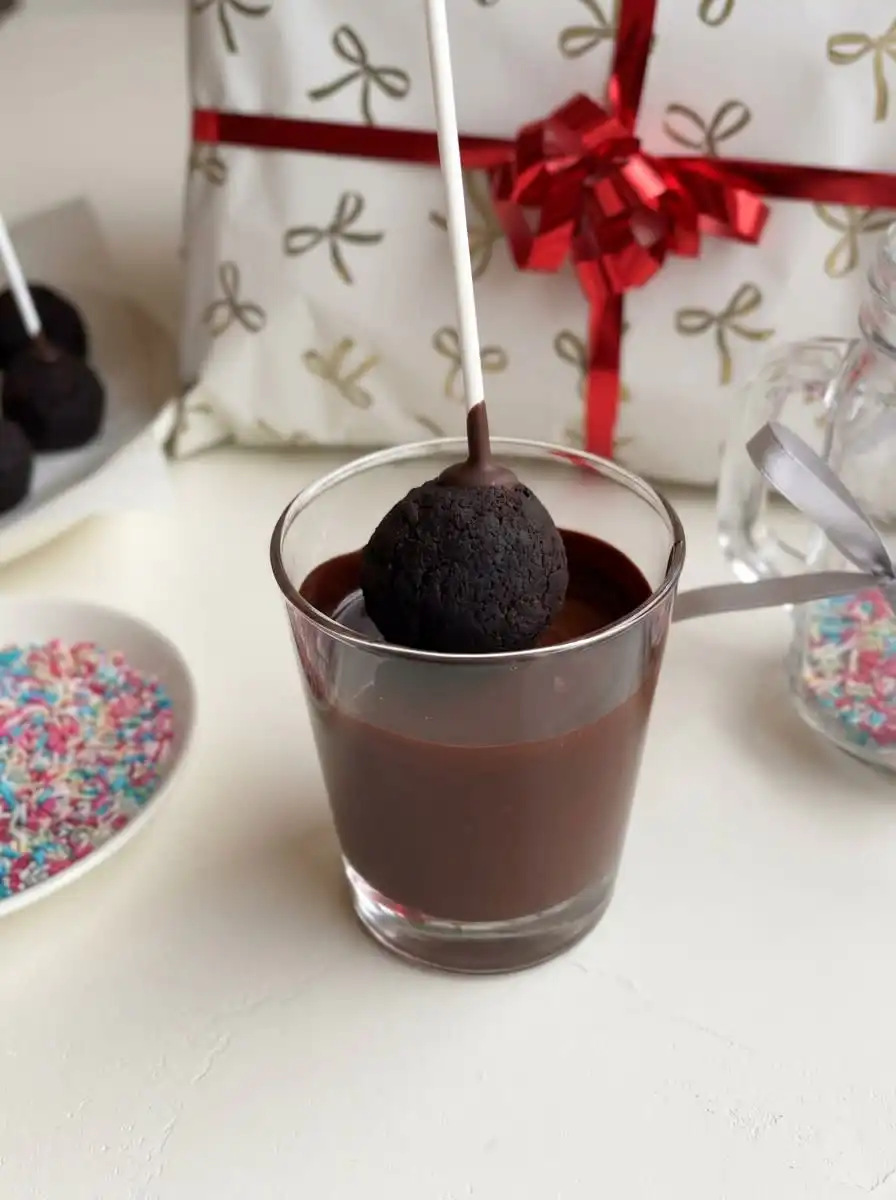
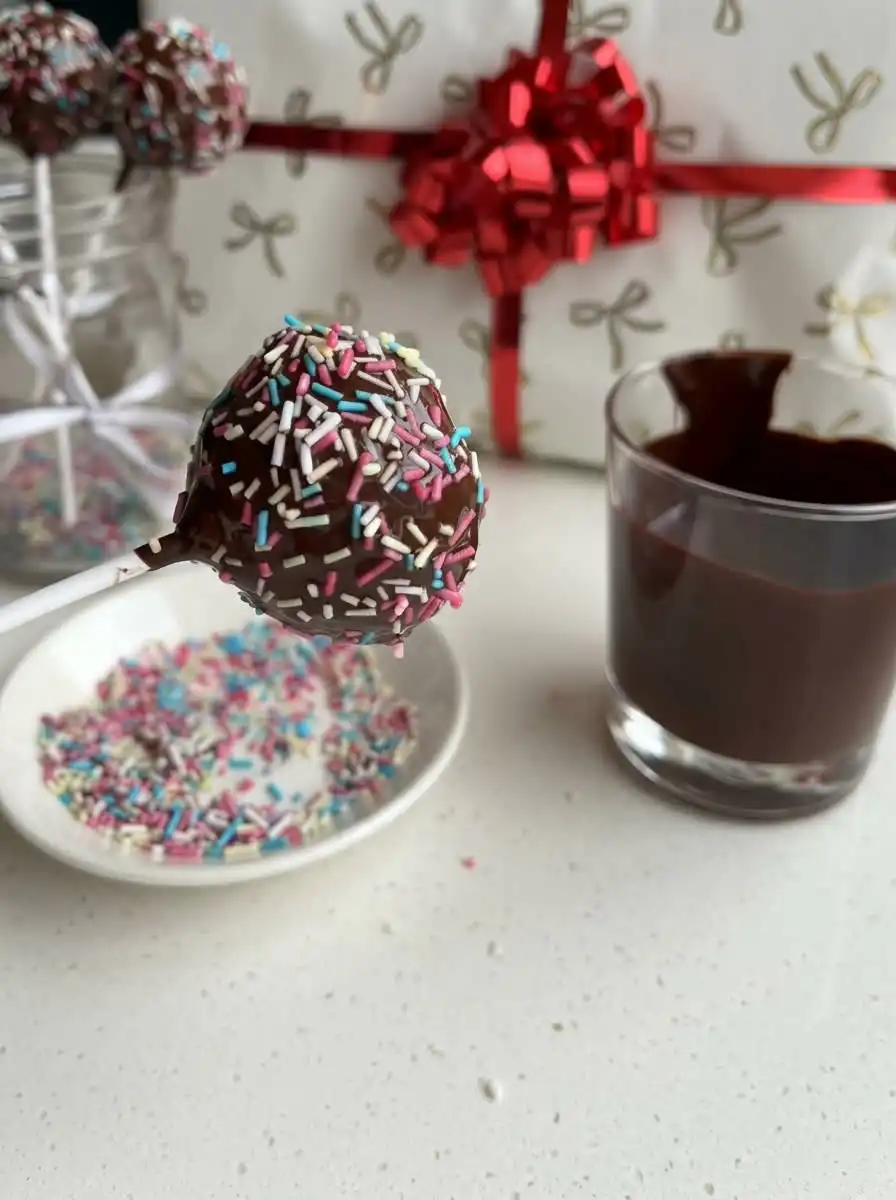
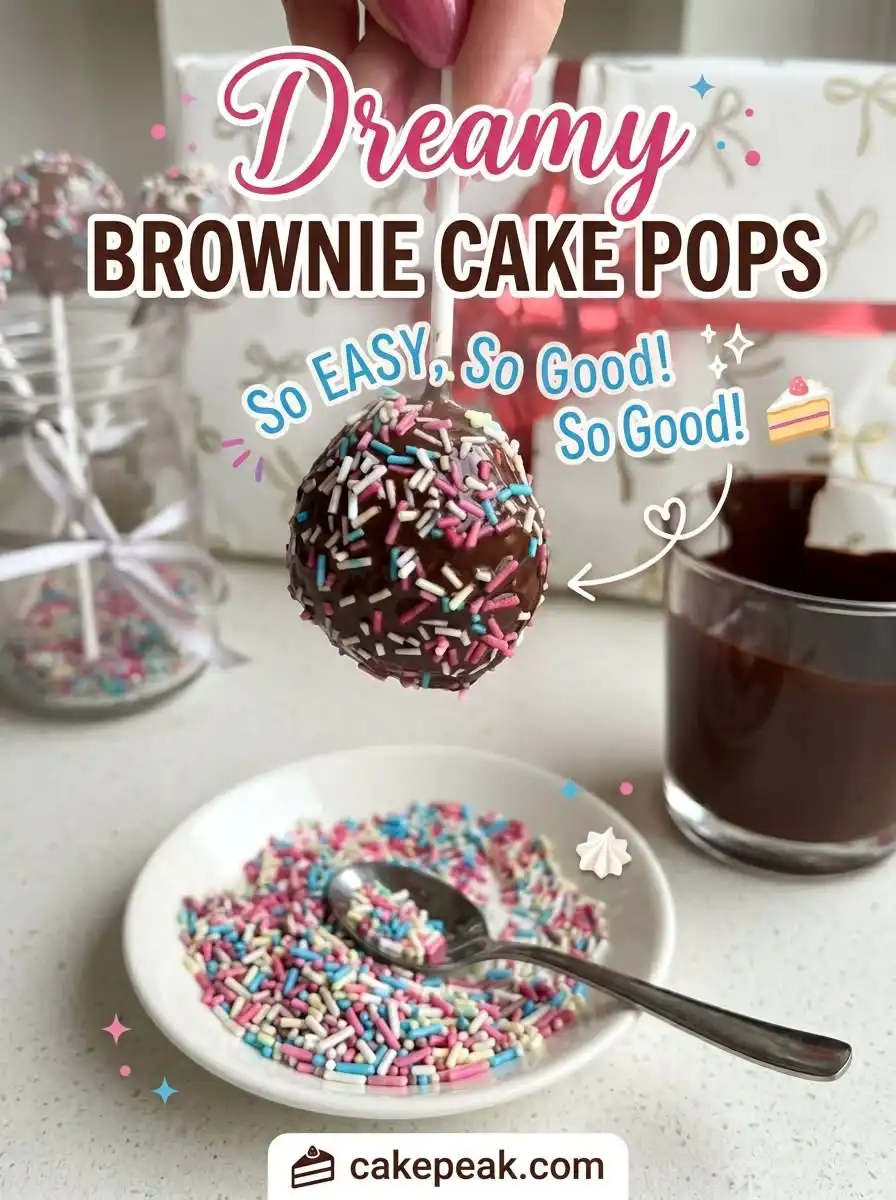
Hold a chilled treat by its paper stick and lower it straight down into the warm, melted chocolate until the fluid meets the base of the stick. Pull the treat straight up and tap your wrist gently to encourage the excess coating to drip back into the cup. Scatter your white sprinkles over the wet shell immediately before the glossy coating sets. Place the sticks upright in a block of styrofoam to dry into a beautiful, smooth finish.
Southern Baker’s Secrets
For the best texture, make sure you do not bake your brownies a minute too long. An overbaked brownie will be too dry and sandy to hold its shape without adding a liquid binder. Keep a close eye on the oven and pull the pan out when a toothpick inserted in the center still has a few moist crumbs clinging to it.
If your candy coating feels too thick and clumpy, here is why and how to fix it. This issue usually happens because moisture has entered the melted chocolate, or the candy was overheated during the melting process. Stir in an extra teaspoon of solid vegetable shortening or coconut oil and warm it for ten seconds to restore a silky, thin pouring consistency.
Always use a deep, narrow vessel like a coffee mug or a pint glass rather than a wide bowl for your melting step. A narrow container provides more depth of chocolate with the same amount of candy melts, making it much easier to submerge each treat completely in one smooth motion. This simple swap will prevent your treats from scraping the bottom of the container.
When you are working with chocolate coatings, you must avoid any contact with water or steam. Even a single drop of water from a wet spoon or a damp hand can cause your entire bowl of melted candy to seize up into a grainy, unworkable paste. Keep your workspace completely dry and wipe your utensils thoroughly before you begin melting.
If you want to practice your decorating skills on other sweet treats, you can apply these same dipping techniques to our delicious red velvet cake pops. The process of securing the stick and managing the temperature of your dipping chocolate remains exactly the same for all cake-based treats. Mastering this basic skill allows you to create a whole rainbow of colorful party desserts.
You can find more detailed advice on handling the chocolate shell in this helpful easy brownie lollipop guide. Keeping your dipping chocolate at a warm, stable temperature prevents the coating from cracking as it cools over the frozen centers. It is always helpful to have a reliable reference on hand when learning to work with candy melts.
Frequently Asked Questions
What can I use to bind the crumbled brownies?
Most brownies are naturally moist and fudgy enough to hold their shape without any extra ingredients. If your baked batch turned out slightly dry, you can add a single tablespoon of chocolate buttercream or chocolate syrup to act as a binder. Work the liquid into the crumbs with your hands until the dough easily holds a solid shape.
Why do my brownie pops fall off the stick?
This common frustration usually happens when the chocolate balls are too warm or when the stick is not secured with melted candy glue before chilling. Make sure you dip the tip of the stick into melted candy melts before inserting it, then freeze the treats for at least two hours. This chilling step creates a solid anchor that keeps your dessert secure during the dipping process.
Can I use boxed brownie mix instead of homemade?
You can certainly use a boxed mix, and it is actually my preferred shortcut for this specific recipe. Boxed fudge mixes provide a reliable amount of fat and moisture that makes the dough incredibly easy to shape. Just follow the package directions for the fudgy version of the recipe to get the best results.
Is it possible to freeze brownie cake pops?
Freezing these chocolate treats is simple and keeps them fresh for up to three months if stored correctly. Place sheets of parchment paper between the layers to prevent the smooth candy coatings from sticking or chipping. When you are ready to serve them, let them thaw slowly in the refrigerator to avoid condensation on the outer shells.
Should I use candy melts instead of real chocolate for the coating?
Yes, candy melts are highly recommended because they melt evenly and set into a firm, professional-looking shell without tempering. Real chocolate can be quite finicky to work with and may remain soft or melt quickly at room temperature. Candy wafers are designed to dry into a beautiful satin finish that holds up well during serving.
How long do these treats stay fresh at room temperature?
These treats will remain perfectly fresh and delicious for up to five days when stored in an airtight container at room temperature. The sweet candy shell acts as a protective barrier that seals in the moisture and prevents the rich center from drying out. Keep them in a cool, dry place out of direct sunlight to prevent any softening of the shell.
What is the best way to store leftovers without ruining the coating?
The best method is to keep them in a flat, airtight container lined with paper towels to absorb any excess moisture. If you need to stack them, always place a sheet of wax paper or parchment paper between the layers. Avoid storing them in a damp refrigerator unless your kitchen is extremely hot, as humidity can cause the sugar shell to sweat.
Family Twists & Variations
For a salty and sweet combination that everyone will love, you can add a swirl of creamy peanut butter directly to your brownie crumbs before rolling. Warm a few tablespoons of smooth peanut butter in the microwave until it is slightly runny, then drizzle it over the chocolate crumbles. This adds a rich flavor and helps bind the mixture together while giving it a traditional Southern flair. Coat these in milk chocolate and top them with chopped salted peanuts for a wonderful crunch.
If you want to add a double dose of chocolate to your dessert table, you can easily blend crushed chocolate sandwich cookies into your dough. This texture variation is highly popular and reminiscent of our famous oreo cake pops that always disappear first at church potlucks. Crush ten sandwich cookies into fine dust and fold them directly into the mashed chocolate crumbs. Dip the finished shapes in white candy melts and dust them with extra cookie crumbs for a beautiful speckled look.
Adults will love a sophisticated twist that pairs beautifully with a hot cup of black coffee after Sunday dinner. Dissolve two teaspoons of instant espresso powder in a teaspoon of warm water, then mix it into your chocolate dough. The deep coffee notes intensify the chocolate flavor and cut through the sweetness of the candy shell. Finish these with a drizzle of dark chocolate and a tiny pinch of flaky sea salt for an elegant presentation.
Serve It Southern-Style
When you are preparing a dessert table for a family reunion or a backyard barbecue, presentation is everything. I love to display these chocolate treats standing upright in a rustic wooden box filled with sugar or decorative dried beans. This keeps them secure and allows your guests to easily grab one without touching the others. You can wrap each individual sweet treat in a small cellophane bag tied with a piece of cotton twine for a charming touch.
These sweet chocolate treats are wonderful on their own, but they also pair beautifully with other classic Southern desserts. If you are hosting a larger gathering, consider serving them alongside a rich, warm brownie cake to give your guests multiple chocolate options. The contrast between a warm sliced dessert and a chilled pop on a stick makes your table feel festive and thoughtful. Offer a pitcher of freshly brewed sweet tea or hot coffee to balance the deep chocolate richness.
For a truly memorable party setup, you can customize the color of your sprinkles to match the specific holiday or season you are celebrating. Soft pinks and blues work beautifully for baby showers, while bright reds and greens bring a festive holiday cheer to your winter tables. Always arrange your treats at varying heights on your serving table using cake stands or small wooden crates. This visual variety catches the eye of your guests and makes your homemade desserts look like a professional display.
From My Kitchen to Yours
Baking is about more than just mixing ingredients in a bowl; it is about creating sweet memories that bring people together. These chocolate treats are a wonderful way to show your loved ones how much you care without spending all day in a hot kitchen. When you share a platter of these rich, fudgy treats, you are offering a little piece of home-baked comfort to everyone who takes a bite. I hope this simple recipe brings as much joy to your table as it has to mine over the years.
If you enjoyed learning how to master this fun recipe, you might want to try your hand at our traditional classic vanilla cake pops next. They offer a wonderfully light, buttery flavor that balances the deep richness of this chocolate version beautifully. Having both options on your dessert table makes sure there is something sweet for every palate at your next celebration. Please let me know how your baking adventure turned out by leaving a comment below.
I would love to see your beautiful creations, so please share your photos with our baking family on social media. You can find us sharing tips, video tutorials, and sweet inspiration daily on Pinterest, Facebook, and TikTok. Let us keep the sweet tradition of home baking alive, one delicious slice at a time. Until we meet again across the kitchen counter, happy baking and take sweet care of yourselves.