My grandmother always taught me that the sweetest hospitality is served in small, thoughtful bites, and these little treats bring that wisdom straight to your dessert table.

There is something truly wonderful about a baking project that turns a quiet kitchen into a cozy autumn workshop. These Classic Pumpkin Cake Pops combine the rich, warm flavors of spiced pumpkin with the playful charm of a modern bakery treat. They are moist, beautifully spiced, and dipped in a sweet candy shell that locks in all that homemade flavor. They achieve that perfect crumb — tender, moist, holding its shape on a fork — that every Southern baker strives for. Whether you are prepping for a school bake sale or setting a festive table, Classic Pumpkin Cake Pops offer a reassuring taste of home in every single bite.
Why Classic Pumpkin Cake Pops Rule the Autumn Table
Prep: 20 min · Serves: 28 · Difficulty: Medium
- Spiced cake stays wonderfully moist inside.
- Festive pumpkin shapes look stunningly realistic.
- Great for autumn church potluck tables.
- Fun baking project for the family.
- Sweet cream cheese frosting adds rich flavor.
These comforting bites bring everyone together around the dessert table. You can make these alongside our classic vanilla cake pops for a colorful party platter that your guests will talk about all season.
Get The Full Cake Recipe
Print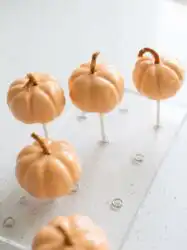
Classic Pumpkin Cake Pops
- Total Time: 55 mins
- Yield: 28 servings
- Diet: Vegetarian
Description
These delightful pumpkin-shaped cake pops combine a moist spiced cake base with a creamy filling and a smooth candy shell. Perfect for autumn gatherings, these whimsical treats capture the essence of the season in every bite.
Ingredients
- 1 box yellow cake mix
- 1 cup pumpkin puree
- 3 large eggs
- 1 tablespoon pumpkin pie spice
- 3 tablespoons cream cheese frosting
- 12 ounces orange candy melts
- 2 ounces green candy melts
- 28 lollipop sticks
- 28 chocolate chips
Instructions
- Bake the cake. Preheat your oven to 350°F, combine cake mix, pumpkin, eggs, and spices in a large bowl, whisk until smooth, and bake in a 9×13 dish for 22-25 minutes.
- Crumble the cake. Allow the cake to cool completely, then pulse in a stand mixer or rub between your palms until it reaches a fine, sandy texture.
- Mix the dough. Add cream cheese frosting to the cake crumbs and mix on low until a smooth, pliable dough forms that holds its shape.
- Portion and roll. Use a scoop to create one-ounce portions, rolling each firmly into a crack-free ball between your palms.
- Mold the ridges. Use a stick to press cross-hatches into the sides of each ball to mimic pumpkin ridges, finishing with an indentation on top.
- Secure the sticks. Melt orange candy, dip the tip of each stick in it, insert into the dough balls, and let the candy collar harden to secure.
- Dip the pops. Submerge each ball into the orange candy coating, tap off excess, and place a chocolate chip in the center as a stem before the coating sets.
- Add the vines. Melt green candy, transfer to a piping bag, and draw delicate squiggly vines extending from the chocolate stem.
Notes
- Ensure your eggs are at room temperature to help the cake batter rise evenly and maintain a soft, fine crumb.
- Use a deep, narrow mug for dipping to make it easier to submerge the cake pops completely in one smooth motion.
- Add a teaspoon of vegetable shortening to your melted candy if it appears too thick or clumpy to ensure a smooth finish.
- Pop any visible air bubbles on the wet candy surface with a toothpick to ensure a professional and smooth appearance.
- Let the shaped dough balls rest at room temperature before dipping to prevent the candy shell from cracking due to thermal shock.
- Prep Time: 20 mins
- Cook Time: 25 mins
- Category: Dessert
- Method: Baking and Dipping
- Cuisine: American
The Building Blocks
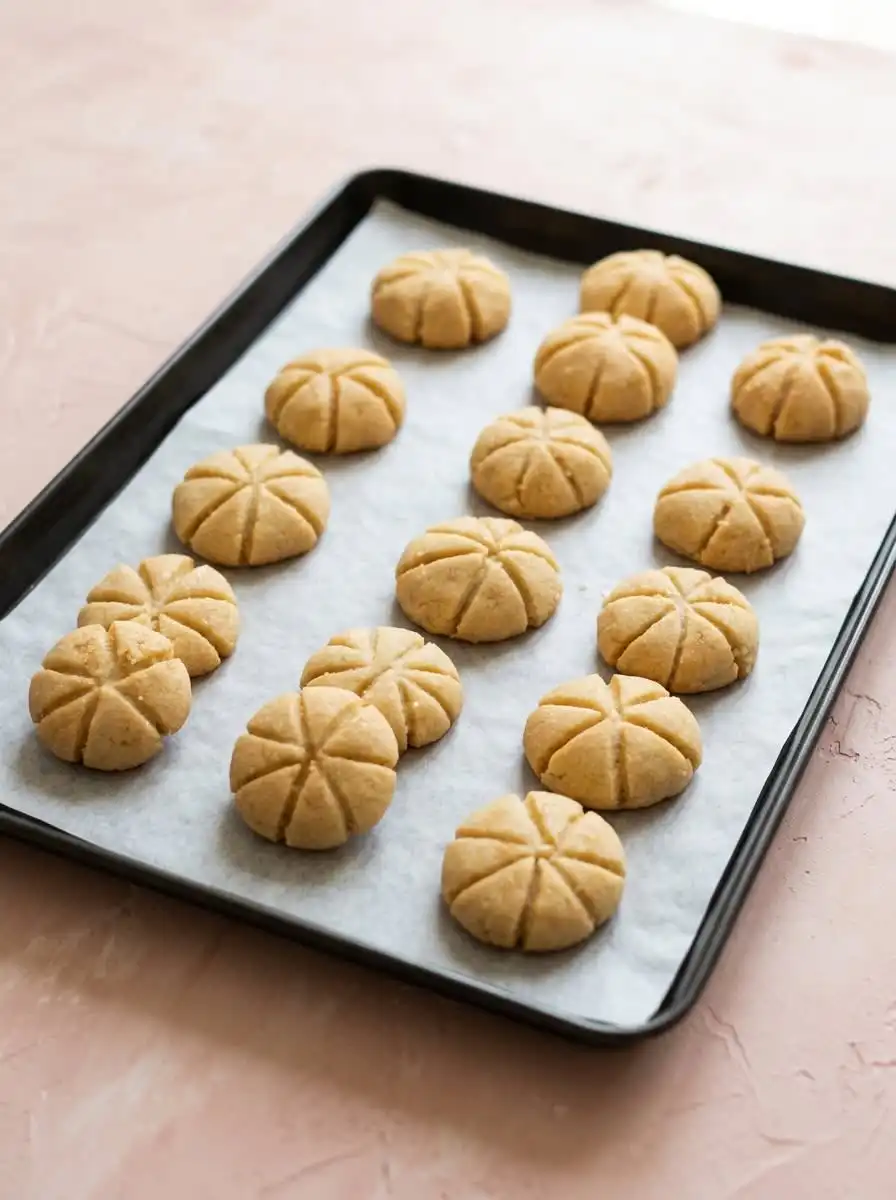
Making these whimsical autumn treats requires only a few simple items that you probably already have stashed in your pantry. We are blending convenient baking staples with real pumpkin and warm spices to create a base that is both flavorful and easy to shape. Here are the key elements that make these treats turn out beautifully every single time.
- Yellow Cake Mix: This convenient box mix provides the sweet, golden foundation for our dough, guaranteeing a soft crumb that holds together beautifully when combined with our wet ingredients.
- Pumpkin Puree: It is crucial to use 100% pure pumpkin puree rather than pre-spiced pie filling to infuse the cake with deep autumn flavor, a rich orange color, and moisture.
- Large Eggs: Having your eggs at room temperature helps them incorporate smoothly into the batter for an even rise in the oven.
- Pumpkin Pie Spice: This aromatic blend of cinnamon, nutmeg, ginger, and cloves is the soul of the recipe, transforming the yellow cake mix with comforting warmth.
- Cream Cheese Frosting: A small amount of this rich frosting acts as the binder for our cake crumbs, adding a subtle tanginess that balances the sweetness.
- Candy Melts: Using high-quality orange and green candy melts guarantees a smooth, glossy coating that makes it simple to dip and decorate each piece.
| Ingredient | Why It Matters |
|---|---|
| Yellow Cake Mix | Creates the golden, sweet base with a reliable structural crumb. |
| Pumpkin Puree | Adds rich moisture and authentic autumn flavor without excess oil. |
| Pumpkin Pie Spice | Delivers the warm aroma of cinnamon, nutmeg, and cloves. |
| Cream Cheese Frosting | Binds the crumbled cake into a smooth, pliable dough. |
| Candy Melts | Form a crisp, smooth outer shell that locks in moisture. |
From Bowl to Cake Stand
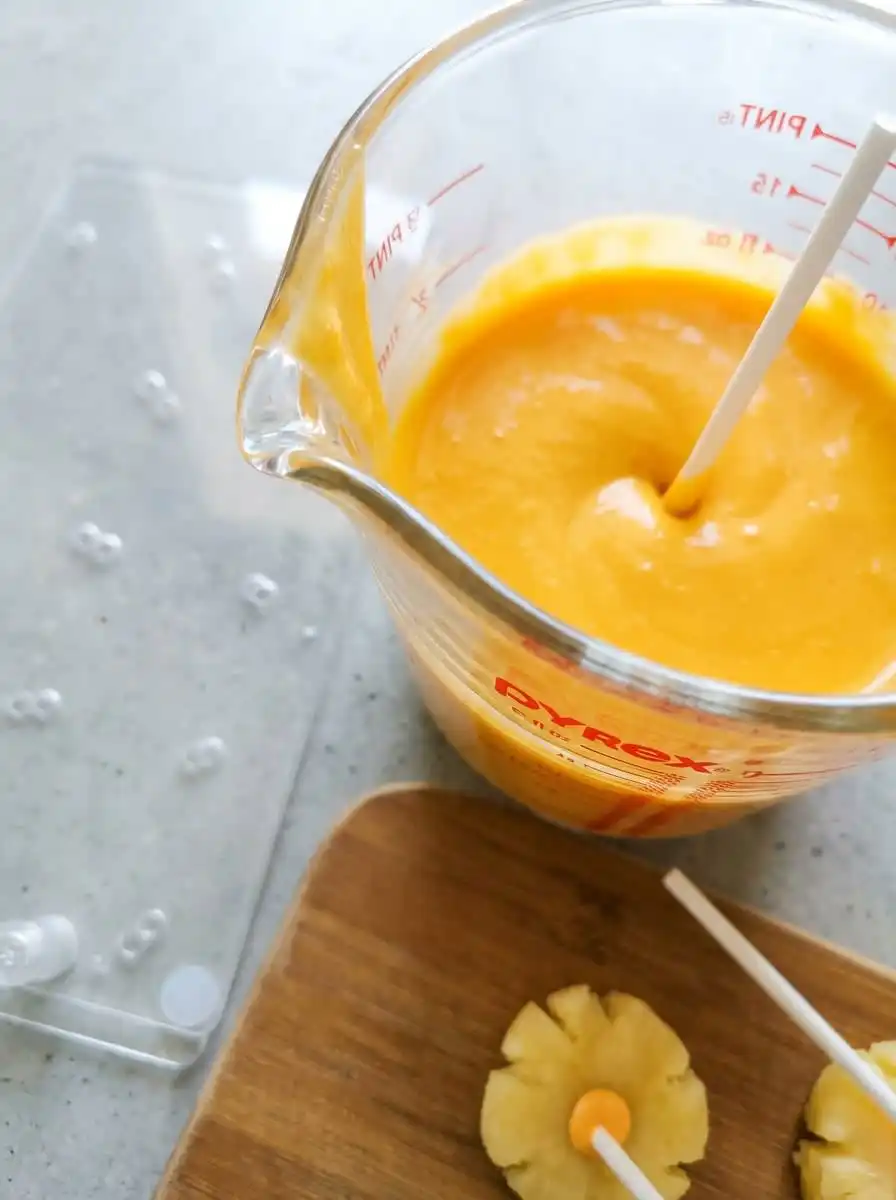
Step 1: Bake the Pumpkin Cake Base
Preheat your oven to 350°F and prepare a 9×13-inch baking dish with a light coating of non-stick cooking spray. In a large mixing bowl, combine the yellow cake mix, pure pumpkin puree, room-temperature eggs, and pumpkin pie spice. Whisk these ingredients together with a hand mixer on medium speed for about two minutes until the batter is smooth, thick, and fragrant with autumn spices. Pour this rich batter into your prepared dish and bake for 22 to 25 minutes, or until a wooden toothpick inserted into the center emerges clean and dry.
Step 2: Crumble the Cooled Cake
Once the cake has cooled completely to the touch, wash your hands and break the cake into large, manageable chunks. Place these pieces directly into the bowl of your stand mixer fitted with the paddle attachment. Run the mixer on low speed for a minute or two, watching as the cake breaks down into fine, uniform crumbs with no large pieces remaining. If you do not have a stand mixer, you can easily rub the cake pieces between your palms over a large bowl to achieve the same soft, sand-like texture.
Step 3: Mix the Dough and Form Classic Pumpkin Cake Pops
Add three tablespoons of cream cheese frosting directly to the fine crumbs in your mixing bowl. Set your mixer to low speed once more, allowing the paddle to evenly distribute the frosting until a cohesive dough forms. The mixture should come together smoothly, resembling a soft, pliable play-dough that is not sticky to the touch. If the mixture still feels a bit dry or crumbly when you squeeze a handful, add a tiny bit more frosting, one teaspoon at a time, until it holds its shape beautifully.
Step 4: Portion and Roll the Dough
Using a kitchen scale or a small cookie scoop, portion the dough into even, one-ounce portions. Roll each portion firmly between your palms to create a smooth, round ball with no visible cracks on the surface. Setting these uniform rounds on a parchment-lined baking sheet as you work keeps them organized and ready for the next creative step. Take your time during this step, as a smooth ball now guarantees a beautiful finish later when we apply the colorful coating.
Step 5: Mold the Pumpkin Ridges
Take a treat stick and gently press a cross shape into the top of one of your rolled dough balls, dividing the top into four equal quarters. Press the stick down the sides of the ball to extend those lines, then divide those sections again to create eight distinct ridges. Gently flatten the ball slightly between your palms, then use the tip of your finger to press a small indentation into the top center where the lines meet. This creates a natural-looking pumpkin shape that is ready to receive its chocolate stem.
Step 6: Secure the Sticks in Place
Melt your orange candy melts in a microwave-safe bowl, heating in 30-second intervals and stirring thoroughly between each session until smooth. Dip the tip of a treat stick about half an inch into the warm melted candy, then gently insert it into the bottom of your shaped dough pumpkin. Place the skewered pumpkin back onto your parchment paper and let it sit for a few minutes until the candy collar hardens completely. This acts as a sturdy anchor, preventing the heavy dough ball from slipping off the stick when you submerge it in the coating.
Step 7: Dip the Pops in Orange Candy
Hold a cake pop by the stick and submerge it completely into the warm orange candy coating in one smooth motion. Lift the pop straight out, holding it over the bowl, and gently tap your wrist to encourage the excess candy to drip back down. While the orange coating is still wet and glossy, place a single chocolate chip right in the top indentation to serve as a tiny stem. Place the stick upright in a cake pop stand or a block of styrofoam, allowing the orange shell to dry and set completely.
Step 8: Pipe the Green Vines
Melt your green candy melts in the microwave, stirring well until the mixture is fully liquid and free of lumps. Transfer this melted green candy into a small piping bag or a plastic storage bag with a tiny corner snipped off the end. Gently squeeze the bag to draw delicate, squiggly green vines coming off the chocolate chip stem on each pumpkin. Let the completed treats rest at room temperature for about ten minutes until the chocolate decorations are firm and ready to be enjoyed.
Southern Baker’s Secrets
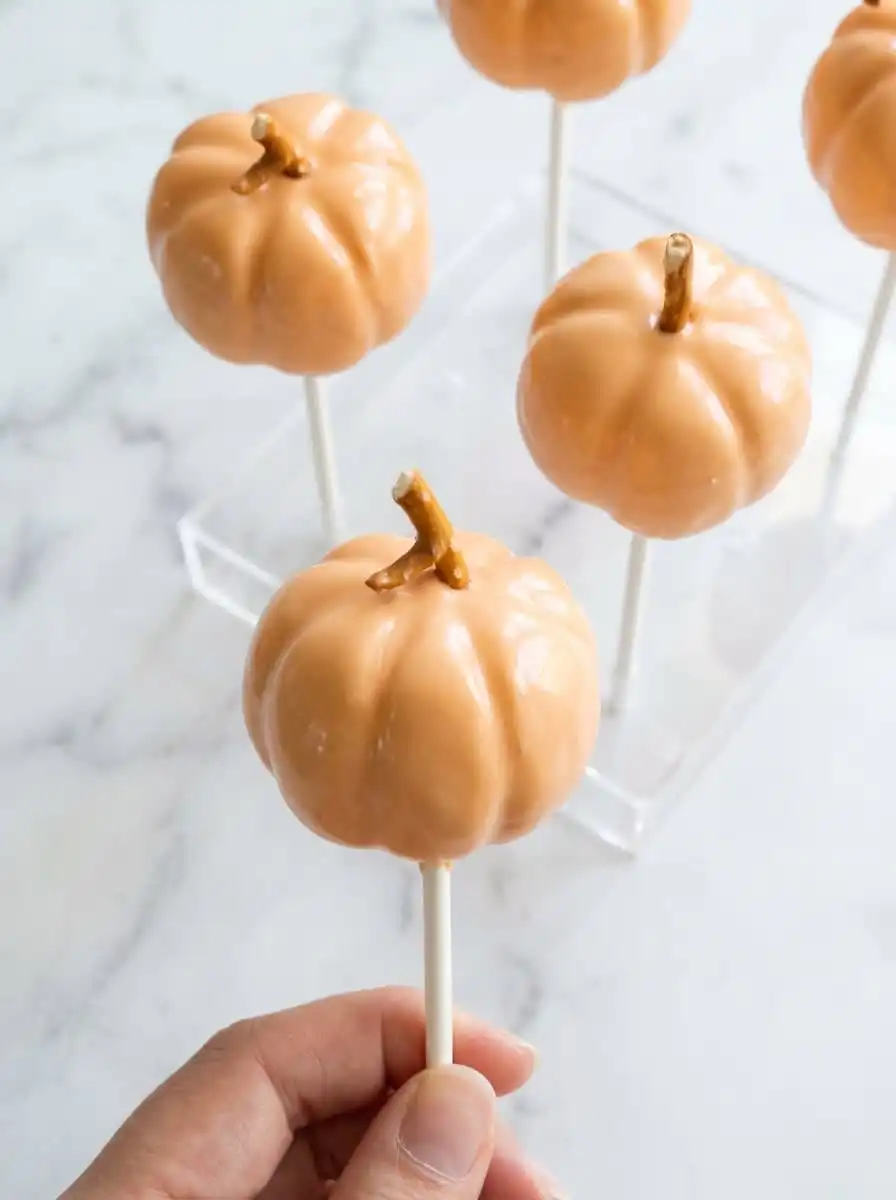
When dipping your Classic Pumpkin Cake Pops, temperature control is key. If your cake pops crack after dipping, it is because the temperature difference was too extreme, causing the cake dough to expand and break the candy shell. Let your shaped dough sit at room temperature for a few minutes before dipping to prevent this frustration.
Thinning the candy melts makes dipping much easier. If your melted candy is too thick and clumpy, do not add water, which will cause the chocolate to seize. Instead, stir in a teaspoon of vegetable shortening or coconut oil to achieve a smooth, pourable consistency that coats the dough evenly.
For more detailed decorating ideas and visual shaping techniques, you can read this guide on how to form pumpkin cake pops to refine your presentation.
Always use a deep, narrow container for dipping your treats. A microwave-safe mug or measuring cup works much better than a wide, shallow bowl because it allows you to submerge the entire pop in one clean motion without hitting the sides.
If you want to master the art of making flawless treats for any occasion, check out our guide on creating cake pops where we share all of our favorite tricks for achieving a smooth finish.
Keep a toothpick handy while dipping to pop any small air bubbles that form on the surface of the wet candy coating. Popping them quickly before the candy sets achieves a smooth, professional-looking shell on every single treat.
Frequently Asked Questions
How to prevent cake pops from cracking?
Cracking happens when there is a significant temperature difference between the cold cake dough and the warm candy coating. To prevent this, let your chilled cake balls sit at room temperature for about ten minutes before dipping them. This allows the dough to expand slightly before the candy shell sets, achieving a smooth, crack-free finish.
What is the best frosting-to-cake ratio for cake pops?
The general rule of thumb is to use about three tablespoons of frosting for one standard 9×13-inch baked cake. You want precisely enough frosting to bind the crumbs together into a pliable, play-dough-like consistency. Adding too much frosting will make the dough greasy and heavy, causing them to fall off their sticks during dipping.
How do you make the pumpkin shape for cake pops?
Roll the dough into a smooth ball, then use a treat stick or toothpick to gently press intersecting lines over the top and down the sides to create eight ridges. Flatten the ball slightly between your palms to mimic a real pumpkin shape. Finally, use your fingertip to press a small dip in the top center where the lines meet, creating a spot for the stem.
Can you use a box mix for cake pops?
Yes, using a convenient box cake mix is an excellent way to save time and maintain a consistent, reliable crumb. By adding your own fresh ingredients like pumpkin puree and warm spices, you can easily customize the flavor so it tastes completely homemade. It is a wonderful shortcut that bakers use all the time.
How do you make the stems and vines for pumpkin cake pops?
While the orange candy coating is still wet, place a single semi-sweet chocolate chip upside down into the top indentation to serve as a sturdy stem. Once the orange shell has hardened completely, use melted green candy melts in a piping bag to draw delicate, squiggly vines curling away from the stem.
What is the best way to coat cake pops smoothly?
Use a deep, narrow cup filled with melted candy so you can submerge each pop in one single, fluid motion without touching the sides. When you pull the pop out, hold it at a slight angle and gently tap your wrist to remove the excess coating. Avoid spinning or swirling the stick, as this can create unsightly air bubbles.
Can cream cheese frosting be used in pumpkin cake pops?
Yes, cream cheese frosting is the ideal binder for these autumn-themed treats. Its subtle tanginess pairs beautifully with the warm spices of the pumpkin cake, cutting through the sweetness of the outer candy shell. Just be sure to use it sparingly so the dough remains firm and easy to shape.
Reunion-Worthy Variations
Chocolate Pumpkin Delights
For a rich twist that chocolate lovers will adore, substitute the yellow cake mix with a deep devil’s food cake mix. The combination of dark chocolate and warm pumpkin spices creates a sophisticated flavor profile that tastes wonderful under the sweet cream cheese binder. You can stick with the orange coating for a traditional look, or use dark chocolate melts for a sleek, modern finish.
Cream Cheese Stuffed Centers
If you want to surprise your guests, roll a tiny dollop of sweetened, chilled cream cheese into the center of each pumpkin dough ball before shaping them. This creates a delightful cheesecake-like surprise when someone takes their first bite. This surprise center works beautifully with many of our favorite recipes, including our decadent red velvet cake pops which are always a hit at family gatherings.
White Chocolate Spice Pops
Instead of using orange candy melts, you can dip your shaped pumpkin treats into high-quality white chocolate spiked with a pinch of extra cinnamon. This variation offers a more subtle, elegant appearance that looks beautiful on a formal holiday dessert table. Drizzle the finished treats with a warm caramel sauce right before serving to add an extra layer of Southern decadence.
Pairing & Presentation
When it comes to presenting these Classic Pumpkin Cake Pops, creating a festive display makes them taste even sweeter. You can arrange them upright in a decorative block of styrofoam wrapped in burlap, or place them in a glass jar filled with unpopped corn kernels to mimic a mini pumpkin patch. Scattering some colorful fall leaves and miniature gourds around the base of your display adds a wonderful touch of front-porch hospitality to your table.
These treats are incredibly versatile and pair beautifully with other seasonal favorites on a dessert buffet. Consider serving them alongside a platter of chocolate-dipped fruit or our popular oreo cake pops to give your guests a variety of bite-sized options. The contrast between the rich pumpkin spices and the dark cocoa cookies is always a crowd-pleasing combination at family reunions.
For a cozy afternoon gathering, serve these sweet pumpkin bites with a warm pitcher of spiced apple cider or hot coffee. The warm beverages melt the sweet candy shell beautifully, releasing the rich, moist cake inside for a truly comforting experience. It is the ideal way to welcome friends into your home on a crisp autumn afternoon.
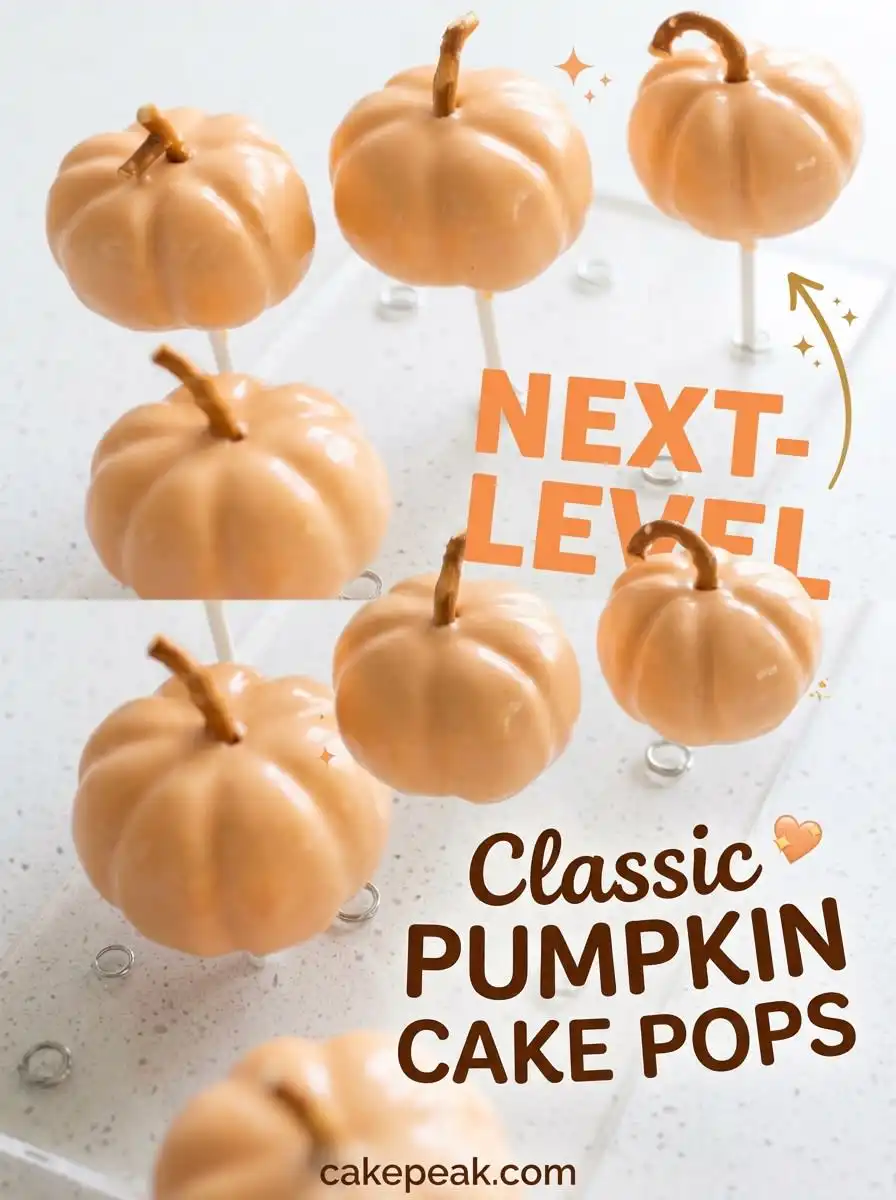
The Last Word
Baking is all about bringing people together around the table to share in the simple joys of life. These festive little treats are more than a sweet bite; they are a fun way to share your love for baking with friends and family during the harvest season. Every time you share a platter of these handmade pumpkins, you are passing along a little piece of home-cooked comfort.
If you find yourself craving a larger dessert with these same warm spices, you can easily transition this recipe into our classic pumpkin spice cake for Sunday dinner. Both options deliver that tender crumb and rich, nostalgic aroma that makes autumn baking so special. No matter which format you choose, your kitchen will smell wonderfully comforting.
We would love to see how your festive creations turn out! Be sure to share your photos and baking adventures with our warm community of home bakers. You can follow our latest recipes and kitchen tips on Pinterest, connect with us on Facebook, watch our step-by-step videos on TikTok, or join our chatting group on Telegram.