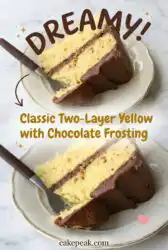
Good baking often requires us to simply step aside and let the integrity of high-quality butter and fresh eggs speak for themselves without unnecessary clutter or noise.

This Classic Two-Layer Yellow Cake with Chocolate Frosting is a testament to the honest beauty of a well-made sponge and a billowy, cocoa-rich finish. It belongs on a wooden table, sliced thick and shared with those who appreciate the quiet comfort of a traditional farmhouse dessert. The crumb is tender and golden, while the cream cheese in the frosting adds a subtle tang that balances the sweetness. Honest ingredients and a steady hand make this bake a centerpiece for any seasonal gathering or quiet weekend afternoon.
The Beauty of This Classic Two-Layer Yellow Cake with Chocolate Frosting
Prep: 30 min · Serves: 16 · Difficulty: Medium
- Tender crumb from cultured buttermilk
- Deeply golden hue from farm eggs
- Velvety frosting with cocoa richness
- Balanced sweetness using sea salt
- Honest texture with rustic charm
This is the yellow cake recipe I reach for when the occasion calls for something truly timeless.
Get The Full Cake Recipe
Print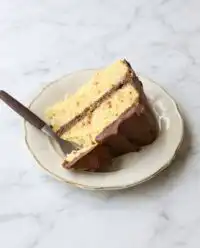
Classic Two-Layer Yellow Cake with Chocolate Frosting
- Total Time: 50 mins
- Yield: 16 servings
- Diet: Vegetarian
Description
This traditional two-layer yellow cake features a tender, golden sponge balanced by a rich, velvety chocolate cream cheese frosting. It is a timeless farmhouse dessert that celebrates honest ingredients and simple baking techniques for a comforting, crowd-pleasing finish.
Ingredients
- Unbleached all-purpose flour
- Cultured buttermilk
- Extra virgin olive oil
- Eggs, separated
- Granulated sugar
- Cornstarch
- Baking powder
- Baking soda
- Sea salt
- Almond extract
- Melted butter
- 100% cocoa powder
- Cream cheese
Instructions
- Prepare the oven. Set the oven to 350 degrees, butter two nine-inch round pans, line with parchment paper, and lightly dust with flour.
- Whip egg whites. Whisk room-temperature egg whites until soft peaks form, then gradually add a portion of the sugar until glossy and firm.
- Combine liquid base. Whisk together the buttermilk, melted butter, egg yolks, olive oil, and almond extract in a separate bowl until smooth.
- Whisk dry ingredients. Combine the remaining sugar, flour, cornstarch, baking powder, baking soda, and sea salt in a large bowl, whisking thoroughly to ensure even distribution.
- Merge the batter. Slowly stir the golden liquid mixture into the dry ingredients until just combined and free of large flour streaks.
- Fold in whites. Vigorously stir a third of the whipped egg whites into the batter, then gently fold in the remaining whites using a figure-eight motion.
- Bake the layers. Divide batter equally into pans and bake for twenty minutes, rotating halfway through, until a wooden skewer comes out clean.
- Cool and frost. Allow cakes to cool completely before topping with a mixture of whipped butter and cream cheese.
Notes
- Ensure all dairy and egg ingredients are at room temperature to achieve a smooth, emulsified batter.
- Level any domed cake layers with a serrated knife before stacking to create a perfectly flat surface for assembly.
- If the frosting appears grainy, warm the mixing bowl slightly with a warm towel to soften the fats before beating again.
- Using Dutch-process cocoa will result in a significantly darker, more intense chocolate color compared to natural cocoa.
- Prep Time: 30 mins
- Cook Time: 20 mins
- Category: Dessert
- Method: Baking
- Cuisine: American
Honest Ingredients
Selecting the right items for your pantry ensures the final result has that grounded, farmhouse flavor we all crave. We look for unbleached flour, real butter, and the darkest cocoa to provide a depth of flavor that store-bought options can never replicate.
- Unbleached All-Purpose Flour: This provides a sturdy structure while maintaining a soft, approachable crumb that holds up to the frosting.
- Cultured Buttermilk: The acidity in the milk reacts with the leavening agents to create a lift that is light yet satisfyingly dense.
- Extra Virgin Olive Oil: A small amount of oil ensures the cake stays moist on the counter for several days without feeling greasy.
- Separated Eggs: Whipping the whites separately is the secret to a sponge that feels airy despite the richness of the butter.
- 100% Cocoa Powder: Using a pure, dark powder gives the frosting a sophisticated bitterness that counters the powdered sugar.
- Cream Cheese: A brick of full-fat cream cheese adds a wonderful weight and tang to the chocolate finish.
| Ingredient | Why It Matters |
|---|---|
| Cornstarch | Softens the flour proteins for a tender texture |
| Sea Salt | Sharpens the chocolate notes in the frosting |
| Almond Extract | Adds a subtle, nostalgic floral depth to the cake |
| Melted Butter | Provides a rich, milky flavor to every bite |
From Bowl to Oven
Step 1: Prep Your Pans and Oven
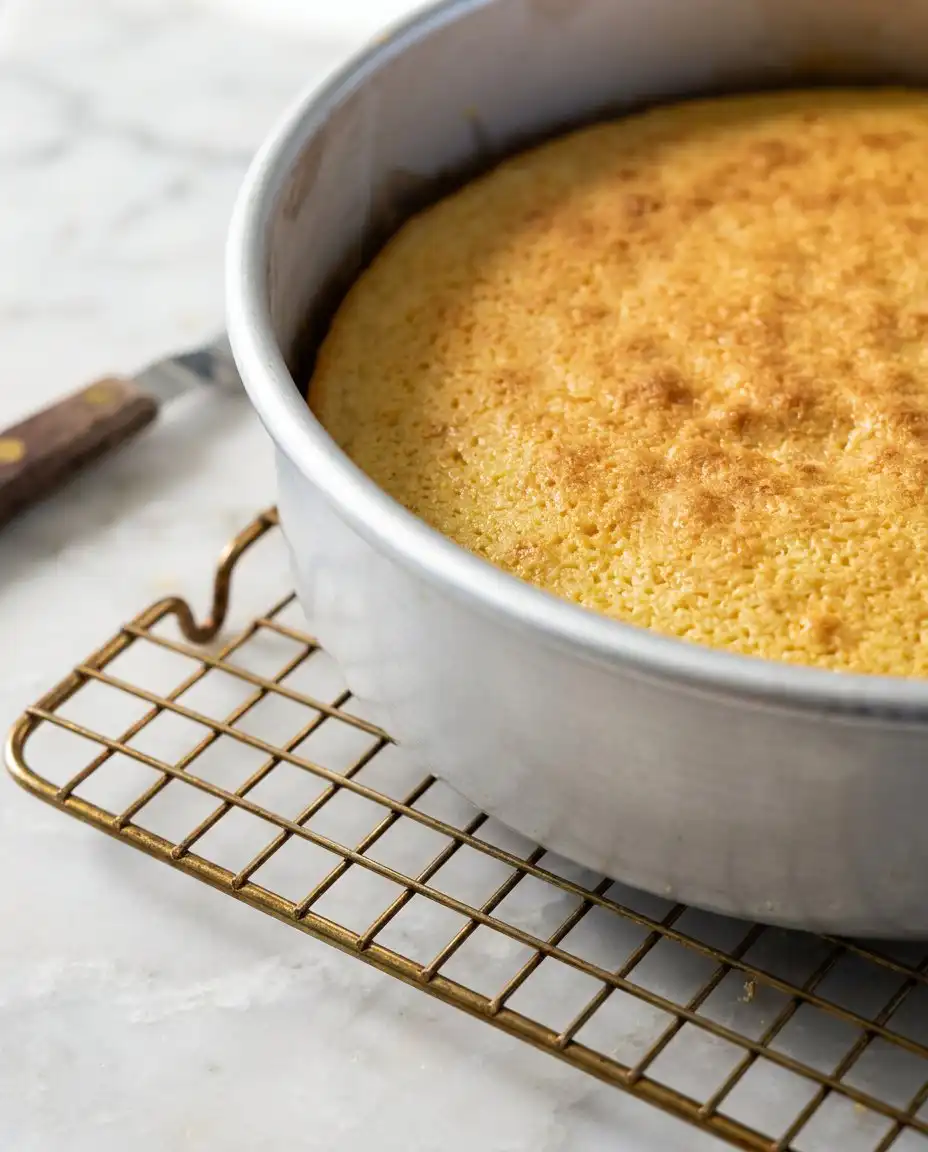
Before the batter begins, prepare your environment by setting the oven to 350 degrees. Butter two nine-inch round pans and line the bottoms with parchment paper to ensure an easy release later. Dust the pans lightly with flour, tapping out any excess over the sink until only a fine mist remains on the surface.
Step 2: Create a Stiff Egg White Foam
Place your room-temperature egg whites into a clean glass or enamel bowl and begin whisking until they look like soft clouds. Gradually stream in a small portion of the sugar and continue until the peaks stand straight and look glossy. Set this bowl aside in a cool spot on the counter while you work on the rest of the components.
Step 3: Combine the Golden Liquids
In a separate medium bowl, whisk the buttermilk, melted butter, egg yolks, olive oil, and your chosen extract together until uniform. The mixture should look rich and yellow, smelling faintly of vanilla and toasted cream. Make sure the melted butter is not too hot, as we do not want to cook the yolks prematurely.
Step 4: Sift and Whisk Dry Staples
Take your largest mixing bowl and combine the remaining sugar, flour, cornstarch, baking powder, baking soda, and sea salt. Use a sturdy whisk to move the dry ingredients around for at least fifteen seconds to ensure the leavening is evenly distributed. This step prevents any large air pockets or uneven rising once the pans hit the oven heat.
Step 5: Merge the Batter Bases
Slowly pour the golden liquid mixture into the dry ingredients while stirring with a wooden spoon or spatula. Keep the motion steady and stop as soon as the last streak of white flour disappears into the yellow base. The batter will be thick and fragrant, ready for the lightness that the whipped whites will soon provide.
Step 6: Fold in the Air for the Classic Two-Layer Yellow Cake with Chocolate Frosting
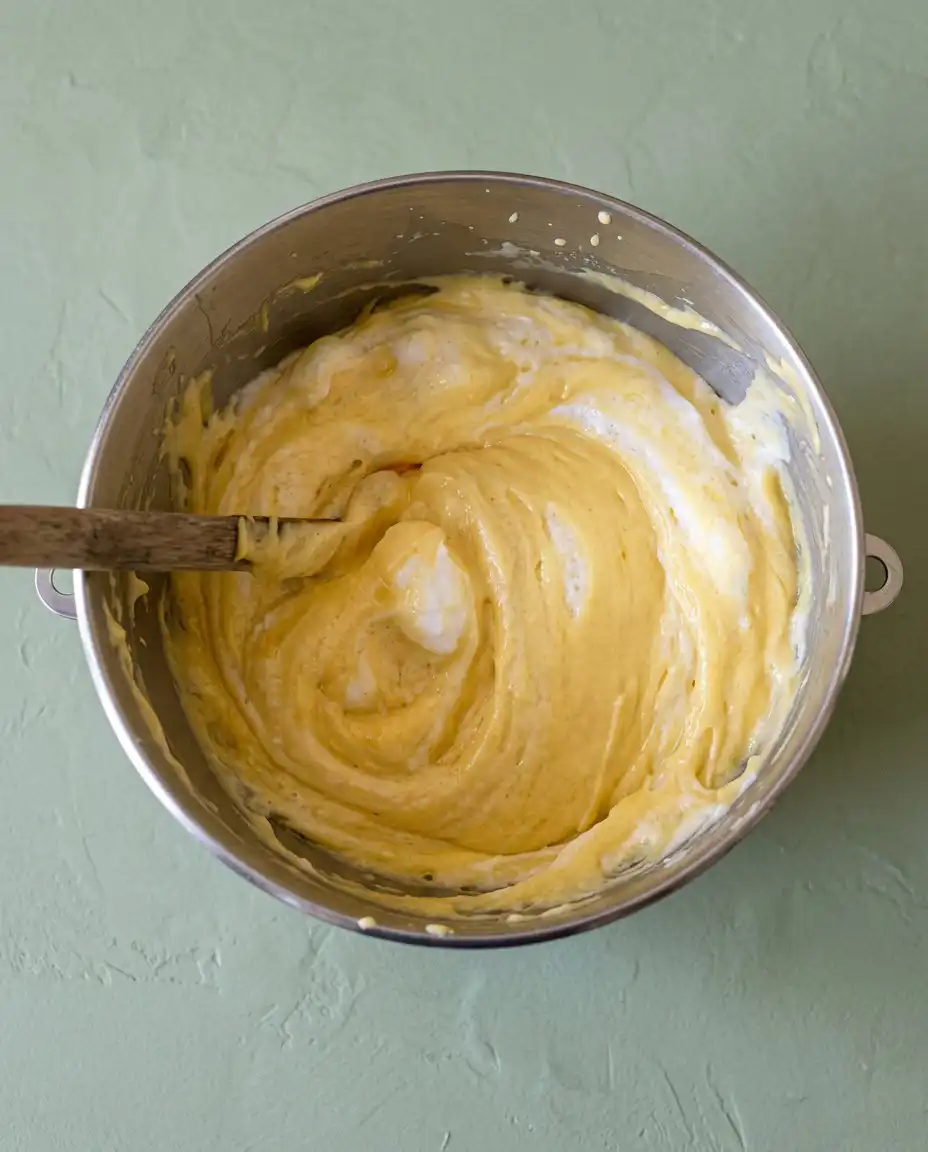
Take a third of your whipped egg whites and stir them vigorously into the batter to loosen the texture. Then, gently fold in the remaining whites using a figure-eight motion until no white streaks remain visible. This careful folding is what gives the cake its characteristic lift and honest, rustic crumb.
Step 7: Bake Until Golden and Set
Divide the batter equally between your prepared pans and tap them once on the wooden counter to release trapped air. Place them in the center of the oven for about twenty minutes, rotating them halfway through the process for even browning. The cakes are finished when a wooden skewer comes out clean and the edges just begin to pull away from the pan.
Step 8: Cool and Prepare for Frosting
Let the cakes rest in their pans on a wire rack for fifteen minutes before inverting them to cool completely. If you have the time, chilling the layers in the refrigerator for an hour makes them much easier to handle. While the sponge cools, beat your butter and cream cheese together until they look like thick, whipped cream.
What I’ve Learned at the Counter
When the fruit is this good or the butter is this fresh, keep it simple and focus on the temperature of your ingredients. Room temperature eggs and buttermilk are not just a suggestion; they allow the fats to emulsify into a smooth batter that doesn’t break. You can quickly warm cold eggs by placing them in a bowl of warm water for five minutes while you prep your pans.
If your frosting looks grainy or separated, it is often because the butter was too cold or the cocoa powder was not sifted. To fix this, you can wrap a warm towel around the mixing bowl for a minute to gently soften the fats, then beat on high speed until it smooths out. Check out this guide on yellow cake chocolate frosting for more troubleshooting tips.
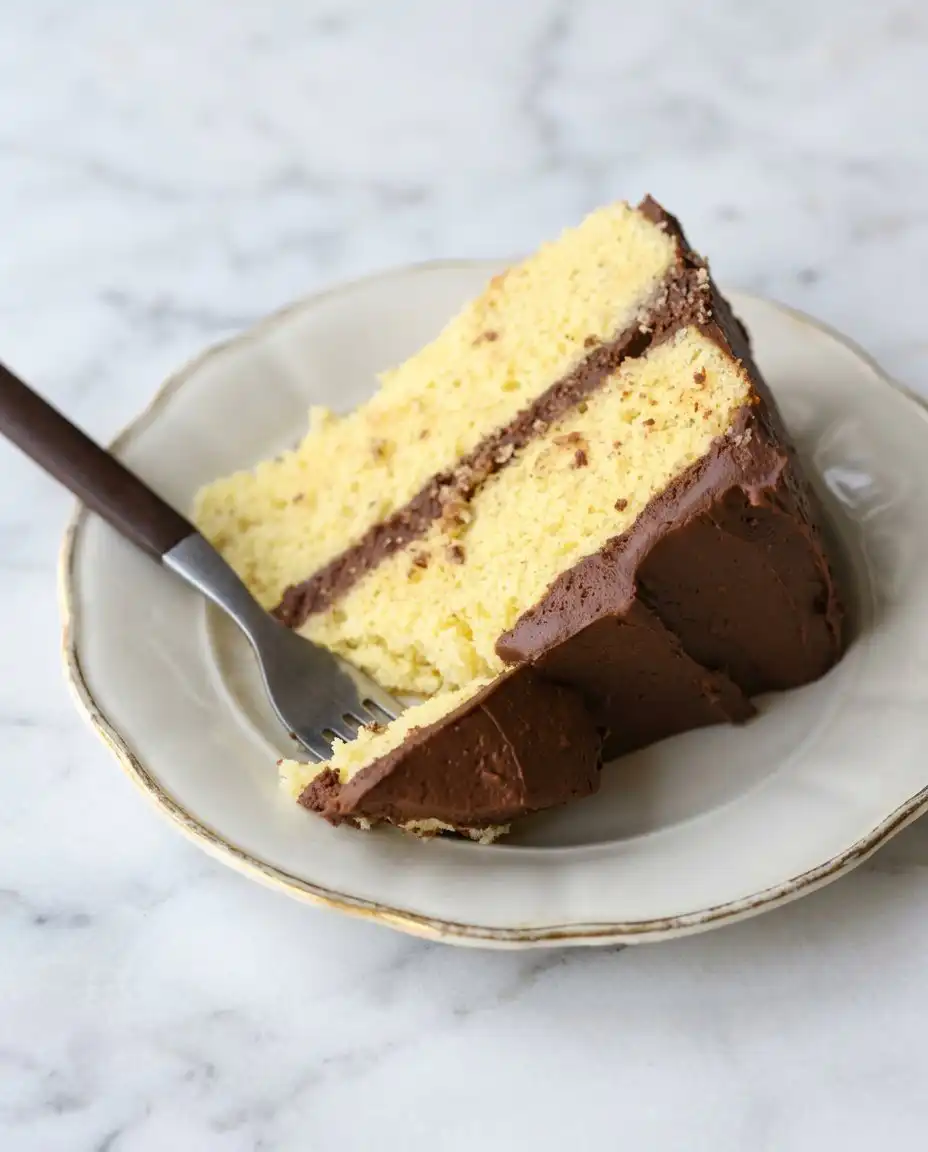
Using an offset spatula is the best way to achieve that rustic, hand-hewn look on the sides of the cake. Do not worry about making the frosting perfectly smooth; the ridges and swirls are where the light catches the chocolate. These small imperfections are what make a farmhouse cake feel personal and welcoming.
Always use a serrated knife to level your cake layers if they have a slight dome after cooling. A flat surface ensures the layers do not slide around once you start stacking them with the heavy chocolate frosting. Keep the trimmings for a small snack with your morning coffee while you finish the assembly.
Store your cocoa powder in a cool, dark cupboard to keep the flavors from becoming dull or flat over time. Natural cocoa powder will give you a lighter, more reddish tint, while Dutch-process cocoa results in a deep, dark brown finish. Both work beautifully in this recipe, so choose the one that matches your preference for chocolate intensity.
Frequently Asked Questions
Can I use regular milk instead of buttermilk?
You can substitute with regular milk mixed with a teaspoon of lemon juice, but the texture will not be as tender. Cultured buttermilk provides a specific acidity that reacts with the baking soda to create a soft, farmhouse crumb. If you use plain milk, the cake may turn out slightly denser and less flavorful.
Why do the egg whites need to be whipped separately?
Whipping the whites creates a structure of air that lifts the cake without relying solely on chemical leaveners. This method results in a sponge that is light yet sturdy enough to hold the weight of the chocolate frosting. It is a traditional technique that honors the craft of rustic baking.
Does the finished cake need to be refrigerated?
Because the frosting contains cream cheese, it is best to store the cake in the refrigerator if it will sit for more than a couple of hours. However, always bring it back to room temperature before serving so the butter in the cake can soften. A cold cake often feels dry, while a room-temperature cake feels moist and tender.
How do I prevent the cake from sticking to the pan?
The most reliable method is to use both butter and parchment paper on the bottom of the pan. Butter the pan, lay down the paper, butter the paper, and then add a light dusting of flour. This triple-layer of protection ensures the golden layers slide out perfectly every time without any torn edges.
Can I freeze the cake layers in advance?
Yes, these yellow cake layers freeze exceptionally well when wrapped tightly in plastic and then foil. You can keep them in the freezer for up to a month before thawing and frosting. Frosting a slightly chilled cake is actually easier as it produces fewer crumbs during the process.
What should I do if my frosting is too thin?
If your frosting feels too soft to hold its shape, try adding more powdered sugar half a cup at a time. You can also chill the frosting in the refrigerator for twenty minutes to help the butter firm up. The goal is a billowy consistency that glides across the cake without running off the sides.
Make It Your Own
For a more nostalgic flavor that reminds me of the Saturday farmers market, try swapping the vanilla for a high-quality almond extract. This small change gives the yellow sponge a floral, cherry-like undertone that pairs beautifully with the dark chocolate frosting. You can also look at how to make yellow cake from scratch for more ideas on traditional flour ratios.
If you find yourself in the middle of berry season, tuck a layer of fresh raspberries or sliced strawberries between the two cake layers. The tartness of the fruit cuts through the richness of the cream cheese frosting and adds a beautiful pop of color when sliced. This is a lovely way to let the season lead your baking choices. For a different profile, consider a double chocolate layer cake when you want something even more indulgent.
In the autumn months, a dusting of cinnamon or a pinch of ground cardamom in the dry ingredients adds a warm, spicy depth. This variation feels particularly right when the weather turns cool and the kitchen windows are foggy with the heat of the oven. It transforms the classic yellow base into something that feels rooted in the changing of the leaves.
At the Table
This cake is best served on a plain white pedestal or a heavy wooden board to highlight its rustic charm. I like to set the table with a linen cloth and a few sprigs of whatever is growing in the kitchen garden, such as mint or lavender. A simple presentation allows the golden cake and dark frosting to be the true stars of the afternoon.
Pair a thick slice with a pot of Earl Grey tea or a cup of dark, pour-over coffee to balance the sweetness of the chocolate. For a more celebratory feel, serve it alongside a bowl of lightly sweetened whipped cream and a handful of seasonal berries. If you enjoy lighter flavors, you might also like a classic vanilla cake for your next gathering.
Honest ingredients deserve an honest setting, so do not worry about making every slice look perfect. The edges crack — that’s rustic charm, and it shows the cake was made by hand in a real kitchen. This is the kind of dessert that invites people to linger at the table long after the last bite is gone.
The Quiet Goodbye
Baking a Classic Two-Layer Yellow Cake with Chocolate Frosting is a way to slow down and appreciate the rhythms of the farmhouse kitchen. When you take the time to whip the eggs and cream the butter properly, the result is a dessert that feels like a gift. It is a reminder that the simplest things, when done with care and respect for the ingredients, are often the most memorable.
I hope this recipe finds a permanent place in your kitchen and brings a bit of seasonal warmth to your table. Whether it is for a birthday or just a quiet Tuesday, let the process of baking be as rewarding as the cake itself. For more traditional bakes, you can always look at my chocolate cake recipe for your next weekend project.
Please share your bakes with us and let us know how the season is tasting in your neck of the woods.