A homemade cake rarely looks like a store-bought confection, but the beauty of a rustic bake lies in its honest texture and the genuine warmth it brings to the kitchen counter.

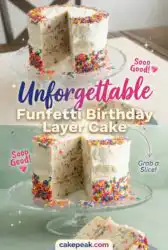
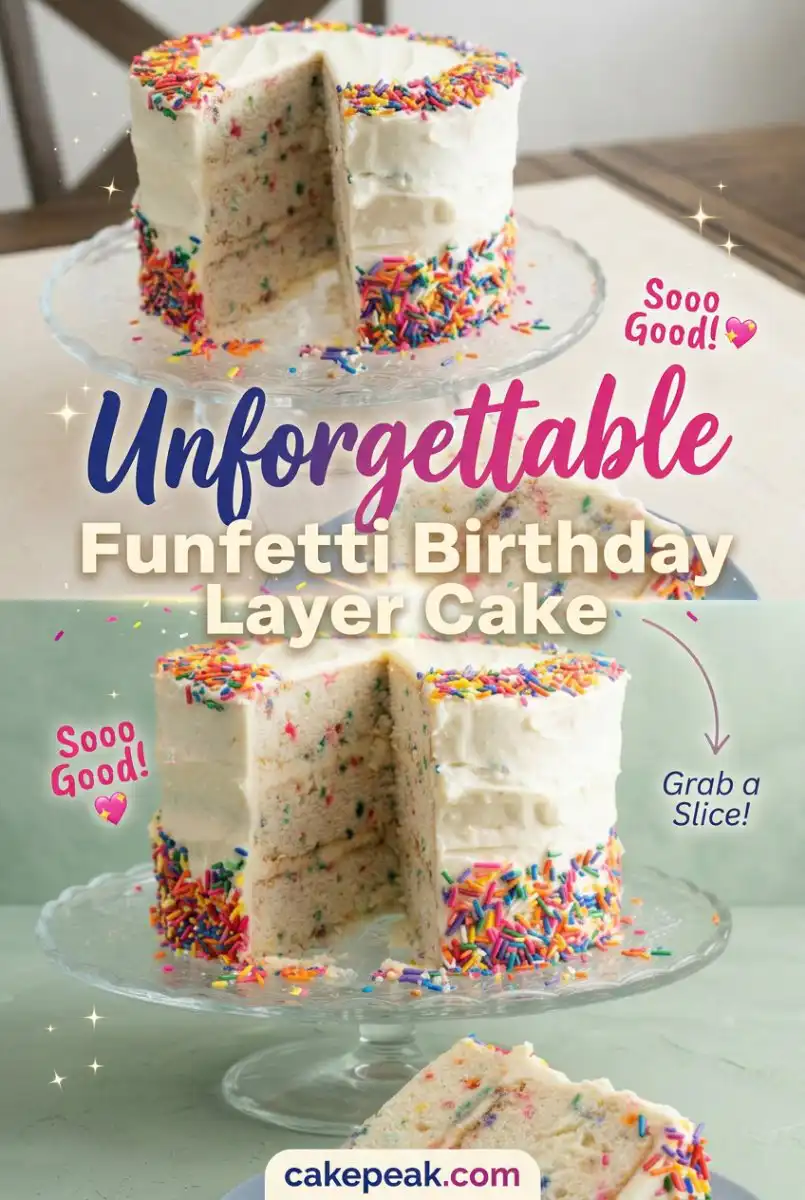
This Funfetti Birthday Layer Cake represents everything I love about farmhouse baking, from the wholesome buttermilk tang to the heavy cream whipped into the frosting. It is a humble celebration of color and sweet vanilla, intended for those who find joy in the process of creaming butter and sifting flour. When you set this cake on the table, you are offering more than a dessert; you are sharing a handmade token of affection that honors the recipient with real ingredients and careful effort.
A Funfetti Birthday Layer Cake Worth the Season
Prep: 45 min · Serves: 14 · Difficulty: Medium
- Wholesome buttermilk creates a tender, moist crumb
- Pure vanilla extract provides deep, nostalgic flavor
- Real butter ensures a rich and satisfying finish
- Festive colors brighten every celebratory farmhouse table
- Hand-whipped frosting offers a smooth, honest texture
This festive birthday cake is the only recipe you will ever need for the most important milestones in your home.
Get The Full Cake Recipe
Print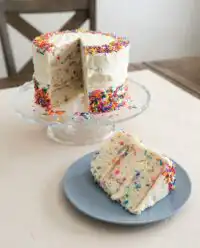
Funfetti Birthday Layer Cake
- Total Time: 1 hour 30 mins
- Yield: 14 servings
Description
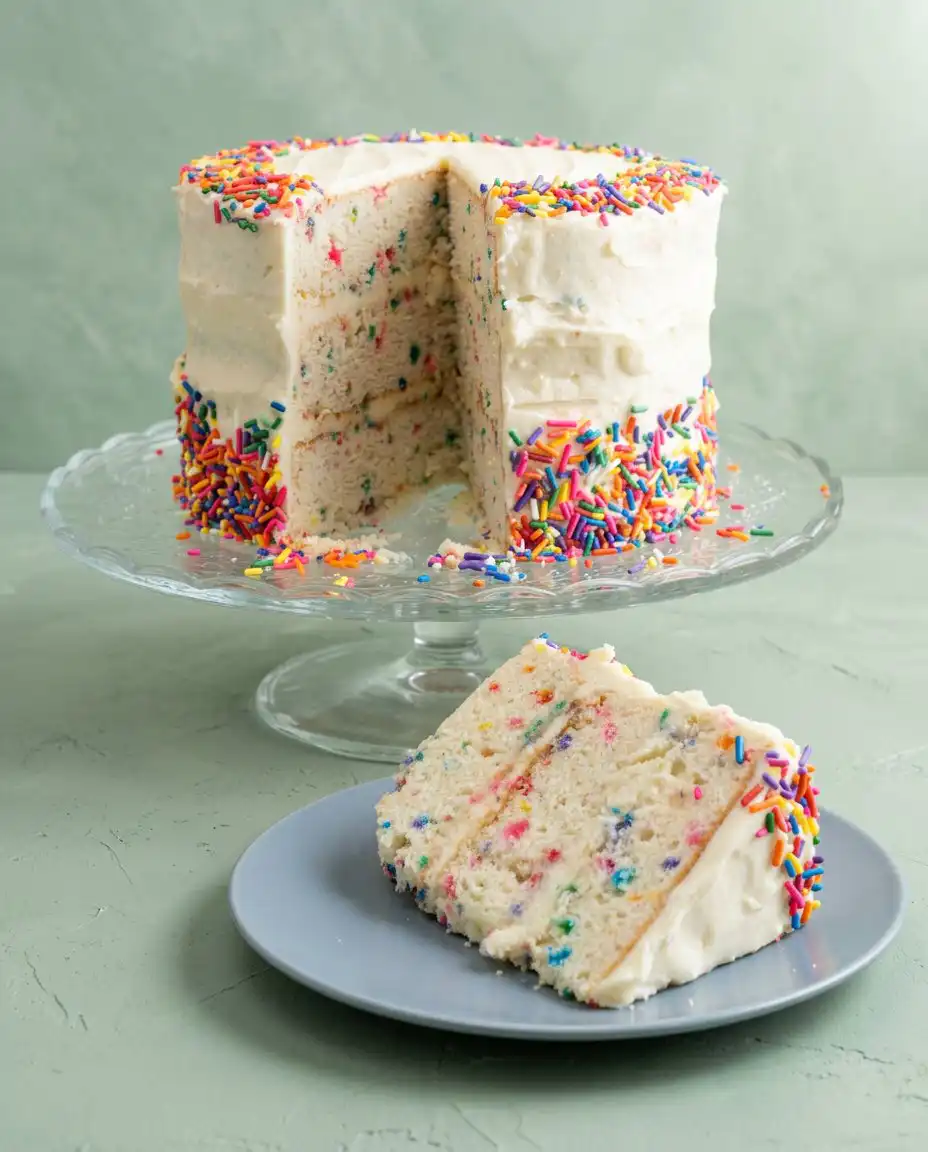
This festive layer cake features a tender, buttermilk-infused crumb speckled with rainbow sprinkles and finished with a velvety, whipped vanilla buttercream. It is a heartwarming, rustic celebration cake perfect for any milestone occasion.
Ingredients
- 2 1/2 cups cake flour
- 1 cup unsalted butter, softened
- 1 3/4 cups granulated sugar
- 1/2 cup vegetable oil
- 4 large egg whites
- 2 large whole eggs
- 1 tablespoon pure vanilla extract
- 1 cup buttermilk
- 2 1/2 teaspoons baking powder
- 1/2 teaspoon baking soda
- 1/2 teaspoon salt
- 1/2 cup rainbow sprinkles
- 1 cup unsalted butter (for frosting)
- 4 cups confectioners’ sugar (for frosting)
- 1/4 cup heavy cream (for frosting)
- 1 teaspoon vanilla extract (for frosting)
Instructions
- Prepare the workspace. Preheat oven to 350°F, grease three 8-inch pans, and line them with parchment paper.
- Sift dry ingredients. Whisk together cake flour, baking powder, baking soda, and salt in a bowl until aerated and lump-free.
- Cream butter and sugar. Beat softened butter and sugar on high speed for five minutes until pale and fluffy.
- Build the emulsion. Lower speed and incorporate vegetable oil, whole eggs, egg whites, and vanilla until uniform.
- Fold in batter. Alternate adding flour mixture and buttermilk in three additions, then gently fold in rainbow sprinkles.
- Bake the sponges. Divide batter among pans and bake for roughly twenty-five minutes, tenting with foil if browning too quickly.
- Cool the cakes. Rest cakes in pans for twenty minutes before turning onto a wire rack to cool completely.
- Whip the buttercream. Beat softened butter with confectioners’ sugar, heavy cream, and vanilla until stiff and spreadable.
- Apply crumb coat. Stack layers with frosting, then apply a thin base layer and chill for thirty minutes to set.
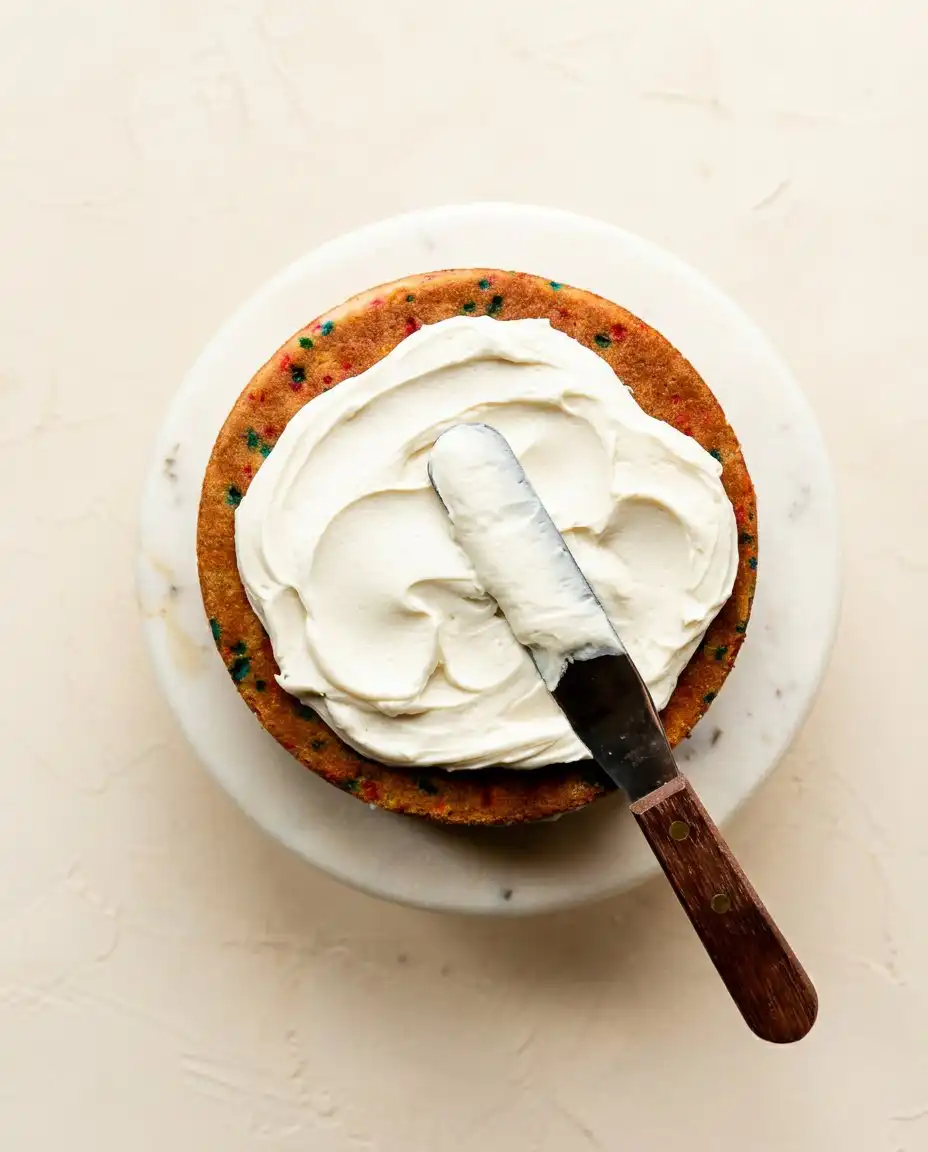
- Finish the design. Spread remaining buttercream over the cake using an offset spatula to create rustic swirls and ridges.
Notes
- Use long jimmies rather than round nonpareils to prevent colors from bleeding into the cake batter.
- Always bring your butter and eggs to room temperature to ensure a smooth, stable emulsion.
- Use a digital kitchen scale to measure flour precisely, as over-packing cups can result in a dry sponge.
- Ensure the cakes are completely cold to the touch before frosting to prevent the butter from melting.
- Prep Time: 45 mins
- Cook Time: 25 mins
- Category: Dessert
- Method: Baking
- Cuisine: American
Honest Ingredients
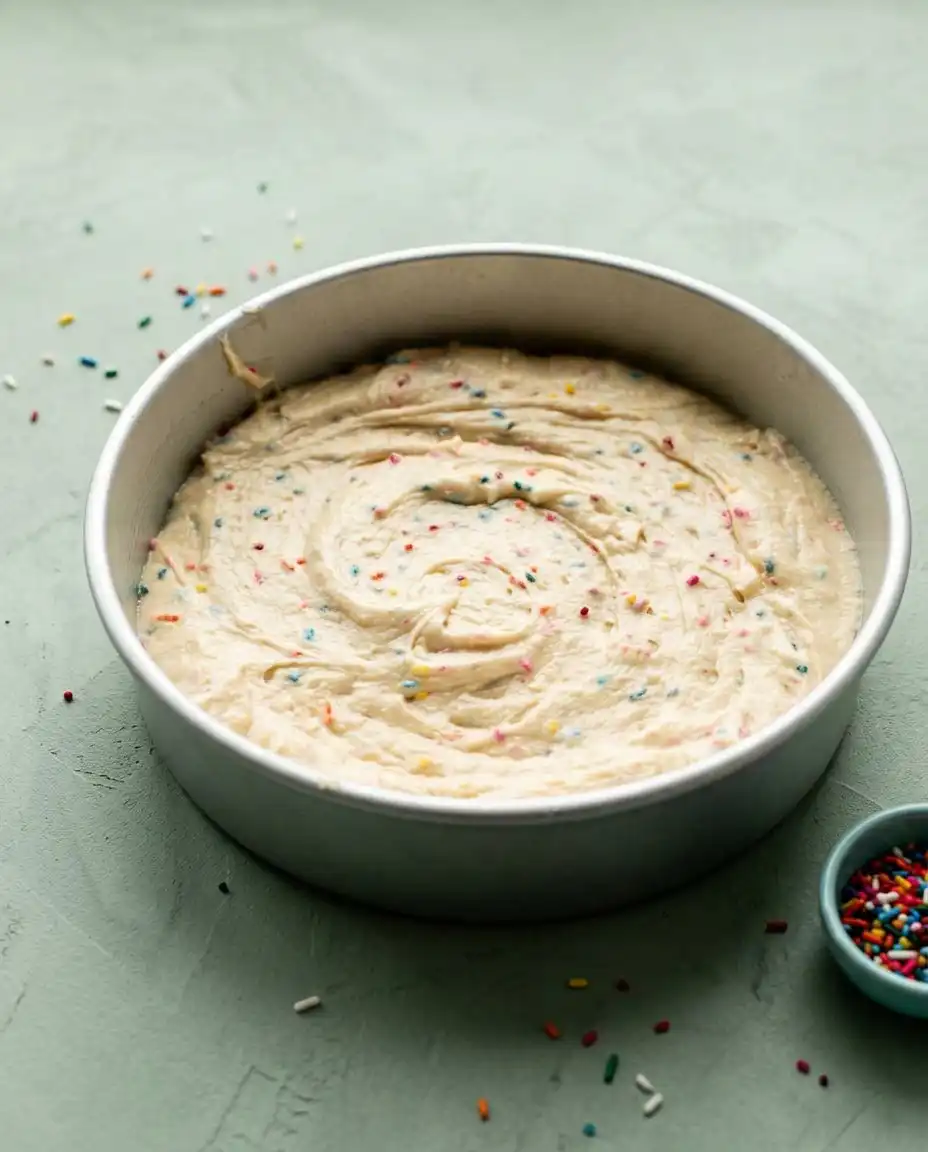
Baking begins with a deep respect for what we bring into our kitchens, choosing staples that provide both structure and soul to the finished sponge. For this recipe, we rely on the lightness of cake flour and the richness of farm-fresh eggs to create a crumb that feels substantial yet airy. The presence of buttermilk offers a subtle acidity that balances the sweetness of the sugar, ensuring every bite remains grounded and flavorful.
- Cake Flour: This finely milled flour provides a delicate, velvety texture that all-purpose flour simply cannot match in a layer cake.
- Unsalted Butter: Using high-quality butter allows the baker to control the salt content while adding a deep, creamy richness to the batter.
- Vegetable Oil: A small addition of oil ensures the cake remains moist for days, even when stored in the cooler air of a pantry.
- Buttermilk: The cultured tang of buttermilk reacts with the leavening agents to produce a high rise and a tender, soft mouthfeel.
- Rainbow Sprinkles: Choose long jimmies rather than tiny round nonpareils to ensure the colors stay suspended in the batter without bleeding into the crumb.
- Egg Whites: Adding extra whites alongside whole eggs provides the necessary lift and structure without making the cake feel overly heavy or dense.
| Ingredient | Why It Matters |
|---|---|
| Pure Vanilla | Adds the essential floral aroma of a classic bakery sponge |
| Heavy Cream | Provides the necessary fat for a stable and spreadable buttercream |
| Sugar | Tenderizes the crumb while providing the golden exterior finish |
| Baking Soda | Works with the buttermilk to create a light and airy rise |
| Salt | Sharpens the flavors of the butter and vanilla beautifully |
The Method, Step by Step
Step 1: Preparing the Workspace
Set your oven to 350°F and take a moment to grease your pans with butter, lining them with parchment paper for a clean release. I prefer using three eight-inch pans for a taller, more traditional silhouette, though nine-inch pans work well for a slightly wider, shorter cake. Ensure your butter and eggs have sat on the counter long enough to lose their chill, as room-temperature ingredients emulsify more smoothly.
Step 2: Sifting the Dry Foundation
In a sturdy enamel or glass bowl, whisk together the cake flour, baking powder, baking soda, and salt until the mixture looks like soft clouds. This step is not just about mixing; it aerates the flour and removes any stubborn lumps that might interrupt the delicate crumb of the cake. Set this bowl aside and enjoy the quiet ritual of preparing your dry base before the mechanical work begins.
Step 3: Creaming the Butter and Sugar
Using your mixer, beat the softened butter and granulated sugar on high speed for five full minutes until the mixture is pale and incredibly fluffy. This process incorporates air into the fat, which is the secret to a cake that rises beautifully and feels light on the tongue. You should see the color transition from a yellow hue to a soft, creamy ivory as the sugar dissolves into the butter.
Step 4: Building the Emulsion
Lower the speed and stream in the vegetable oil, followed by the whole eggs, egg whites, and pure vanilla extract until the batter looks glossy and uniform. Scrape the bottom of the bowl with a silicone spatula to ensure no pockets of unmixed butter remain hidden at the base. The batter should smell strongly of sweet vanilla and look thick enough to hold a soft trail from the beaters.
Step 5: Folding Your Funfetti Birthday Layer Cake Batter
Alternate adding the flour mixture and the buttermilk in three separate additions, mixing only until the white streaks of flour disappear into the liquid. Over-mixing at this stage will develop the gluten and result in a tough, bread-like texture, so work with a gentle hand and a slow pace. Once the batter is velvety and thick, use a spatula to fold in the sprinkles, distributing the colors evenly throughout the pale gold mixture.
Step 6: Baking with Patience
Divide the batter equally among your prepared pans and bake for roughly twenty-five minutes, or until a wooden skewer comes out clean from the center. I like to tent the pans with a piece of foil halfway through the bake to prevent the tops from browning too deeply before the middle is set. The kitchen will fill with the comforting scent of toasted butter and warm sugar as the sponges reach their peak height.
Step 7: The Cooling Period
Allow the cakes to rest in their pans for twenty minutes before turning them out onto a wire rack to cool completely to the touch. It is vital that the sponges are entirely cold before you even think about reaching for the frosting, as any residual warmth will melt the butter in the icing. This is a good time to clear the counter and prepare your wooden board or cake stand for the final assembly.
Step 8: Whipping the Vanilla Buttercream
Beat the softened butter until it is exceptionally creamy, then gradually add the confectioners’ sugar, heavy cream, and vanilla until the frosting is stiff but spreadable. If the frosting feels too soft, add another handful of sugar; if it feels too firm to glide over the cake, a splash more cream will fix it. The goal is a medium that holds its shape while maintaining a buttery, melt-in-the-mouth quality that store-bought frostings lack.
Step 9: Applying the Crumb Coat
Stack your layers with a generous amount of frosting between each one, then spread a very thin layer of buttercream over the top and sides of the entire cake. This initial layer, known as a crumb coat, seals in any loose bits of cake so your final finish remains pristine and white. Chill the cake in the refrigerator for at least thirty minutes to let this foundation set firmly before you apply the remaining frosting.
Step 10: Finishing the Rustic Design
Spread the remaining buttercream over the cake using an offset spatula, creating soft swirls and ridges that catch the light and show the hand of the baker. Do not worry about making the edges perfectly sharp; the edges crack — that’s rustic charm and it speaks to the homemade nature of the bake. Garnish with a few extra sprinkles if you wish, then let the cake sit at room temperature to soften slightly before the first slice is cut.
What I’ve Learned at the Counter
Always weigh your cake flour using a digital scale if you have one, as measuring by volume can often lead to using too much flour and a dry result. If you do not have a scale, spoon the flour into the measuring cup gently rather than scooping directly from the bag to keep it light. Proper measurement is the first step toward a successful bake that respects the ingredients.
When you are learning the art of cake decorating, remember that a chilled cake is much easier to handle than one at room temperature. If you find your layers are sliding as you stack them, simply pop the cake back into the refrigerator for fifteen minutes to firm up the butter. Patience at the assembly stage ensures the finished product looks as honest and beautiful as it tastes.
If your buttercream appears curdled or broken while you are mixing it, your butter or cream was likely too cold to properly emulsify with the sugar. To fix this, you can wrap a warm towel around the base of the mixing bowl for a minute to gently take the chill off the ingredients. Continue beating on medium-high speed, and the frosting should come back together into a smooth, glossy finish.
Honest ingredients, honest cake, so never settle for imitation vanilla if you can find the pure extract bottled near your home. The alcohol in pure extract evaporates during the bake, leaving behind the complex floral notes of the vanilla bean that imitation versions cannot replicate. It is the small details like this that distinguish a farmhouse cake from a generic one.
To ensure your sprinkles do not sink to the bottom of the pans, make sure your batter is thick and velvety before you fold them in. If your batter seems thin, you may have over-beaten the eggs or used milk that was too warm, which compromises the structure. A thick batter acts like a cradle for the sprinkles, keeping them perfectly suspended throughout every golden slice.
You can find more details on how to properly cream butter and sugar to ensure your sponge has the maximum amount of air for a light rise. This technique is the foundation of almost all butter-based cakes and is worth practicing until it becomes second nature in your kitchen routines.
Frequently Asked Questions
Can I make the cake layers in advance?
Yes, you can bake the sponges a day ahead of time, allowing them to cool completely before wrapping them tightly in parchment and plastic. Storing them at room temperature overnight actually helps the crumb settle, making the layers easier to slice and stack the following morning. Just ensure they are kept in a cool, dry place away from direct sunlight.
How should I store leftover cake?
Leftover slices should be kept in an airtight container or under a cake dome in the refrigerator for up to five days. To maintain the best texture, I recommend taking the cake out of the fridge thirty minutes before you plan to eat it. This allows the butter in the sponge and the frosting to soften back to a creamy, palatable consistency.
Why did my sprinkles bleed into the batter?
Colors usually bleed when you use nonpareils or if you over-mix the batter after adding the sprinkles. The friction of the mixer can break the sugar coating on the sprinkles, causing the dye to streak into the pale batter. Always fold them in gently by hand with a spatula as the very last step before the pans go into the oven.
Can I use all-purpose flour instead of cake flour?
While you can use all-purpose flour, the resulting cake will have a coarser crumb and a slightly tougher texture. Cake flour has a lower protein content, which is what gives this specific recipe its signature velvet-like feel. If you must use all-purpose, sift it several times with two tablespoons of cornstarch to mimic the lightness of cake flour.
Why is my frosting too runny to stay on the cake?
Runny frosting usually happens if the butter was too soft or if the kitchen is too warm while you are working. You can fix this by adding more sifted confectioners’ sugar a half-cup at a time until the desired thickness is reached. Alternatively, placing the entire bowl of frosting in the refrigerator for twenty minutes can help the butter firm up enough for easy spreading.
Can this recipe be frozen for later?
Both the unfrosted sponges and the fully decorated cake freeze remarkably well for up to three months. Wrap the layers or the entire cake in several layers of plastic wrap and a final layer of foil to prevent freezer burn. Thaw the cake slowly in the refrigerator overnight before bringing it to room temperature for the best flavor and texture.
What Else the Season Offers
During the peak of summer, you might consider replacing the sprinkles with a handful of freeze-dried berries crushed into a fine powder for a natural burst of color. This adds a subtle tartness to the classic vanilla cake base that pairs beautifully with the sweet buttercream. It is a lovely way to let the current season dictate the palette of your birthday celebration.
For an autumn gathering, you can swap the vanilla frosting for a salted caramel glaze that drips slowly down the sides of the sponges. The deep, burnt-sugar notes of the caramel provide a sophisticated contrast to the playful colors of the funfetti hidden inside the cake. This variation feels grounded and warm, perfect for a crisp evening spent around a farmhouse table with friends.
If you prefer a simpler presentation, you can bake this batter in a single large sheet pan to create a humble snack cake for a backyard picnic. This version requires less frosting and can be served directly from the pan, emphasizing the rustic and unhurried nature of communal eating. It is the perfect choice for a casual Sunday afternoon when you want a treat that is effortless but still feels special.
Serving It Simply
When it comes to serving a cake this colorful, I find that a plain white ceramic plate or a simple wooden board provides the best backdrop. The cake is the focal point, and its rustic imperfections are best highlighted by a minimalist presentation that doesn’t compete for attention. Serve each slice with a small silver fork and perhaps a linen napkin, keeping the atmosphere relaxed and unhurried as guests gather around.
This cake pairs wonderfully with a cup of black coffee or a glass of cold milk, which helps to cut through the richness of the vanilla buttercream. If you are serving this for a summer birthday, a side of fresh berries from the market can add a bright, acidic note to the plate. It is a versatile dessert that feels just as appropriate for a formal dinner as it does for a casual afternoon in the garden.
If you find yourself needing a smaller treat, this yellow cake recipe offers a similar flavor profile that works well for cupcakes or a single-layer bake. No matter how you choose to present it, the key is to serve the cake at room temperature so the flavors of the butter and vanilla are fully realized. A cold cake hides its best qualities, so give it the time it needs to sit out before the celebration begins.
A Last Note
There is a certain quiet satisfaction that comes from pulling three golden sponges out of the oven and seeing the colors peeking through the edges. This Funfetti Birthday Layer Cake is a testament to the fact that the most joyful bakes do not need to be complicated or overworked. By focusing on honest ingredients and a slow, steady method, you can create a centerpiece that feels both timeless and deeply personal for those you love.
I hope this recipe finds a permanent place in your wooden recipe box and brings a bit of farmhouse warmth to your next family gathering. There is no greater compliment to a baker than an empty cake stand and the lingering scent of vanilla in the air. For more seasonal inspiration and rustic baking ideas, you can find our latest projects on funfetti cake and other traditional favorites.
Feel free to share your own rustic cake creations with our community of home bakers who appreciate the beauty of a handmade dessert. You can find us and share your photos on Pinterest or join the conversation on Facebook. We also share brief kitchen moments on TikTok and keep our community updated through Telegram. Happy baking to you and yours.