Under the deep shade of pecan trees at our annual family reunion, a dome of deep cocoa frosting always drew a crowd before the dinner bell even rang.

This classic Hershey’s Perfectly Chocolate Cake carries the warmth of those sweet afternoons directly into your own kitchen. It delivers a crumb so tender it nearly melts on the fork, wrapped in a rich chocolate frosting that looks as beautiful on a glass stand as it tastes. You do not need professional training or fancy equipment to master this dependable dessert. With a few staple ingredients and a little patience, you will create a centerpiece that brings folks together around the table.
Hershey’s Perfectly Chocolate Cake: The Heart of This Recipe
Prep: 15 min · Serves: 12 · Difficulty: Easy
Baking for the people we love is a quiet way of showing care, and this particular cake has been doing that work for decades. It represents the quiet confidence of old school baking, where simple pantry ingredients combine to make something truly extraordinary. You will find that this reliable recipe takes the stress out of dessert duty, whether you are hosting Sunday dinner or preparing for a neighborhood school bake sale.
This recipe has earned its place on my kitchen counter because it treats the home baker with respect, providing consistent results every time you preheat the oven. When you need a reliable chocolate cake recipe that never fails, this is the one to trust. It delivers a rich, deep chocolate flavor that satisfies the soul without requiring hours of tedious kitchen labor.
- Uses simple pantry staples you already own.
- Yields an incredibly tender, moist crumb.
- Comes together quickly without complex mixers.
- Delivers deep, comforting cocoa flavor throughout.
- Pairs perfectly with traditional chocolate buttercream.
This is the comforting dessert your family will request for every single birthday and celebration.
Get The Full Cake Recipe
Print
Hershey’s Perfectly Chocolate Cake
- Total Time: 50 mins
- Yield: 12 servings
- Diet: Vegetarian
Description
This classic chocolate cake recipe features a tender, moist crumb made with simple pantry staples and a rich cocoa profile. Perfectly suited for celebrations, it yields a consistently delicious dessert that pairs beautifully with velvety homemade buttercream.
Ingredients
- 2 cups granulated sugar
- 1 3/4 cups all-purpose flour
- 3/4 cup cocoa powder
- 1 1/2 teaspoons baking powder
- 1 1/2 teaspoons baking soda
- 1 teaspoon salt
- 2 large eggs
- 1 cup milk
- 1/2 cup vegetable oil
- 2 teaspoons vanilla extract
- 1 cup boiling water
Instructions
- Prepare the oven. Set your oven to 350 degrees F and grease two nine-inch round baking pans, dusting them lightly with flour for easy release.
- Whisk dry ingredients. In a large bowl, combine the flour, sugar, cocoa, baking powder, baking soda, and salt, mixing until the color is uniform.
- Mix in liquids. Add the eggs, milk, oil, and vanilla to the dry mixture and beat with a hand mixer on medium speed for exactly two minutes.
- Bloom the cocoa. Lower the mixer speed and carefully pour in the boiling water, stirring until the batter is thin and completely smooth.
- Bake the layers. Divide the batter evenly into the prepared pans and bake for 30 to 35 minutes until a toothpick inserted into the center comes out clean.
- Cool the cake. Rest the pans on wire racks for 10 minutes before inverting the layers onto the racks to cool completely before frosting.
- Frost and serve. Whisk together butter, cocoa, powdered sugar, milk, and vanilla to make the frosting, then spread generously over the cooled cake layers.
Notes
- Ensure all dairy and egg ingredients are at room temperature to achieve the best emulsion.
- Spoon and level your flour rather than scooping directly from the bag to avoid a dense, dry cake.
- Use a long knife dipped in warm water for perfectly clean slices when serving.
- Store any leftover cake under a glass dome to maintain moisture for up to three days.
- Substitute the boiling water with hot black coffee to intensify the chocolate flavor without changing the sweetness.
- Prep Time: 15 mins
- Cook Time: 35 mins
- Category: Dessert
- Method: Baking
- Cuisine: American
Your Ingredient Lineup
Great baking does not require exotic ingredients or complicated trips to specialty grocery stores. Instead, we rely on the honest chemistry of everyday kitchen staples to create a deep, rich chocolate flavor. Let us take a close look at what we are pulling from the pantry shelves to make this masterpiece.
- All-Purpose Flour: This provides the structural foundation of our dessert, giving the layers enough strength to hold their rise without becoming heavy or dense. Make sure to fluff your flour with a spoon before measuring to keep the layers light and airy.
- Granulated Sugar: Beyond adding necessary sweetness to balance the bitter notes of cocoa, sugar is critical for maintaining moisture and keeping the crumb soft. It binds with the water in the batter to slow down gluten development, ensuring a tender bite.
- Hershey’s Cocoa: This standard unsweetened cocoa powder brings that nostalgic, classic chocolate flavor that reminds us of childhood kitchen counters. It is the star of the show, providing both the deep mahogany color and the comforting aroma we crave.
- Baking Powder and Baking Soda: These two leavening agents work in tandem to lift the heavy batter, ensuring our layers rise evenly with a light texture. They react with the acid in the cocoa and milk to create tiny air pockets during baking.
- Vegetable Oil: Unlike butter, oil remains liquid at room temperature, which guarantees our finished layers stay moist for days after baking. It coats the flour proteins, preventing them from forming tough gluten networks.
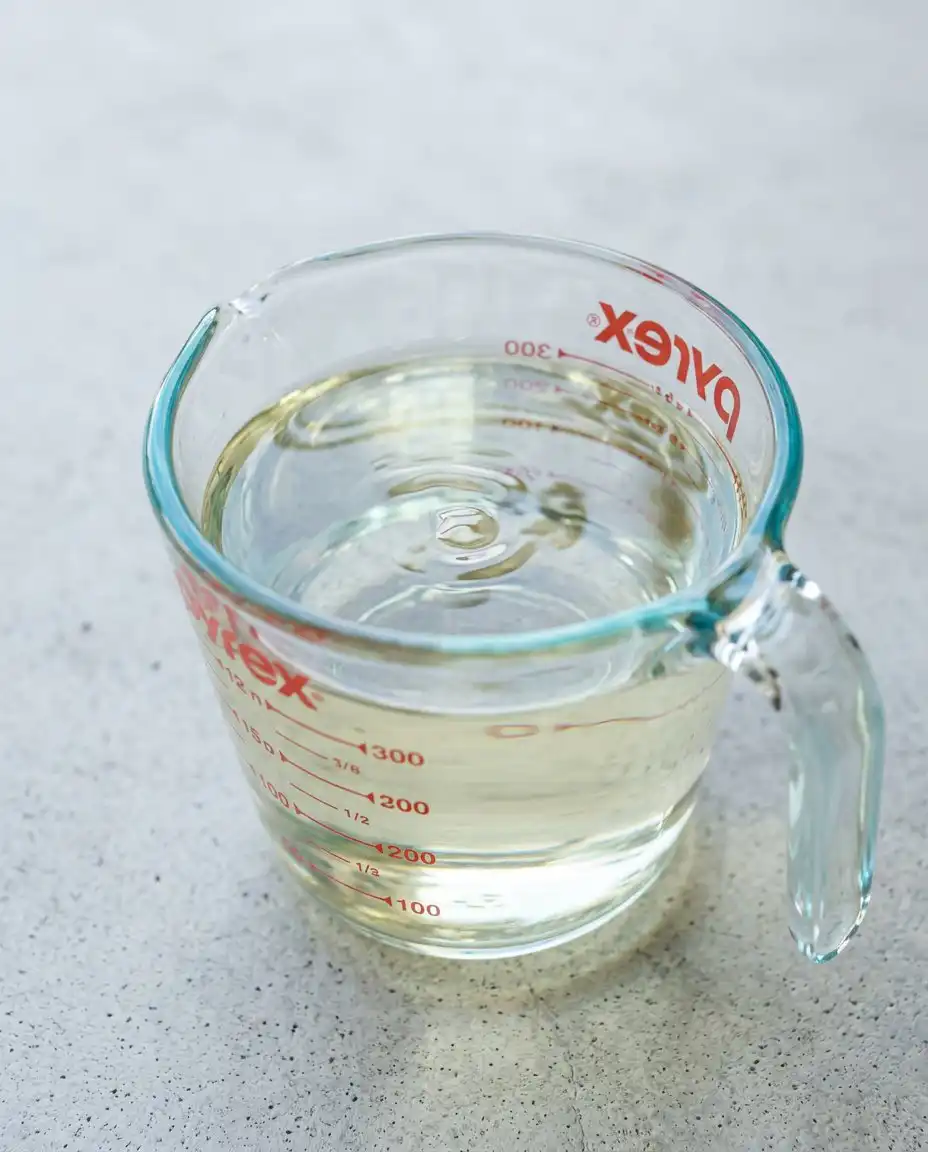
- Boiling Water: This critical ingredient pours into the batter at the very end, blooming the cocoa powder to release its full aromatic potential. It also melts any sugar crystals that have not yet dissolved, resulting in an incredibly smooth batter.
- Fresh Eggs: They provide structure, color, and richness to the batter. Working with room-temperature eggs ensures they incorporate smoothly into the liquids, helping to create a stable emulsion.
- Pure Vanilla Extract: A generous splash of vanilla acts like a magnifying glass for chocolate, deeping the cocoa flavor and rounding out the sweetness.
| Ingredient | Why It Matters |
|---|---|
| Granulated Sugar | Retains moisture and softens the gluten structure for a tender bite. |
| Hershey’s Cocoa | Delivers the signature rich, nostalgic chocolate flavor we love. |
| Vegetable Oil | Keeps the cake crumb soft and moist even after days in the refrigerator. |
| Boiling Water | Blooms the cocoa powder to release deep chocolate aromas and liquefies the batter. |
| Fresh Eggs | Provide necessary structure and bind the fats and liquids into a smooth emulsion. |
The Method, Step by Step
Baking a masterpiece from scratch is a journey of simple, deliberate actions. By focusing on each step of the process, you can guarantee a perfect result that will make your kitchen smell like a professional bakery. Let us walk through the process together, ensuring your chocolate cake turns out beautifully.
Step 1: Prep Your Oven and Baking Pans
Before you measure a single gram of flour, set your oven to 350 degrees F to make sure it reaches the correct temperature. Take two nine-inch round baking pans and grease them thoroughly with shortening or butter, then dust them with a light coating of flour.
This careful step prevents your cake from sticking, making sure you get a clean release when it comes time to turn the layers out. Lining the bottoms with parchment paper offers extra insurance for a flawless presentation that looks professional.
Step 2: Whisk the Dry Kitchen Staples
In a large mixing bowl, whisk together the all-purpose flour, granulated sugar, cocoa powder, baking powder, baking soda, and salt. Spend a full minute whisking these dry ingredients together to break up any stubborn cocoa clumps and distribute the leavening agents evenly.
You want the mixture to look uniform in color, a pale chocolate brown, which indicates that everything is perfectly distributed. This prevents any pockets of baking soda from leaving a bitter taste in your finished dessert.
Step 3: Combine the Fresh Wet Ingredients
Add the fresh eggs, milk, vegetable oil, and two teaspoons of quality vanilla extract directly to the bowl of dry ingredients. Turn your hand mixer to medium speed and beat the batter steadily for exactly two minutes, moving the beaters around the entire bowl.
As you beat, you will watch the pale powder transform into a thick, glossy, ribbon-like batter that smells deeply of chocolate and sweet vanilla. Scraping down the sides of the bowl with a flexible spatula makes sure that no dry pockets remain hiding at the very bottom.
Step 4: Pour the Boiling Water to Bloom the Cocoa
Reduce your mixer to its lowest speed and slowly pour in the cup of boiling water, taking care not to splash. The batter will become very thin and watery, but do not let this alarm you, as this is precisely how the recipe is designed to work.
This hot liquid quickly dissolves the sugar and blooms the cocoa, releasing a rich aroma that will instantly fill your entire kitchen. Stir the mixture gently until it is completely smooth and uniform, allowing the cocoa to expand.
Step 5: Bake Your Hershey’s Perfectly Chocolate Cake to Perfection
Carefully divide the thin batter equally between your two prepared nine-inch round baking pans. Slide them onto the middle rack of your preheated oven and bake for thirty to thirty-five minutes, keeping the oven door closed to maintain heat.
You will know they are done when the edges begin to pull away slightly from the sides of the pans and a wooden toothpick inserted into the center comes out clean. Your kitchen will smell like an old-fashioned bakery as the deep chocolate layers rise and set.
Step 6: Cool the Layers on Wire Racks
Let the baked pans rest on wire racks for exactly ten minutes to allow the delicate structure of the cake to set. Carefully run a thin knife around the edges, then invert the layers onto the wire racks to cool completely.
This cooling period is essential because frosting a warm cake will cause the butter in your icing to melt, ruining your hard work. Place the layers in a spot with good air circulation so they cool down evenly.
Step 7: Whisk Up the Velvety Cocoa Frosting
While the layers are cooling, melt your stick of butter in a medium saucepan or microwave-safe bowl. Stir in the cocoa powder until it forms a smooth, rich paste, then alternately beat in the powdered sugar and milk to create a spreadable consistency.
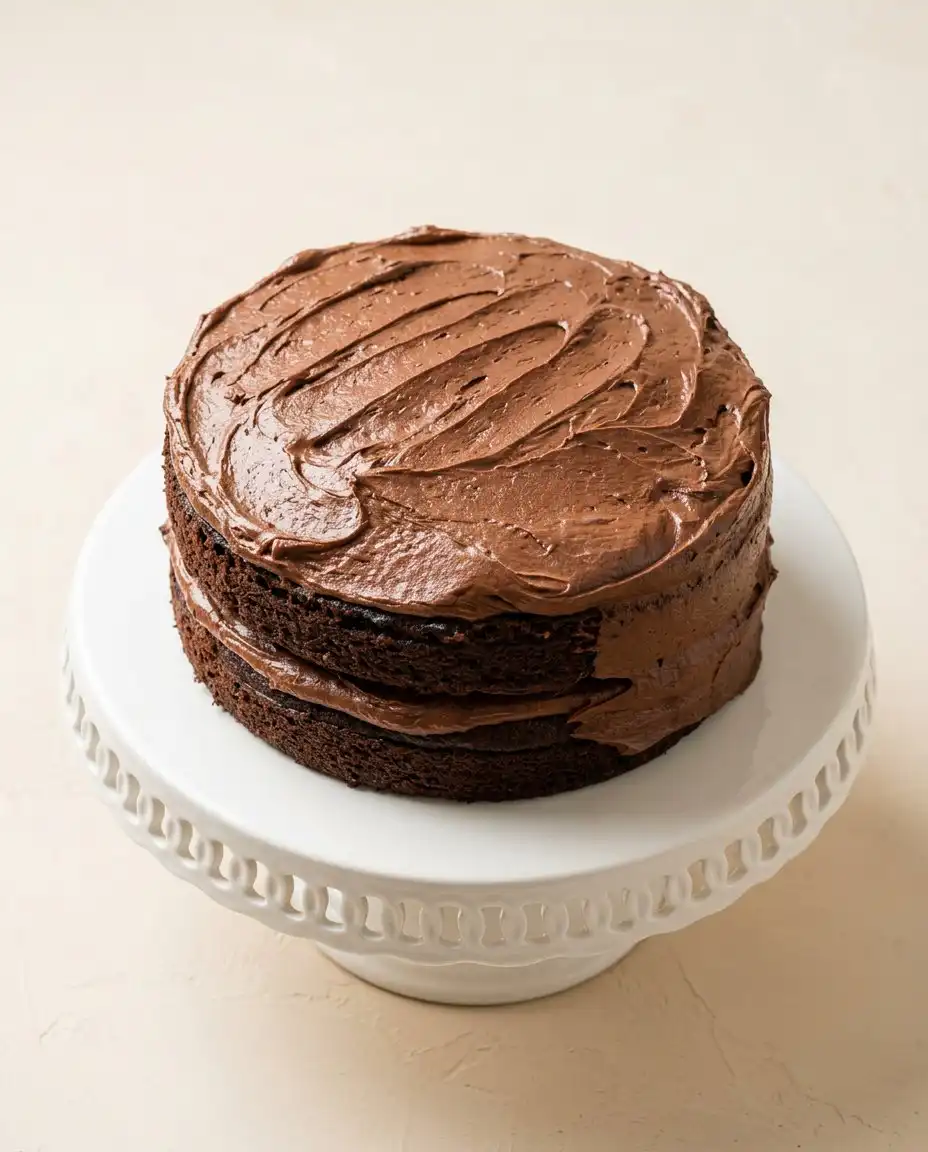
Add a splash of vanilla extract at the very end to round out the sweetness. Swirl this velvety frosting generously over your cooled cake, starting with the bottom layer and working your way to the top.
Southern Baker’s Secrets
Always measure your flour by spooning it into the measuring cup and leveling it off with a flat knife. Scooping directly from the bag packs the flour down, which leads to a dry and dense texture.
To achieve a flat cake top that is easy to stack and frost, consider using wet cake strips around the outside of your baking pans. This keeps the edges of the pan cooler during baking, allowing the center to rise evenly with the sides.
If your frosting is grainy, here is why and how to fix it: this happens when the powdered sugar is not sifted or the butter was not fully melted before mixing. You can beat in a tablespoon of warm milk or heavy cream and whip the frosting on high speed for another minute to smooth out the texture.
For an even richer flavor profile, make sure your eggs and milk are at room temperature before you begin mixing. Room temperature ingredients emulsify much better, which helps create a uniform crumb structure.
When you are looking for an easy chocolate cake that stays fresh for days, store your frosted layers under a glass cake dome at room temperature. The frosting acts as a barrier, keeping the delicate interior from drying out in the air.
Wiping your knife with a warm, damp cloth between each slice keeps the frosting from dragging through the crumb, making sure each plate looks clean and professional.
Frequently Asked Questions
What makes Hershey’s chocolate cake so moist?
The high liquid ratio, combined with the use of vegetable oil instead of solid butter, is the secret behind the cake’s exceptional moisture. Oil remains liquid at room temperature, preventing the crumb from drying out or hardening over time.
Why is the cake batter so thin?
The addition of boiling water at the very end of the mixing process thins the batter significantly. This is entirely intentional, as the liquid consistency allows the starch in the flour to gelatinize quickly in the oven, resulting in an incredibly soft and tender texture.
Can I substitute boiling water with hot coffee?
Yes, replacing the boiling water with hot brewed coffee is an excellent way to deepen the chocolate notes. The heat from the coffee blooms the cocoa in the same way water does, while the natural compounds in coffee highlight the rich cacao flavors without leaving a coffee taste.
What kind of cocoa powder should I use?
You should use standard unsweetened natural cocoa powder, such as classic Hershey’s Cocoa, for this recipe. Do not use Dutch-processed cocoa, as it has a different acidity level and will not react properly with the baking soda, causing your layers to stay flat.
What frosting goes best with this recipe?
While the traditional Hershey’s cocoa frosting included in this recipe is the classic choice, a rich cream cheese frosting or a salted caramel buttercream also pairs beautifully. The slight tang of cream cheese balances the sweet chocolate layers wonderfully.
Can I make this cake ahead of time?
Certainly, you can bake the layers a day in advance, wrap them tightly in plastic wrap once cooled, and store them at room temperature. In fact, many bakers find that the flavor deepens and the texture becomes even more cohesive after sitting overnight.
Can I freeze the cake layers before frosting them?
Yes, these layers freeze beautifully for up to three months when wrapped carefully in double layers of plastic wrap and a sheet of aluminum foil. Thaw them overnight in the refrigerator before assembling and frosting your cake.
Family Twists & Variations
You can easily swap the cup of boiling water for a cup of freshly brewed hot black coffee. The hot coffee does not make the cake taste like espresso, but instead deepens and intensifies the chocolate notes. This simple substitution creates a dark, sophisticated flavor profile that adults love at dinner parties.
If you are transport-minded or feeding a larger crowd at a church potluck, pour the batter into a greased thirteen-by-nine-inch metal baking pan instead. Bake it for thirty-five to forty minutes, then frost it right in the pan. This classic format is easy to slice and carries beautifully to any neighborhood gathering under the shade trees.
For those special occasions that demand a bit more indulgence, fold a half cup of mini chocolate chips into the batter right before baking. This addition creates pockets of melted chocolate throughout each slice, transforming the dessert into a double chocolate layer cake that chocolate lovers will rave about.
Serve It Southern-Style
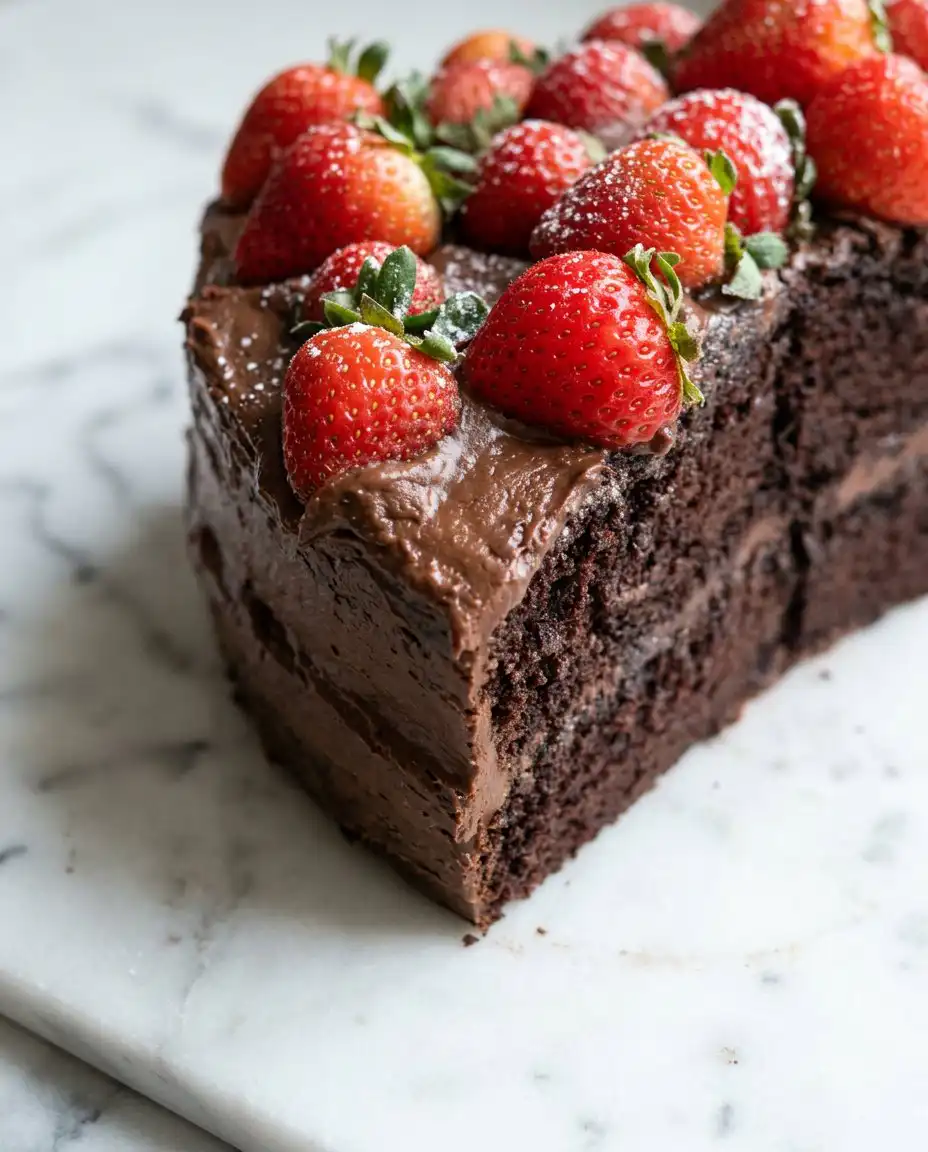
Presenting this dessert is half the joy of baking it. To honor the tradition of Southern hospitality, serve this cake on a pedestal stand in the center of your dining table. Slicing it with a long, thin knife dipped in warm water guarantees clean cuts that showcase the gorgeous layers and velvety frosting.
While a slice of this homemade chocolate cake is magnificent on its own, a cold glass of farm-fresh milk or a steaming cup of chicory coffee makes the perfect companion. For a summery touch at a family reunion, serve each slice alongside a handful of fresh red raspberries or a scoop of homemade vanilla bean ice cream. The cool, creamy vanilla melts into the rich chocolate layers, creating a wonderful contrast of temperatures and textures.
Keep the leftovers covered under a cake dome in a cool spot in your kitchen. If you must keep it for more than three days, store it in the refrigerator, but let individual slices sit on the counter for twenty minutes before serving. Bringing the cake back to room temperature restores the softness of the oil-based crumb and softens the buttery chocolate frosting to its ideal spreading consistency.
A Final Slice
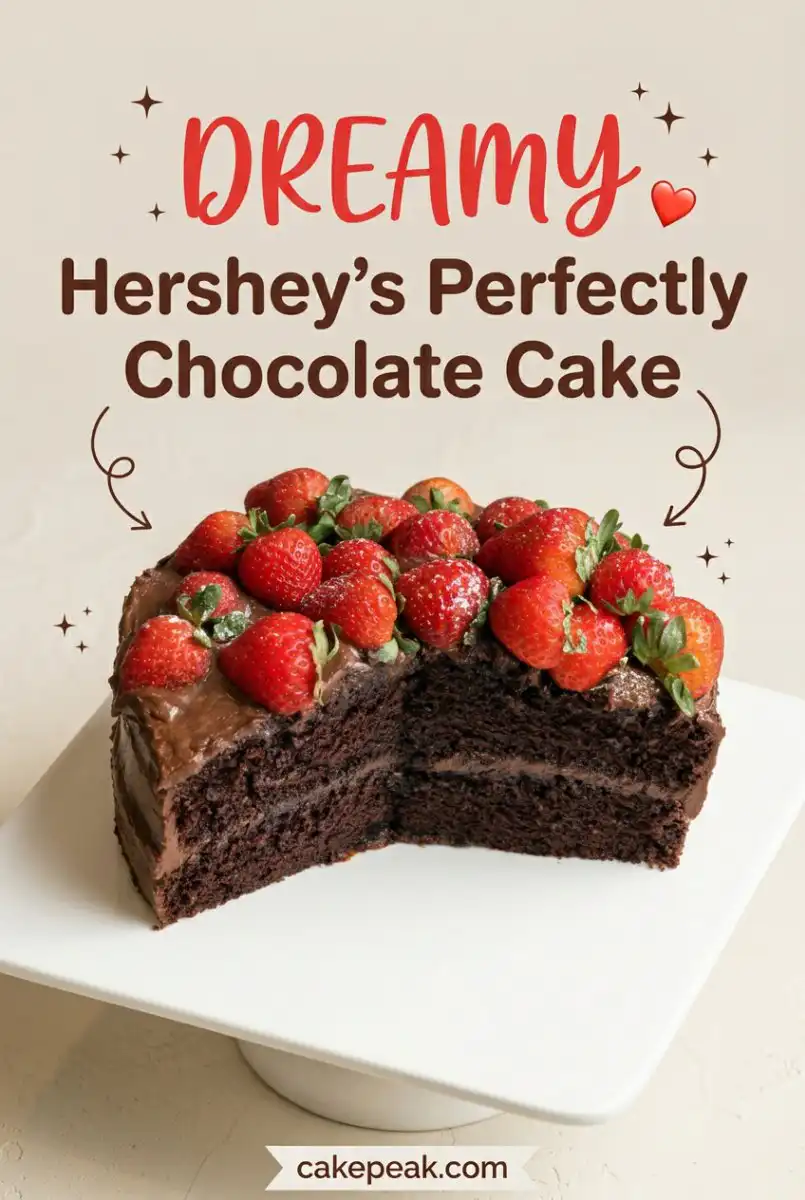
Baking is a form of communication that speaks directly to the heart, and this cake says everything you need to convey. Through the decades, this simple recipe has brought smiles to kitchen tables, church fellowship halls, and back porch gatherings. It proves that you do not need complicated gourmet ingredients to create memories that linger long after the last dishes are washed.
If you enjoyed this nostalgic journey, you might also love trying our classic german chocolate cake recipe for another traditional Southern favorite. Whichever you choose to bake next, remember that the secret to great baking is a mixture of technical care and genuine affection for the people you are serving.
I would love to hear how your baking turned out in your own kitchen. Please share your beautiful cakes with me and join our community of passionate home bakers online. Connect with us on Pinterest, Facebook, and Telegram to stay updated on our latest recipes, baking tips, and Southern kitchen stories.