Many home bakers struggle with sunken cake centers that cannot support the weight of a rich custard filling, a failure this tested method successfully prevents.

This Two-Layer Boston Cream Cake delivers a consistent, repeatable result by focusing on structural integrity and thermal precision. We developed this recipe to ensure the pastry cream stays contained between the layers rather than seeping out the sides. By following these specific ratios, your two layer cake will maintain its height and texture from the first slice to the last. Precision creates consistency when balancing the delicate moisture of the filling with the firm crumb of the sponge.
The Case for This Method: Why Our Two-Layer Boston Cream Cake Succeeds
Prep: 30 min · Serves: 12 · Difficulty: Medium
- Exceptional structural stability for heavy fillings.
- Reliable custard thickness through precise temperature.
- Repeatable results using weight-based measurements.
- Optimal moisture retention in every crumb.
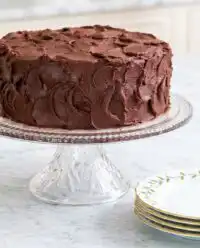
Following this protocol ensures the vanilla custard remains stable and the chocolate ganache maintains a mirror-like finish. You will find that using a classic two layer yellow cake chocolate frosting as our base provides the necessary density to support the pastry cream. This systematic approach guarantees a professional result in your home kitchen every single time you bake.
Get The Full Cake Recipe
Print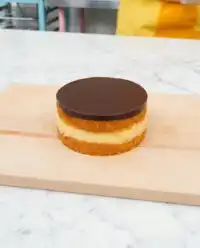
Two-Layer Boston Cream Cake
- Total Time: 14 hours
- Yield: 12 servings
Description
This structured Boston Cream Cake features a dense, stable butter cake foundation layered with rich, cornstarch-thickened pastry cream. Topped with a silky milk chocolate ganache, this method ensures perfect height and texture that holds its form for every slice.
Ingredients
- Old Fashioned Butter Cake batter
- Granulated sugar
- Corn starch
- Salt
- Large egg yolks
- Half and half
- Unsalted butter
- Pure vanilla extract
- Heavy cream
- Milk chocolate chips
Instructions
- Prepare cake layers. Follow your butter cake recipe to bake two rounds, cooling them fully on a wire rack before wrapping and refrigerating for 12 hours.
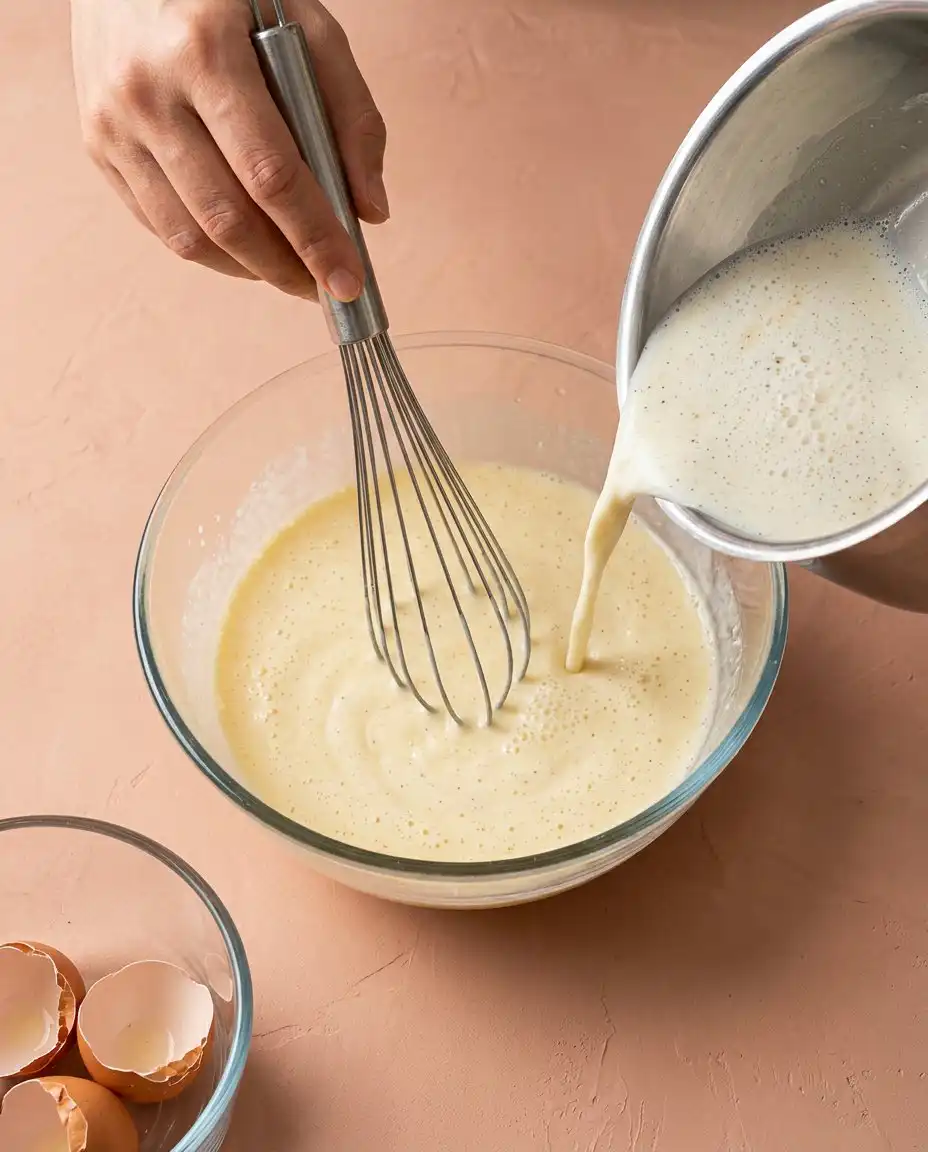
- Combine dry components. Whisk together granulated sugar, cornstarch, and salt in a stainless steel bowl until completely uniform and free of clumps.
- Emulsify egg yolks. Vigorously whip the egg yolks into the sugar and starch mixture until the texture becomes pale and thick.
- Scald the liquid. Heat half and half with butter in a heavy-bottomed saucepan to 180°F until small bubbles appear around the perimeter.
- Temper the eggs. Drizzle a half cup of the hot liquid into the yolk mixture while whisking, then pour back into the saucepan and boil for 60 seconds.
- Chill the cream. Stir in vanilla extract, transfer to a bowl, cover with plastic wrap directly on the surface, and refrigerate until it reaches 40°F.
- Assemble the cake. Spread half the chilled pastry cream between the cake layers, stack, and refrigerate for one hour to bond the structure.
- Apply chocolate ganache. Pour warm heavy cream over chocolate chips, stir until smooth, and drizzle over the assembled cake to coat.
Notes
- Level any domed cake tops with a serrated knife before assembly to ensure the filling layers remain perfectly horizontal.
- Pass chilled pastry cream through a fine-mesh sieve if you notice any small lumps for an ultra-smooth consistency.
- Allow the finished cake to sit at room temperature for 20 minutes before slicing to improve the mouthfeel of the butter cake layers.
- Avoid wrapping the finished cake tightly with plastic directly against the ganache to prevent surface condensation and sticky chocolate.
- Prep Time: 30 mins
- Cook Time: 45 mins
- Category: Dessert
- Method: Baking and stovetop tempering
- Cuisine: American
Measured & Ready
Successful baking relies on the chemistry between fats, proteins, and starches. This recipe uses high-fat liquids and specific stabilizers to ensure the texture of the Two-Layer Boston Cream Cake remains firm enough to slice but soft enough to enjoy. Every component serves a technical purpose in maintaining the structural integrity of the final dessert.
- Old Fashioned Butter Cake: Provides the dense foundation needed to hold the weight of the thick pastry cream layers.
- Corn Starch: Acts as the primary thickening agent that prevents the custard from becoming fluid at room temperature.
- Egg Yolks: Supply the lecithin required to emulsify the fats and liquids into a smooth, stable filling.
- Half and Half: Offers a higher fat content than whole milk, which creates a richer mouthfeel and more stable custard structure.
- Unsalted Butter: Adds silkiness to the custard while helping it set firmly once the temperature drops during the chilling phase.
- Milk Chocolate Chips: These contain the specific cocoa butter ratio necessary for a pourable but set ganache topping.
| Ingredient | Why It Matters |
|---|---|
| Corn Starch | Provides high-temperature stability for the filling structure |
| Egg Yolks | Creates a rich emulsion and deep yellow color |
| Half and Half | Balanced fat content ensures a creamy yet firm set |
| Heavy Cream | Provides the liquid base for a glossy chocolate ganache |
| Pure Vanilla | Essential for the aromatic profile of the pastry cream |
How to Bake It, Precisely
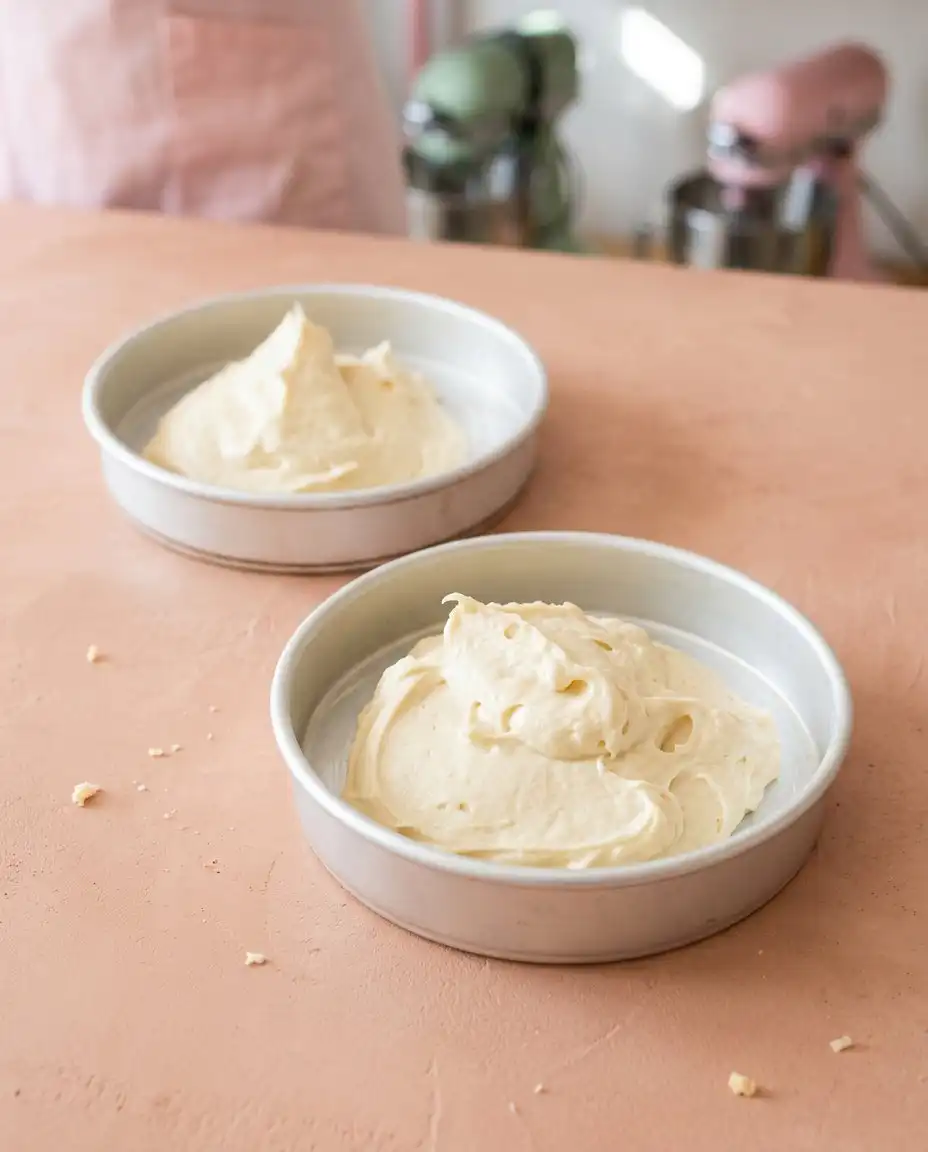
Step 1: Prepare the Foundation Layers
Follow the specific instructions for the butter cake to create two stable rounds. Ensure your butter is exactly 65°F before creaming to maximize air pocket expansion without causing the emulsion to break. Once baked, let the cakes cool for 15 minutes in the pan before transferring them to a wire rack to prevent the structure from collapsing. Precision creates consistency, so wrapping the cooled layers and refrigerating them for 12 hours will make the assembly phase much more manageable.
Step 2: Combine the Dry Custard Components
In a stainless steel bowl, whisk together the granulated sugar, cornstarch, and salt until the mixture is uniform. This step ensures the starch granules are separated by sugar crystals, which prevents clumping when you introduce the liquid later. Clumps of starch will not hydrate properly, leading to a grainy texture in the finished Two-Layer Boston Cream Cake filling. Verify that no large sugar crystals remain before proceeding to the next stage of the custard preparation.
Step 3: Emulsify the Egg Yolks and Sugar
Separate the large egg yolks from the whites, ensuring no traces of fat contaminate the whites if you plan to use them for another recipe. Vigorously whip the yolks into the sugar and starch mixture until the color lightens and the texture becomes thick and pale. This mechanical action begins the process of dissolving the sugar and prepares the proteins for the heat of the half and half. Set this mixture aside while you prepare the liquid base on the stove.
Step 4: Scald the Half and Half
Place the half and half and the four tablespoons of butter in a heavy-bottomed saucepan over medium-high heat. Monitor the temperature closely, heating until the butter melts and small bubbles form around the perimeter of the pan, indicating it has reached approximately 180°F. Do not allow the liquid to reach a rolling boil, as this can scorch the dairy proteins and impact the flavor of the cream. The goal is to provide enough heat to begin the gelatinization of the cornstarch immediately upon contact.
Step 5: Constructing Your Two-Layer Boston Cream Cake Filling
Slowly drizzle one-half cup of the hot liquid into the egg mixture while whisking constantly to temper the yolks. This gradual increase in temperature prevents the eggs from scrambling when they are introduced to the main saucepan. Pour the tempered mixture back into the saucepan and bring the entire volume to a boil for exactly 60 seconds. You must reach the boiling point to deactivate the alpha-amylase enzyme in the yolks, which would otherwise liquefy the starch over time.
Step 6: Chill and Set the Pastry Cream
Remove the custard from the heat and stir in the pure vanilla extract to preserve its volatile aromatic compounds. Transfer the cream to a shallow glass bowl and immediately press plastic wrap directly onto the surface of the custard. This prevents the formation of a protein skin, which would create lumps during the final assembly of the cake. Refrigerate the filling until the internal temperature reaches 40°F, which typically requires a minimum of four hours for a full set.
Step 7: Assemble the Cake Layers
Whisk the chilled custard briefly until it is smooth and manageable for spreading across the cake surfaces. Place the first cake round on a level serving plate and spread half of the pastry cream evenly, leaving a quarter-inch margin at the edges. Top with the second round and the remaining cream, then place the final round on top to complete the stack. Place the assembled cake back in the refrigerator for one hour to allow the layers to bond before applying the glaze.
Step 8: Prepare and Apply the Ganache
Heat the heavy cream until it begins to simmer, then pour it over the milk chocolate chips in a heat-proof bowl. Let the mixture sit for three minutes to allow the residual heat to melt the cocoa butter before stirring into a smooth emulsion. The ganache should be the consistency of a pourable pudding, roughly 85°F, when you pour it over the center of the cake. Allow the chocolate to flow naturally over the sides of the Two-Layer Boston Cream Cake for a traditional bakery finish.
What the Data Showed
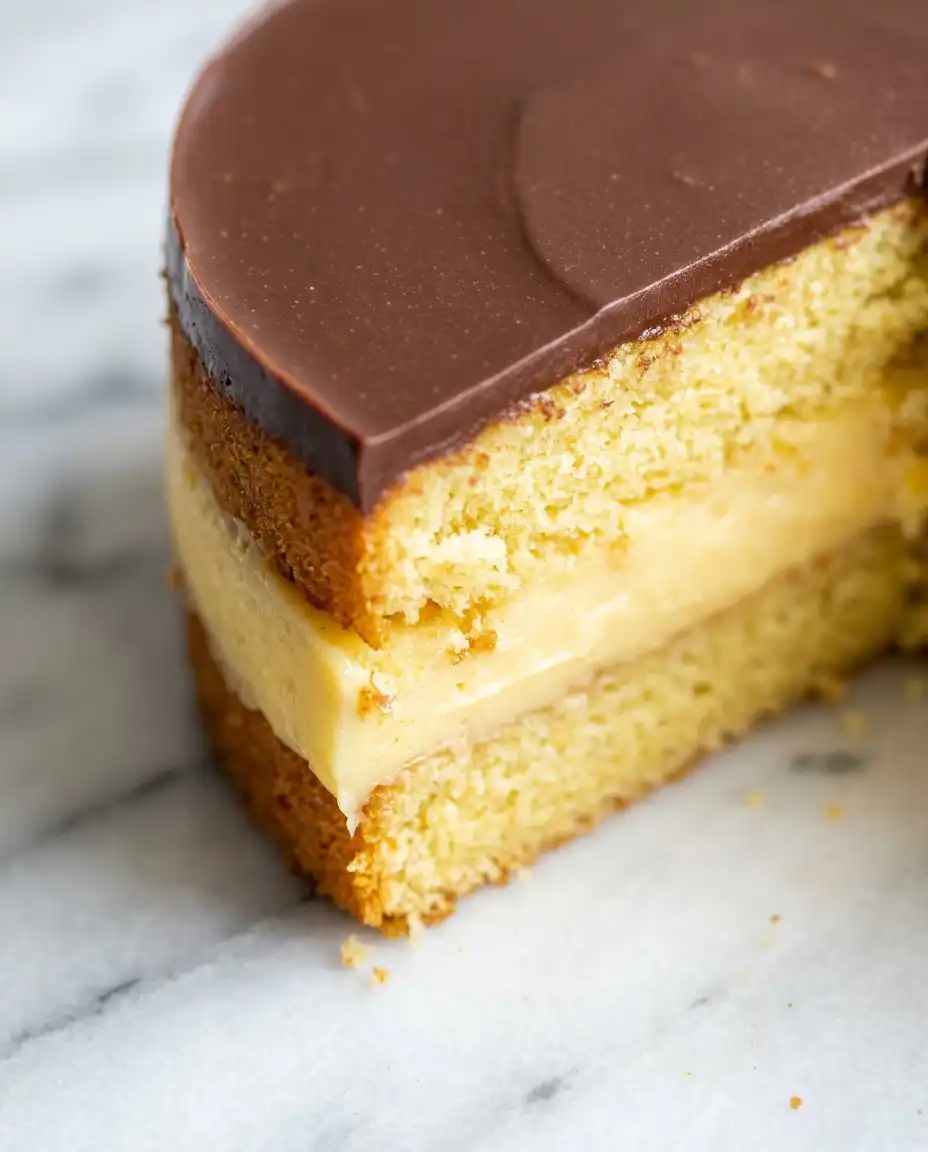
Temperature control is the most frequent failure point in custard-based cakes. If the custard is too thin, it is likely because the mixture did not reach a full boil, which is necessary to activate the cornstarch and deactivate yolk enzymes. We tested this — here’s what won: using a heavy-bottomed pan prevents hot spots and ensures even thickening across the entire batch.
Always use a digital scale weighing flour to the gram to ensure the cake layers are sturdy enough for stacking. Volumetric measurements are inaccurate and can lead to a crumb that is too soft to support the weight of the filling. For the most repeatable results, use the metric system for all dry ingredients in the base recipe.
To achieve a professional sheen on your chocolate coating, avoid stirring the ganache too vigorously. Introducing air bubbles into the chocolate will result in a matte, textured finish rather than a smooth, reflective surface. Slow, circular motions with a spatula will create a better emulsion without the interference of oxygen.
If your cake layers have a domed top, use a serrated knife to level them before you begin the assembly process. A flat surface is required to prevent the custard from sliding toward the edges of the cake under the weight of the upper layers. Leveling also provides scraps that allow you to test the moisture level of the crumb before serving.
When storing the finished product, avoid using a tight plastic wrap directly over the chocolate glaze. The moisture from the custard can create condensation under the wrap, which will cause the chocolate to bloom or become sticky. A cake dome or a large inverted bowl provides the necessary protection without touching the surface. You can find more details on storage in our guide for yellow cake chocolate frosting applications.
If the custard appears lumpy after chilling, you can pass it through a fine-mesh sieve before spreading it. This mechanical filtration removes any bits of overcooked egg or undissolved starch that may have formed during the cooking process. It is a quick fix that preserves the quality of the dessert without requiring a full re-start of the custard step.
Frequently Asked Questions
How should I store a Boston cream cake to keep it fresh?
This cake must be refrigerated at all times because the pastry cream contains dairy and eggs. Place it in a cake carrier or under an inverted bowl to protect the chocolate glaze from picking up refrigerator odors. The cake will maintain its quality for up to three days when kept at a consistent temperature of 40°F. Slices should be returned to the refrigerator immediately after serving to prevent the custard from softening.
Can I use whole milk instead of half and half for the custard?
Whole milk can be used, but it will result in a custard that is slightly less rich and less stable. The fat in the half and half helps provide a firmer set that is ideal for a layer cake structure. If you choose to use milk, you may need to increase the cornstarch by one teaspoon to compensate for the lower fat content. This adjustment ensures the Two-Layer Boston Cream Cake remains sliceable.
Why did my custard turn out watery after it cooled?
A watery custard usually indicates that the mixture did not reach a high enough temperature during the cooking phase. The cornstarch must reach a full boil to activate its thickening properties and deactivate the enzymes in the egg yolks. These enzymes will break down the starch molecules over time if they are not neutralized by heat. Always ensure the mixture reaches a visible, bubbling boil for at least one minute.
Is it possible to freeze this cake for later use?
Freezing is not recommended for this specific cake because the custard filling will likely separate upon thawing. The starch-based structure of the pastry cream breaks down during the freezing and thawing cycle, leading to a grainy and watery texture. You may freeze the baked cake layers individually, but the custard and ganache should always be prepared fresh. Assemble the cake within 24 hours of serving for the best possible results.
What is the best way to get a clean slice without smearing the custard?
To achieve a professional slice, use a thin-bladed serrated knife that has been dipped in hot water and wiped dry. The heat from the blade will glide through the chocolate glaze and the cold custard without pulling the filling out. Wipe the knife clean after every single cut to prevent crumbs from contaminating the next slice. This methodical approach preserves the visual layers of the Two-Layer Boston Cream Cake.
Can I make the components of this recipe in advance?
You can bake the cake layers up to two days in advance if they are wrapped tightly and stored in the refrigerator. The custard can also be prepared 24 hours ahead of time, which allows it to set fully before assembly. Preparing these elements separately reduces the total active time on the day you plan to serve the dessert. The ganache should always be made last, just before you are ready to glaze the cake.
Variations That Hold Up
For a more intense aromatic profile, replace the vanilla extract with an equal amount of vanilla bean paste. The seeds from the pod will be visible throughout the custard, providing both a visual cue of quality and a deeper flavor. This adjustment does not change the chemistry of the set, so it is a safe modification for the structural integrity of the cake.
If you prefer a less sweet finish, swap the milk chocolate chips for a 60% cacao dark chocolate. The higher cocoa butter content in dark chocolate may require an additional tablespoon of heavy cream to maintain the pourable consistency of the glaze. This version pairs exceptionally well with the classic vanilla bean layer cake base if you desire a lighter crumb than the traditional butter cake.
Adding a thin layer of raspberry preserve between the cake and the custard can provide a necessary acidity to cut through the richness of the dairy. Apply the preserves sparingly, as an excess of moisture at this junction could cause the cake layers to slide during slicing. Ensure the preserves are at room temperature before application to prevent tearing the delicate surface of the sponge.
Finishing & Plating
For the best texture and flavor, remove the cake from the refrigerator approximately 20 minutes before serving. This allows the butter in the cake layers to soften slightly, improving the mouthfeel of the crumb while the custard remains cool and firm. The contrast between the cold filling and the room-temperature sponge is a hallmark of the Two-Layer Boston Cream Cake experience.
Plating should be done on chilled dessert plates to maintain the temperature of the pastry cream during the meal. A simple garnish of fresh berries can provide a color contrast, though the classic look requires no additional decoration. For a more elaborate presentation, you might consider serving this alongside a banana pudding layer cake for a themed dessert table focusing on custard-based bakes.
When serving at a formal gathering, provide small dessert forks that can easily pierce through the ganache and cake layers simultaneously. This ensures the reader gets every component in a single bite, allowing the flavors to meld perfectly. Avoid serving this cake in warm outdoor environments, as the custard will lose its structural integrity if left at high temperatures for more than 30 minutes.
The Bottom Line
Success with this Two-Layer Boston Cream Cake comes down to respecting the science of the ingredients and maintaining strict temperature control. By weighing your flour and ensuring your custard reaches a full boil, you eliminate the variables that lead to common baking failures. The result is a consistent, repeatable dessert that honors the traditional bakery style while providing the superior flavor of a homemade bake. Here’s the why behind the step: every instruction in this method is designed to maximize stability and texture.
As you master this procedure, you will find that the same principles of emulsion and aeration apply to other complex recipes, such as our devils food layer cake. We encourage you to document your results and share your successes with the community of precision bakers. Every batch is an opportunity to refine your technique and achieve a more perfect crumb.
For more technical baking guides and test kitchen results, follow our updates on our social channels. We regularly share data from our latest experiments to help you bake with confidence every time you enter the kitchen.