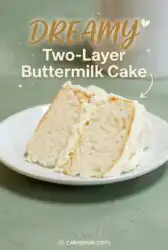
Pull up a chair to my counter, tie on a clean kitchen apron, and let us bake a classic Southern dessert that defines front-porch hospitality.

This traditional Two-Layer Buttermilk Cake stands as the centerpiece of my favorite Sunday dinners, bringing everyone together with its delicate crumb and rich frosting. For generations, Southern home bakers have turned to buttermilk to yield a tender crumb that holds up beautifully on a dessert plate. The natural acidity in the milk works wonders with the flour, helping each golden layer rise evenly in the oven. When you take your first bite of this cake, you will immediately taste the care and classic technique that makes home baking feel like a warm hug. It is a sweet reminder that some of the best things in life are still made slowly and by hand.
Why This Two-Layer Buttermilk Cake Earns Its Place
Prep: 40 min · Serves: 12 · Difficulty: Medium
For a home baker, there is nothing quite like the pride of displaying a beautiful classic vanilla layer cake to your guests. This recipe carries that same vintage spirit, relying on standard pantry items to make a masterpiece. You will find that this cake rises to every occasion, whether it is a small family gathering or a larger holiday feast. Our family has passed down these techniques for years because they work without fail.
- Traditional ingredients yield an exceptionally tender crumb.
- Simple pantry staples create rich nostalgic flavor.
- Reliable baking steps promise reliable results daily.
- Creamy vanilla frosting spreads smoothly over layers.
- Time-tested technique provides an evenly risen bake.
When you serve this dessert, you are offering more than sugar and flour alone; you are sharing a piece of baking heritage. Each slice speaks of cozy afternoons and sweet conversations around the dining room table.
Get The Full Cake Recipe
Print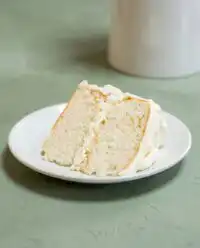
Two-Layer Buttermilk Cake
- Total Time: 1 hour 13 mins
- Yield: 12 servings
Description
Experience the timeless comfort of a classic Southern buttermilk cake, featuring a tender, delicate crumb and a rich, silky vanilla frosting. This traditional two-layer masterpiece is perfect for Sunday dinners and special gatherings alike.
Ingredients
- 2 cups cake flour
- 1/2 teaspoon kosher salt
- 1 teaspoon baking powder
- 1/2 teaspoon baking soda
- 3/4 cup unsalted butter, softened
- 1 1/2 cups granulated sugar
- 3 large eggs, room temperature
- 1 cup buttermilk, room temperature
- 1 teaspoon pure vanilla extract
- 1 cup unsalted butter, softened (for frosting)
- 3 cups powdered sugar
- 2 tablespoons milk
- 1 teaspoon vanilla extract
- Pinch of kosher salt
Instructions
- Prepare oven and pans. Preheat oven to 350°F (325°F for convection). Grease two 9-inch round pans, line with parchment, grease again, and dust lightly with flour.
- Sift dry ingredients. Sift cake flour twice, then whisk together with salt, baking powder, and baking soda in a medium bowl until blended.
- Cream butter and sugar. Beat 3/4 cup softened butter and granulated sugar on medium speed for two minutes. Add eggs one at a time, beating for a full minute after each.
- Combine the batter. On low speed, alternate adding the dry flour mixture and buttermilk in three additions, starting and ending with flour. Stir in vanilla extract until smooth.
- Bake the layers. Divide batter between pans and bake for 30 to 33 minutes until a toothpick inserted in the center comes out clean.
- Cool the cake. Cool cakes in pans for 20 minutes on a wire rack. Run a knife around the edges, invert onto the rack, and cool completely before frosting.
- Whip the frosting. Beat 1 cup softened butter, salt, powdered sugar, milk, and vanilla extract until smooth, increasing speed after initial incorporation.
- Assemble and frost. Place one layer on a plate, frost the top, then top with the second layer. Coat the entire cake with remaining frosting and serve.
Notes
- Ensure all dairy and egg ingredients are at room temperature to prevent the batter from curdling.
- Use a light touch when measuring flour by spooning it into the cup rather than packing it down to maintain the cake’s light texture.
- For the smoothest application, chill your frosting for fifteen minutes if it becomes too soft or runny during assembly.
- Use a warm, dry knife for cutting to ensure clean, professional slices without dragging the frosting.
- Prep Time: 40 mins
- Cook Time: 33 mins
- Category: Dessert
- Method: Baking
- Cuisine: Southern
Your Ingredient Lineup
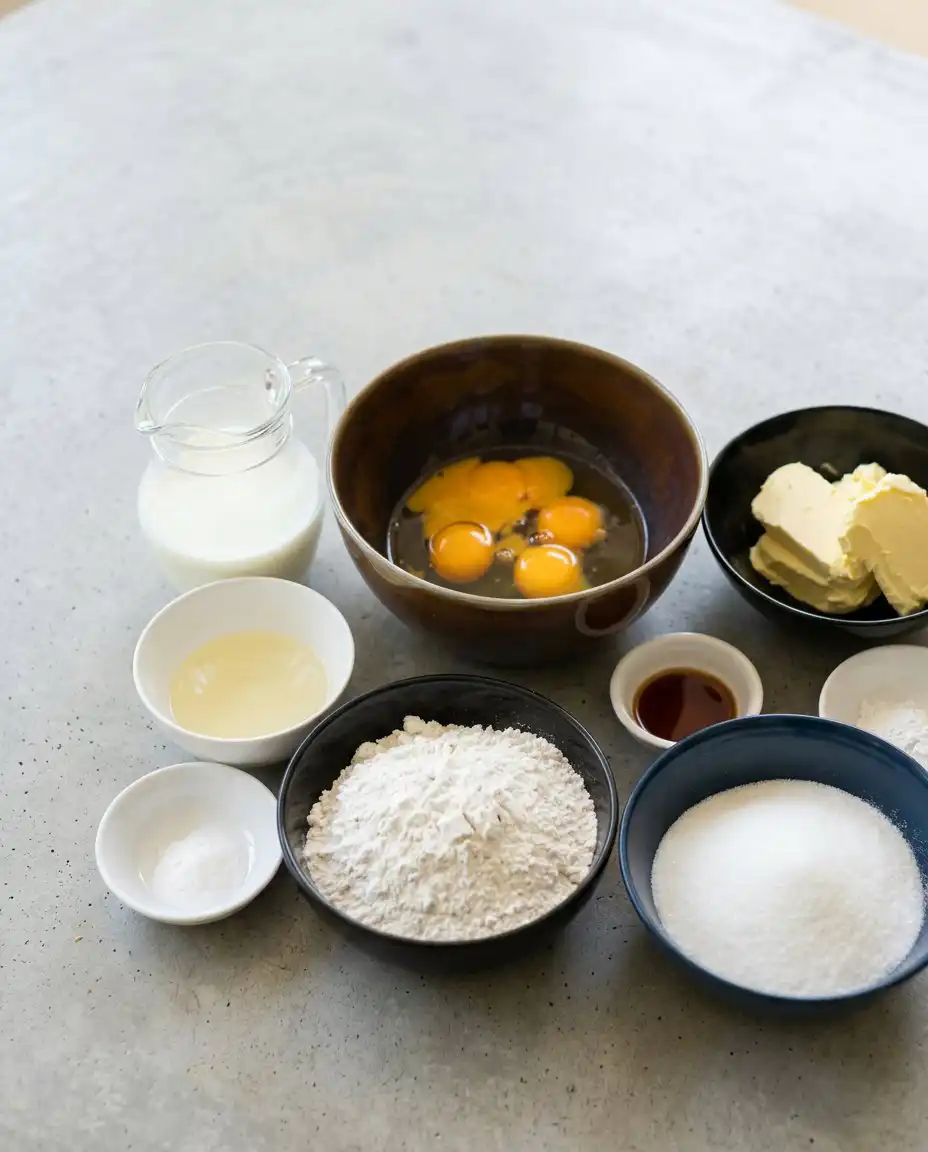
Baking a high-quality Two-Layer Buttermilk Cake begins with selecting ingredients that work in harmony with one another. Each of these components plays a vital role in creating the moist texture and delicate flavor we want. Gathering them on your counter beforehand makes the entire baking process smooth and enjoyable. Taking the time to understand your ingredients helps guarantee that your final bake is successful.
- Cake Flour: Sifting this delicate flour twice provides a light, airy structure that melts on your fork. It has a lower protein content than all-purpose flour, which keeps the crumb exceptionally soft.
- Unsalted Butter: Creaming high-quality butter with sugar creates the foundational pockets of air that help the layers rise. Using unsalted butter allows you to control the exact amount of salt in your batter.
- Buttermilk: The natural acidity softens gluten strands, yielding a tender crumb that keeps the cake moist for days. It provides that classic Southern flavor profile that is impossible to replicate with regular milk.
- Kosher Salt: A pinch of salt balances the sweet granulated sugar, bringing out the delicate vanilla notes. It acts as a quiet enhancer that makes all the other flavors taste richer and more pronounced.
- Granulated Sugar: This sweetens the cake while locking in moisture during the baking process. It also aids in the creaming process by cutting tiny air pockets into the butter.
- Large Eggs: Room-temperature eggs bind the batter together and add rich color to each golden layer. They provide structure and lift as the cake bakes in the warm oven.
| Ingredient | Why It Matters |
|---|---|
| Buttermilk | Adds acidity to tenderize gluten and keep the cake moist |
| Cake Flour | Provides a lighter, more delicate crumb than standard flour |
| Unsalted Butter | Creates a rich flavor and foundational structure through creaming |
| Large Eggs | Emulsifies the wet ingredients for a smooth, cohesive batter |
| Granulated Sugar | Sweetens the cake while retaining moisture during the bake |
Walking Through the Bake
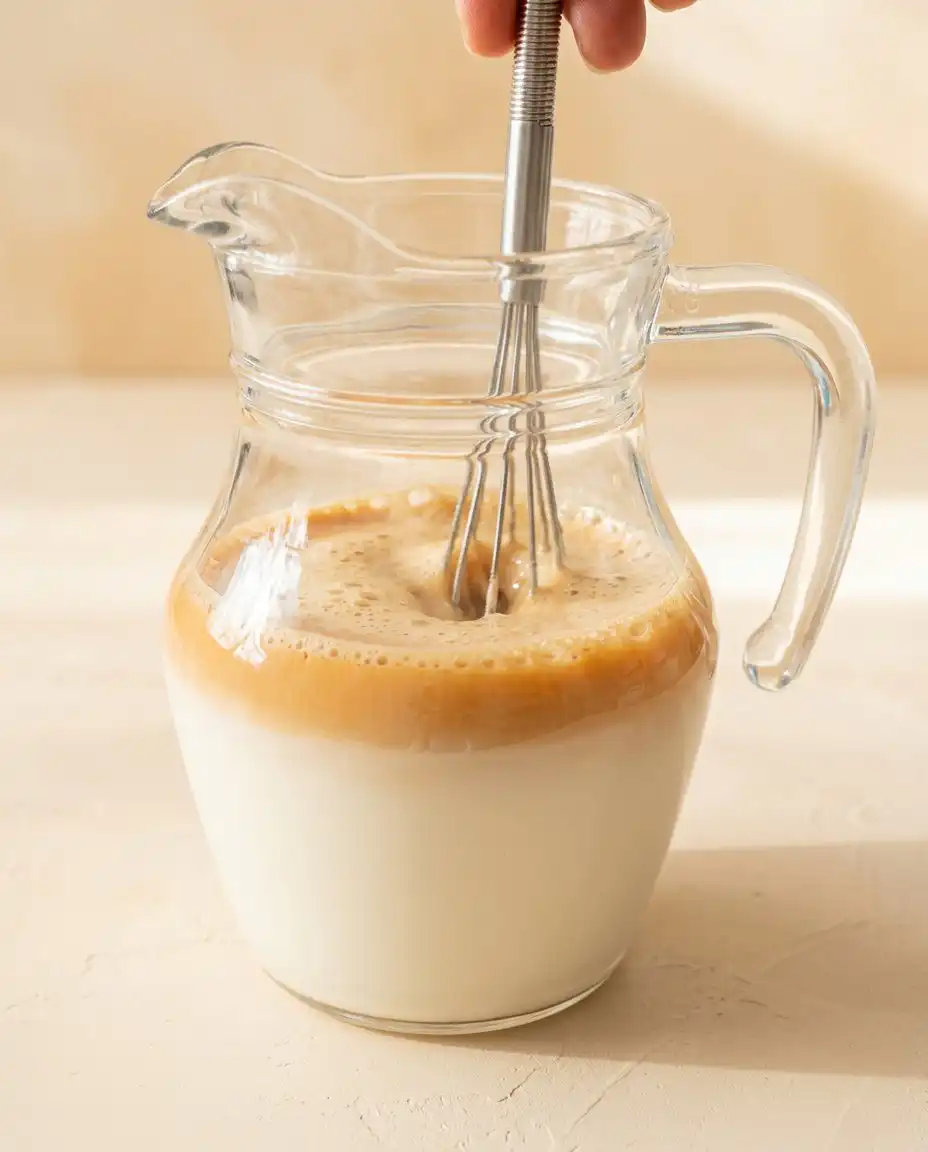
Step 1: Prep Your Oven and Pans
Begin by preheating your oven to 350 degrees Fahrenheit, or 325 degrees if you are using a convection oven. Take two nine-inch round cake pans and grease them thoroughly before lining the bottoms with parchment or wax paper. Grease the paper itself, then dust both the sides and bottoms of the pans with flour, tapping out any excess over your sink. This thorough preparation prevents the baked layers from sticking when it comes time to release them.
Step 2: Sift and Whisk Dry Ingredients
Sift your cake flour twice onto a sheet of parchment paper before measuring out the required amount. In a medium bowl, combine the measured flour with the kosher salt, baking powder, and baking soda. Whisk these dry ingredients together with a fork until they are thoroughly blended and set the bowl aside. Sifting twice is a simple step that guarantees an incredibly light and airy texture in the final crumb.
Step 3: Cream Butter and Sugar
In the bowl of your stand mixer fitted with the paddle attachment, cream the softened unsalted butter and sugar on medium speed for two minutes. Add your room-temperature eggs one at a time, beating for a full minute after each addition. This process should take five minutes in total, resulting in a pale, fluffy mixture that has expanded in volume. Take your time here, as this step incorporates the air needed for a beautiful rise.
Step 4: Mix the Two-Layer Buttermilk Cake Batter
Turn your stand mixer down to its lowest stir speed to avoid overworking the flour and producing a tough texture. Alternately add the dry flour mixture and the room-temperature buttermilk in three additions, beginning and ending with the flour. Stir in the pure vanilla extract until the batter looks thick, satiny, and completely smooth. Watching the ingredients combine into a silky batter is one of the most satisfying parts of this recipe.
Step 5: Bake the Golden Cake Layers
Divide the cake batter evenly between your two prepared pans, smoothing the tops with a spatula. Bake for 30 to 33 minutes, keeping a close eye on them since oven temperatures can vary slightly. You will know they are ready when a wooden toothpick inserted into the center comes out clean and the edges pull away from the pans. The kitchen will fill with the warm, sweet aroma of vanilla as they reach a beautiful golden-brown color.
Step 6: Cool on Wire Racks
Place the hot pans on a wire cooling rack and let them rest undisturbed for twenty minutes. Carefully run a thin knife around the inside edges of the pans to release the layers, then invert them onto the rack. Peel away the parchment paper from the bottoms and let the cakes cool completely before frosting. Attempting to frost a warm cake will cause your icing to melt and slide right off.
Step 7: Whip the Creamy Frosting
In your clean stand mixer bowl, combine the softened butter, kosher salt, powdered sugar, milk, and vanilla extract. Beat the mixture with the paddle attachment on low speed until the sugar is incorporated, then increase the speed to whip it smooth. You can add a splash more milk or a spoonful of sugar to achieve a spreadable consistency. The resulting frosting should be silky, spreadable, and hold its shape beautifully on a spatula.
Step 8: Assemble and Frost
Carefully set your first cooled layer onto an attractive cake plate, centering it carefully. Spread a thick, even layer of frosting over the top, then gently set the second layer on top of it. Cover the top and sides of the cake with the remaining frosting, smoothing it with a spatula before covering it with a cake dome. Keeping the finished cake covered preserves its moisture and protects the beautiful frosting.
Southern Baker’s Secrets
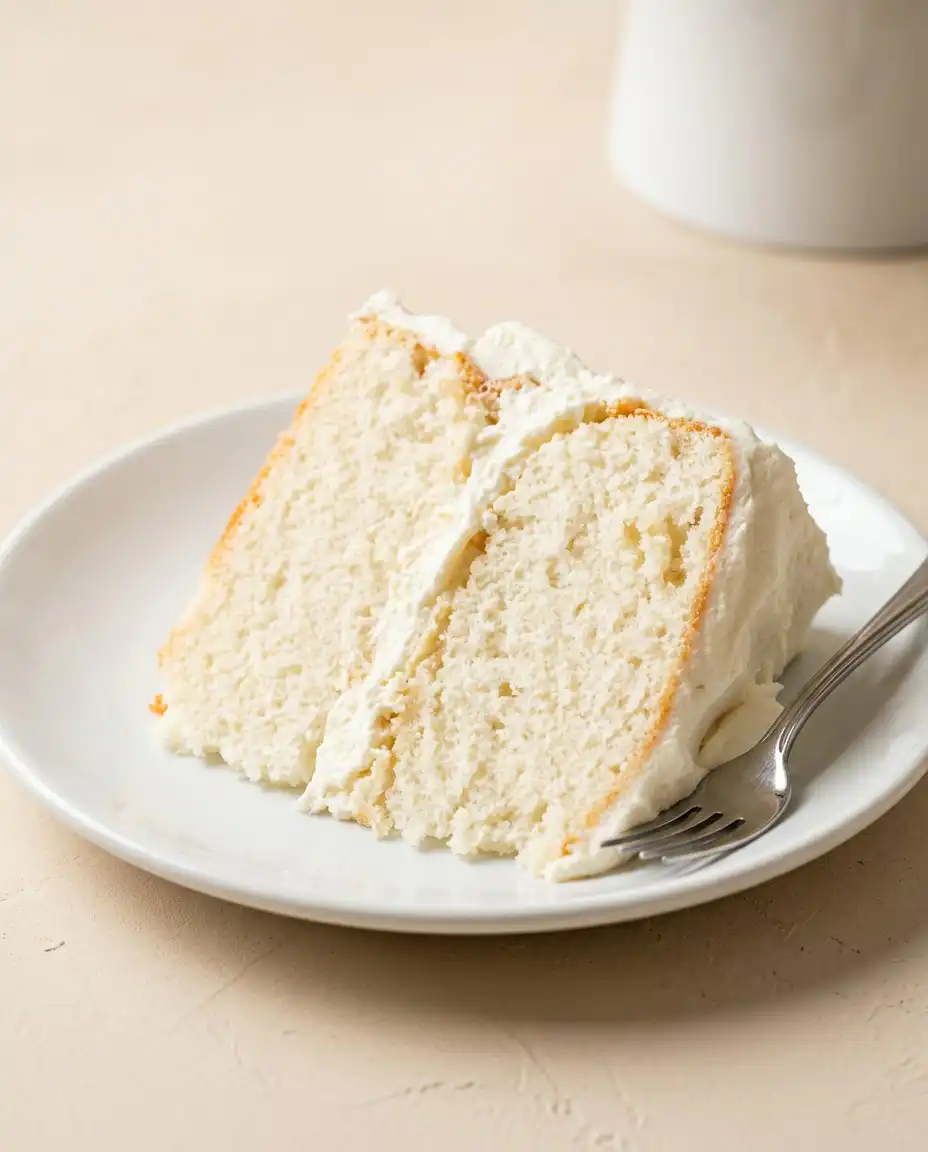
To get the absolute best texture for your Two-Layer Buttermilk Cake, always spoon your cake flour into the measuring cup rather than scooping directly from the bag. Scooping packs the flour down, which can lead to a dry, heavy layer instead of the light crumb you would expect from a classic classic two layer yellow cake chocolate frosting. Taking this extra care makes a massive difference in the final structure of your cake.
If your cake layers turn out dense or flat, it is often because the baking powder or baking soda has lost its potency. Always check the expiration dates on your leaveners, as fresh ingredients are crucial for traditional traditional buttermilk baking success. You can test your baking powder in a little warm water to see if it fizzes before starting.
Avoid using cold buttermilk straight from the refrigerator because it will curdle the creamed butter mixture. If you are short on time, place your measured buttermilk in a warm water bath for ten minutes to take the chill off. Having all your wet ingredients at room temperature promotes a smooth, emulsion-rich batter.
For the cleanest slices, dip your sharp knife into a tall glass of hot water and wipe it dry before each cut. This prevents the creamy frosting from dragging through the delicate crumb of the cake. It is a simple professional technique that keeps every single serving looking pristine on the plate.
Keep a close eye on the creaming process during the early stages of mixing. Beating the butter and sugar for the full specified time builds the structural foundation needed to support the rise of the layers. Rushing this step will result in a heavy, dense cake that fails to rise properly in the oven.
When your frosting feels too soft or runny to hold its shape, place the mixing bowl in the refrigerator for fifteen minutes. Whipping it again after it chills slightly will restore its firm, spreadable texture. This happens when the butter gets too warm during mixing, and chilling is the easiest way to fix it.
Frequently Asked Questions
Why is my Two-Layer Buttermilk Cake dry?
A dry cake is usually the result of overbaking or measuring too much flour. To prevent this, always use the spoon-and-level method for your flour and start checking the cake for doneness a few minutes before the timer goes off. Oven temperatures can run hot, so a reliable oven thermometer is a helpful tool.
Can I substitute buttermilk in a cake?
While you can use a homemade milk and acid mixture in a pinch, real buttermilk is highly recommended for the best texture. Commercial buttermilk is thicker and more acidic, which yields a much more tender crumb. The store-bought version provides a consistent rise and flavor that homemade substitutes cannot quite match.
What does buttermilk do to a cake?
Buttermilk tenderizes the gluten in the flour, resulting in a soft, delicate crumb that melts on your tongue. It also adds a subtle tang that balances the sweetness of the sugar and frosting. Furthermore, it works with the baking soda to help the cake rise beautifully in the oven.
Should buttermilk cake be served warm or cold?
This cake is best served at room temperature, as this allows the flavors of the butter and vanilla to shine. If you store the cake in the refrigerator, let it sit on the counter for about an hour before slicing. Serving it too cold masks the delicate textures and sweet cream flavors of the frosting.
How many people does a two-layer cake feed?
A standard nine-inch two-layer cake easily yields twelve generous slices. If you cut smaller pieces, you can comfortably serve up to sixteen guests at a party or potluck. It is the perfect size for Sunday dinners and family gatherings where everyone wants a taste.
Can a Two-Layer Buttermilk Cake be frozen?
Yes, you can freeze the unfrosted cake layers by wrapping them tightly in plastic wrap and aluminum foil for up to three months. Thaw the layers overnight in the refrigerator before assembling and frosting. This is a great way to prepare for a big event ahead of time without rushing.
How do you keep a two-layer cake moist?
Store the cake under a glass cake dome at room temperature to keep the air from drying it out. Once sliced, you can press a piece of plastic wrap directly against the cut edges to preserve their softness. Keeping the cake well-frosted also acts as a natural barrier against dryness.
Can I make my own buttermilk?
You can make a quick substitute by adding one tablespoon of lemon juice or white vinegar to a cup of whole milk. Let the mixture sit on the counter for ten minutes until it curdles slightly before using. While not as thick as commercial buttermilk, it will still provide the acidity your recipe needs.
Reunion-Worthy Variations
You can easily transform this Two-Layer Buttermilk Cake by adding the bright flavor of fresh citrus to the batter. Stir in two tablespoons of fresh lemon zest along with the vanilla extract to create a sunny, refreshing dessert. Pair this lemon version with a tart cream cheese frosting for a beautiful spring gathering that will delight your friends.
For a beautiful visual contrast, divide your batter in half and swirl rich cocoa powder into one portion to make a two layer marble cake. This gives you the best of both worlds, blending sweet vanilla with deep chocolate notes in every slice. It is a wonderful way to please everyone at a family reunion without making two separate desserts.
If you enjoy a bit of texture, fold half a cup of finely chopped toasted pecans into the batter before baking. You can also press additional pecans into the frosted sides of the finished cake. This adds a delightful Southern crunch that pairs beautifully with the sweet frosting, bringing a rustic charm to your presentation.
Pairing & Presentation
When it comes to presenting this cake, nothing matches the charm of a vintage pedestal stand. Center the cake carefully and surround the base with fresh berries or edible flowers for a touch of natural beauty. If you are celebrating a first birthday, you might also want to prepare a coordinating two layer smash cake for the little one. It makes for beautiful photos and a wonderful memory.
This classic Two-Layer Buttermilk Cake dessert pairs wonderfully with a cup of strong chicory coffee or a tall glass of sweet iced tea. The rich, creamy frosting matches the bitter notes of the coffee beautifully, making it an excellent choice for afternoon visits on the porch. Serve each slice with a small fork and plenty of napkins for your guests. It is a simple way to show true hospitality to everyone who steps through your door.
For a formal dinner party, try serving each slice on a vintage plate with a dollop of lightly whipped cream on the side. You can also dust the plate with a tiny pinch of cinnamon or powdered sugar for an elegant touch. This contrast of simple cake and beautiful presentation makes your home-cooked meal feel like a special event.
A Final Slice
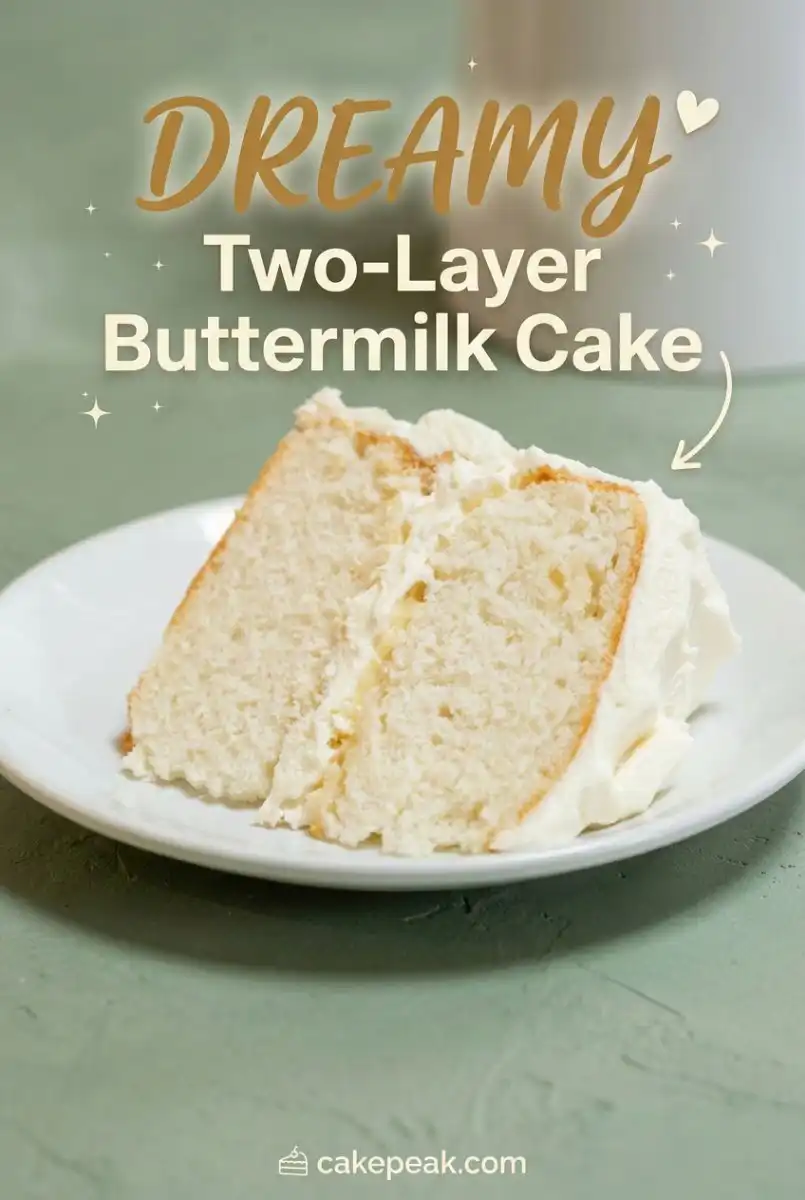
Baking this Two-Layer Buttermilk Cake is a wonderful way to share warmth and comfort with the people you love. There is a deep satisfaction in watching a simple batter turn into a beautiful centerpiece for your table. If you are looking for another classic option, consider trying our traditional two layer boston cream cake next time. It offers a different kind of vintage magic that is sure to please your guests.
We hope this recipe brings your family together around the table for sweet moments and laughter. Please share your baking results with us and let us know how your cake turned out. You can follow our journey and see more kitchen inspiration on our Pinterest and Facebook pages. We love seeing our recipes come to life in your kitchens.
Remember that the secret to great baking is patience and a little bit of care. Let your kitchen fill with the wonderful scents of sugar, butter, and vanilla, and enjoy every step of the process. From my kitchen to yours, happy baking and may your table always be surrounded by love.