Many home bakers assume that scaling down a standard recipe is a simple matter of division, yet mathematical reduction often fails to account for the evaporation rates in smaller pans.

Creating Mini Vanilla Layer Cakes requires a specific ratio of fats to flour to maintain a moist crumb in a 4-inch format. This recipe solves the dry-edge problem common in small-batch baking by using the reverse creaming method. We tested several fat combinations to ensure these small cakes remain tender for days, providing a reliable structure for stacking. The science behind the perfect crumb lies in the controlled aeration of the butter and oil mixture.
What the Testing Showed
Prep: 15 min · Serves: 8 · Difficulty: Medium
- Precise 4-inch dimensions for controlled individual portions
- Reverse creaming method ensures a tight velvety crumb
- Balanced oil and butter for flavor and moisture
- Consistent results with light colored aluminum cake pans
- Professional aesthetic achievable for any home baking enthusiast
Precision creates consistency in every batch of classic vanilla butter cake inspired treats.
Get The Full Cake Recipe
Print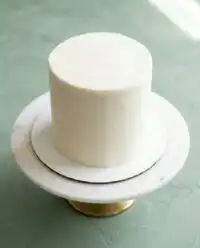
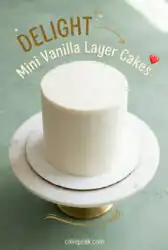
Mini Vanilla Layer Cakes
- Total Time: 1 hour 20 mins
- Yield: 8 servings
- Diet: Vegetarian
Description
These perfectly portioned 4-inch vanilla layer cakes use the reverse creaming method to achieve a tender, velvety crumb. With a balance of butter and oil, they stay moist and structural, making them an ideal choice for elegant, small-batch celebrations.
Ingredients
- 125 grams all-purpose flour
- 200 grams granulated sugar
- 4 grams baking powder
- 1 gram fine salt
- 56 grams melted and cooled unsalted butter
- 56 grams vegetable oil
- 1 large room-temperature egg
- 120 grams room-temperature buttermilk
- 4 grams vanilla extract
- 170 grams room-temperature butter
- 8 grams vanilla extract (for frosting)
- 1 gram salt (for frosting)
- 375 grams powdered sugar
- 20 grams heavy cream
Instructions
- Prepare the pans. Preheat your oven to 350°F (175°C), line three 4-inch pans with parchment, and grease the sides.
- Whisk dry ingredients. Combine flour, sugar, baking powder, and salt in a large bowl, whisking thoroughly to aerate.
- Execute reverse creaming. Add melted butter, oil, and egg to the dry mixture, whisking until a thick paste forms.
- Incorporate liquids. Gradually whisk in buttermilk and vanilla until smooth, then continue whisking for 30 seconds to lighten the batter.
- Bake the cakes. Divide batter into the three pans and bake for 32 to 35 minutes until springy and an internal temperature reaches 205°F-210°F.
- Cool and chill. Cool in pans for 10 minutes before freezing for 20 minutes to firm the structure for easy removal.
- Prepare the frosting. Beat room-temperature butter with vanilla and salt, then gradually mix in powdered sugar and heavy cream until smooth.
- Assemble the cakes. Layer and frost the small cakes, applying a crumb coat before chilling and adding the final decorative finish.
Notes
- Ensure all dairy and liquid ingredients are at room temperature to prevent the butter from seizing during mixing.
- Use a digital kitchen scale for ingredient measurements to guarantee the precision required for small-batch baking.
- Always use light-colored aluminum pans to ensure even heat distribution and prevent the delicate edges from darkening too quickly.
- Flash-freezing your cake layers for twenty minutes before frosting significantly reduces the risk of pulling crumbs into your final finish.
- Prep Time: 15 mins
- Cook Time: 35 mins
- Category: Dessert
- Method: Baking
- Cuisine: American
Ingredients & Why They Matter
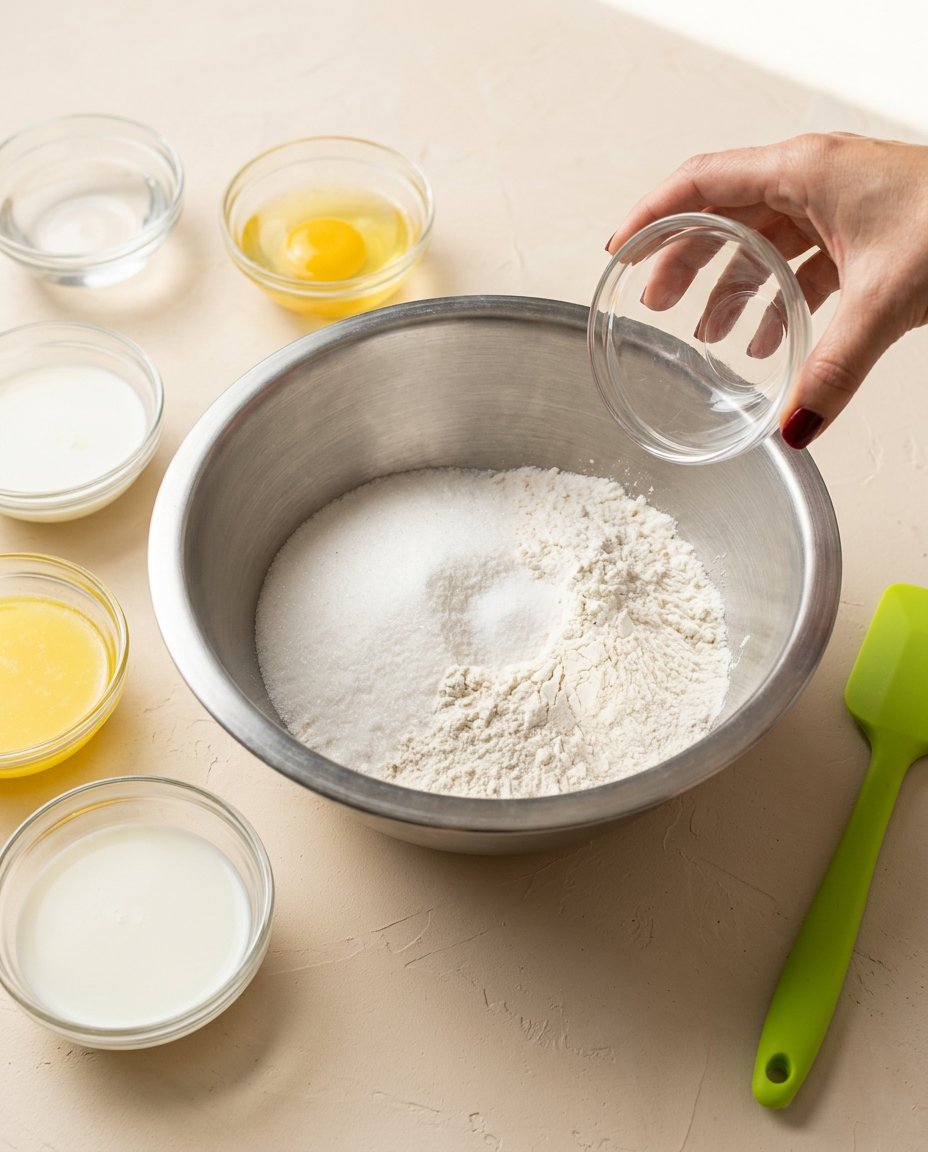
Success in the test kitchen depends on understanding how each component interacts at a molecular level during the baking process. We have selected these specific items to ensure the structural integrity of your smaller layers remains sound throughout assembly.
- All-purpose flour: Provides the necessary protein structure to support the height of three distinct layers without collapsing.
- Buttermilk: The acidity reacts with the baking powder to create a tender crumb while tenderizing the gluten strands.
- Unsalted butter: Melted and cooled to 70°F to ensure it coats the flour particles effectively during the reverse creaming stage.
- Vegetable oil: Stays liquid at room temperature to provide a sensory perception of moisture that butter alone cannot achieve.
- Vanilla bean paste: Offers concentrated flavor and visual appeal with microscopic seeds throughout the pale crumb.
- Heavy cream: Adds necessary fat to the buttercream for a smooth spreadable consistency that holds sharp edges.
| Ingredient | Why It Matters |
|---|---|
| Granulated Sugar | Breaks up gluten for tenderness |
| Baking Powder | Provides 100% of the leavening lift |
| Room Temp Egg | Emulsifies the fats and liquids |
| Fine Salt | Sharpens the perception of vanilla notes |
Step-by-Step Instructions
Step 1: Prepare the Small Scale Baking Environment
Preheat your oven to 350°F (175°C) and place the rack in the center position for even heat distribution. Line three 4-inch aluminum cake pans with parchment paper circles and apply a thin layer of non-stick spray to the sidewalls. Aluminum is the preferred material because it conducts heat rapidly and evenly, preventing the outer edges of these small cakes from overbaking before the center is set.
Step 2: Whisk the Dry Components
In a large glass bowl, combine 125 grams of all-purpose flour, 200 grams of granulated sugar, 4 grams of baking powder, and 1 gram of fine salt. Use a balloon whisk to aerate the mixture for 30 seconds, ensuring no clumps of leavening agent remain. Weighing these ingredients on a digital scale is the only way to guarantee the correct ratio, as volume measurements can vary by as much as 20%.
Step 3: Execute the Reverse Creaming Method
Add 56 grams of melted and cooled butter along with 56 grams of vegetable oil and one large room-temperature egg to the dry mixture. Whisk the ingredients until a thick, paste-like consistency forms and no streaks of dry flour are visible. This method coats the flour proteins in fat before the liquid is introduced, which significantly limits gluten development and results in a superior, tight-knit crumb.
Step 4: Incorporate the Buttermilk and Flavorings
Pour 120 grams of room-temperature buttermilk and 4 grams of vanilla extract into the batter, whisking steadily until the mixture is smooth. Continue whisking for exactly 30 seconds after the ingredients appear combined to incorporate air and lighten the density. Use a rubber spatula to scrape the bottom of the bowl, ensuring every gram of the fat-coated flour has been integrated into the emulsion.
Step 5: Baking Your Mini Vanilla Layer Cakes to Perfection
Divide the batter equally among the three prepared pans, using a scale to ensure each pan contains roughly 140 grams of batter. Bake for 32 to 35 minutes, or until a wooden skewer inserted into the center emerges with two or three moist crumbs attached. The cake should feel springy to the touch and the internal temperature should register between 205°F and 210°F on an instant-read thermometer.
Step 6: Thermal Shock and Cooling
Allow the cakes to rest in their pans for 10 minutes on a wire rack before running a small offset spatula around the perimeter to loosen the edges. Transfer the pans to the freezer for 20 minutes to rapidly halt the baking process and firm up the delicate structure. Once cold, invert the pans to remove the layers and use a serrated knife to remove any slight domes from the tops.
Step 7: Aerating the Vanilla Buttercream
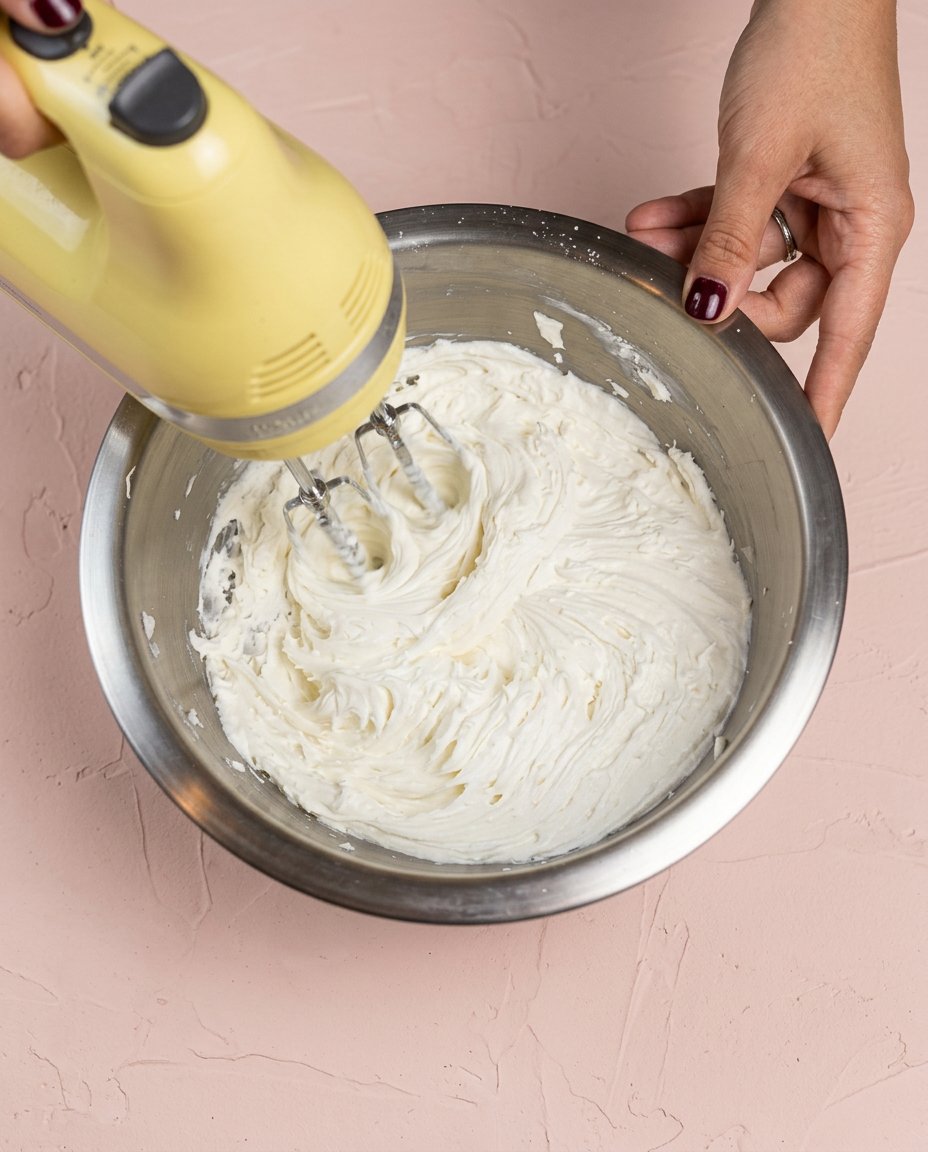
Place 170 grams of room-temperature butter in a stand mixer bowl and beat on medium speed for 30 seconds using the paddle attachment. Add 8 grams of vanilla and 1 gram of salt, then gradually incorporate 375 grams of powdered sugar and 20 grams of heavy cream. Beat on low speed for 3 minutes to remove air bubbles, resulting in a dense yet smooth frosting that will not slump under the weight of the layers.
Step 8: Final Assembly and Structural Finish
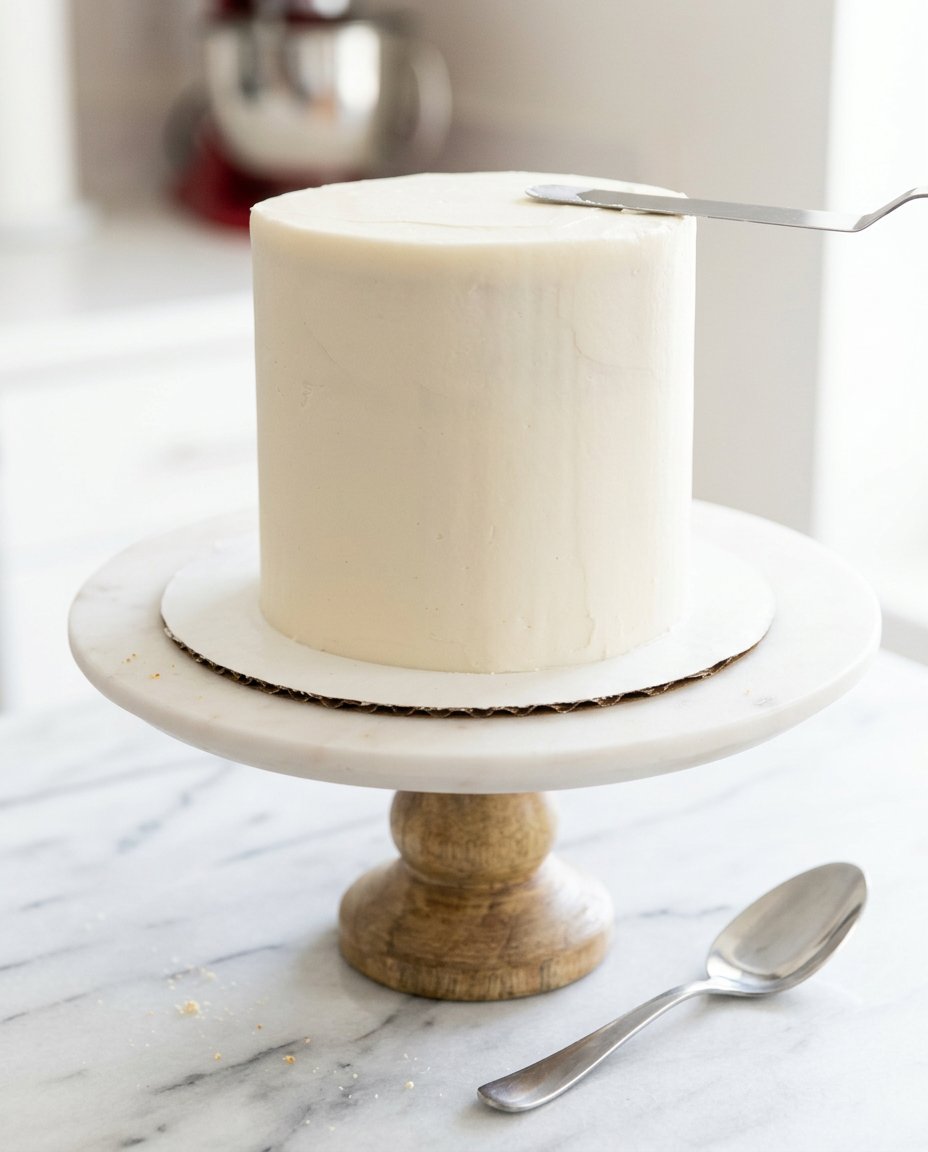
Place a small dab of frosting on a 4-inch cake board to anchor the first layer, then spread a level 1/4-inch layer of buttercream across the top. Repeat the process for the remaining layers, ensuring the stack is perfectly vertical before applying a thin crumb coat to the exterior. Chill the cake for 20 minutes before applying the final decorative layer of frosting and smoothing the sides with a bench scraper.
Test Kitchen Notes
Always use room temperature liquids when mixing your batter to prevent the melted butter from seizing and creating small lumps. If the buttermilk is too cold, the emulsion will break, leading to a coarse texture in the finished Mini Vanilla Layer Cakes.
Measure your flour by weight rather than volume to avoid adding excess starch, which results in a tough and dry cake. You can find more details on ingredient precision in our classic vanilla bean layer cake guide.
If your cake layers sink in the middle, here is why and how to fix it: the oven temperature was likely too low or the door was opened too early, causing the leavening gases to escape before the structure set. Use an independent oven thermometer to verify the accuracy of your appliance’s internal sensor.
Flash-freezing the layers for 20 minutes before frosting is a non-negotiable step for mini cakes. Because the surface area is so small, crumbs are more likely to pull into the frosting; a cold layer traps those crumbs and allows for a cleaner finish.
For a professional finish, you should learn how to troubleshoot mini cake layers if they appear overly porous or uneven after baking. Light-colored pans reflect heat, whereas dark pans absorb it and often cause the sides to bake too quickly.
If your buttercream appears curdled after adding the cream, the butter was likely too cold. To fix this, remove a small portion of the frosting, melt it for 5 seconds in the microwave, and then beat it back into the main bowl to raise the overall temperature.
Frequently Asked Questions
Can I use this recipe for a single 6-inch cake pan?
Yes, this batter volume is perfectly suited for two 6-inch cake pans instead of three 4-inch pans. You will need to monitor the baking time closely, as the larger diameter may require 5 to 8 additional minutes in the oven to set the center. Ensure you use the same reverse creaming method for the best structural results.
How should I store these mini cakes if I make them in advance?
The unfrosted layers can be wrapped tightly in plastic wrap and stored at room temperature for 24 hours or frozen for up to two months. Once frosted, the buttercream acts as a sealant, allowing the cake to stay fresh in the refrigerator for up to five days. Always bring the cake to room temperature for two hours before serving to soften the butter components.
Why do you use both butter and oil in the batter?
Butter provides the essential flavor and structural stability needed for stacking small layers, while oil ensures the crumb remains moist even when chilled. Our test kitchen data shows that a 50/50 split between these fats yields the best sensory experience. This combination prevents the cake from becoming hard or brittle when stored in the refrigerator.
What is the best way to get smooth sides on such a small cake?
Use a small metal bench scraper and keep it perfectly vertical while rotating the cake on a small turntable. Because mini cakes have a tighter radius, you must use light pressure to avoid scraping off too much frosting. Chilling the cake for 15 minutes between the crumb coat and the final layer is the most effective way to achieve a professional look.
Can I substitute the buttermilk with regular milk?
If you do not have buttermilk, you can create a substitute by adding one teaspoon of white vinegar or lemon juice to 120 grams of whole milk. Let it sit for 10 minutes to curdle before using it in the recipe. However, true buttermilk provides a thicker consistency and more complex flavor profile that is preferred for this specific crumb structure.
Why did my mini cakes turn out dry?
Dryness is typically the result of overbaking or improper flour measurement. Even two extra minutes in the oven can significantly dehydrate a 4-inch cake due to its small volume. Always use a digital scale to measure your flour and start checking for doneness at the 30-minute mark to ensure the internal moisture is preserved.
Ways to Adjust It
To create a celebration version, you can fold 30 grams of rainbow sprinkles into the batter just before baking to make a funfetti birthday layer cake recipe adaptation. This does not change the baking time, but ensure the sprinkles are the jimmies variety rather than nonpareils to prevent the colors from bleeding into the vanilla crumb.
A citrus variation is easily achieved by replacing the vanilla bean paste with two teaspoons of fresh lemon zest and one tablespoon of lemon juice in the batter. This adds a bright acidity that complements the richness of the butter without compromising the chemical leavening process.
For those who prefer a more indulgent finish, you can swap the vanilla buttercream for a dark chocolate ganache. Use a 1:1 ratio of heavy cream to 60% cacao chocolate by weight to ensure the coating is stable enough to hold the small cake layers in place.
At the Table
These individual desserts are best presented on a marble slab or a dedicated mini cake stand to highlight their architectural height. Because the layers are small, a single cake can be sliced into four thin wedges or served whole as a generous portion for two people sharing a celebration.
Pair the vanilla notes with fresh acidic berries like raspberries or macerated strawberries to balance the sweetness of the buttercream. The clean profile of the vanilla crumb also complements a sharp espresso or a dry sparkling wine, making it a versatile choice for afternoon tea or a formal dinner party.
When plating for a group, consider using a small offset spatula to place each cake on a chilled dessert plate. This prevents the bottom layer from sticking and ensures the presentation remains intact from the kitchen to the table. Repeatable results, every time, are the hallmark of this tested procedure.
The Bottom Line
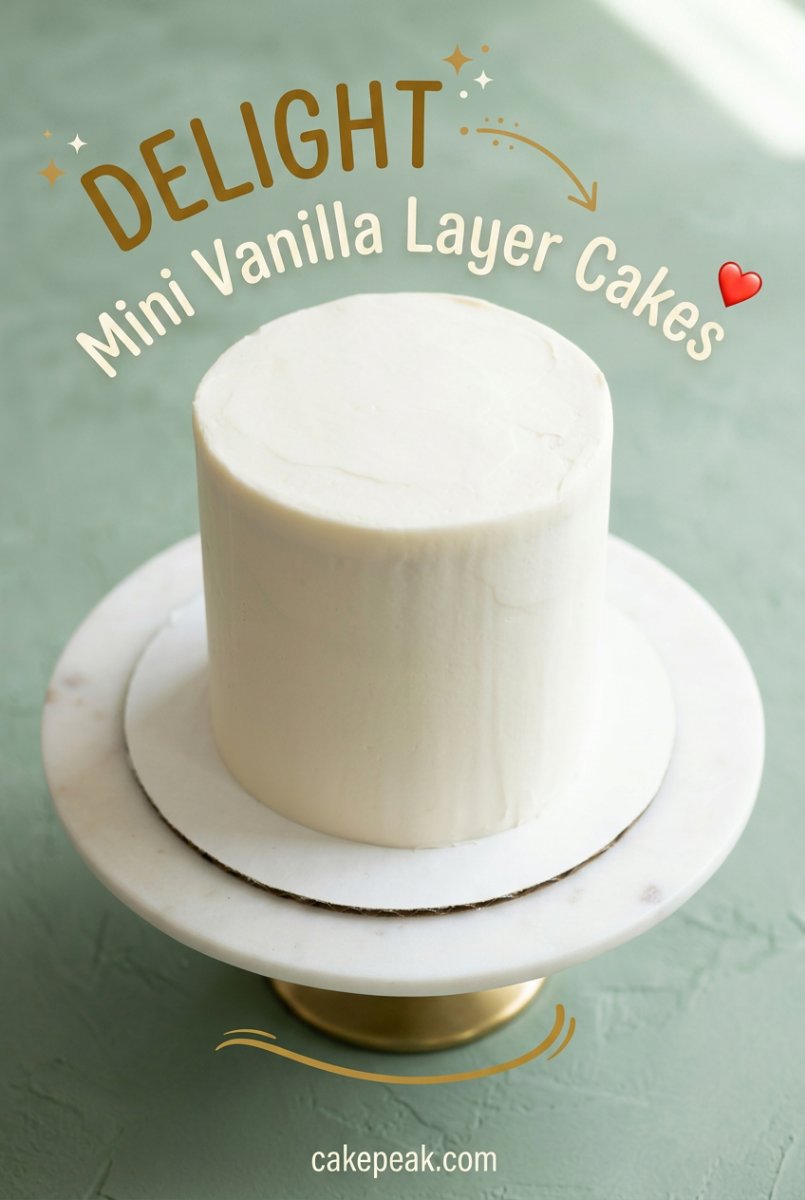
Mastering the Mini Vanilla Layer Cakes recipe allows you to bring professional test kitchen quality to your home celebrations without the waste of a full-sized cake. By following the reverse creaming method and maintaining strict temperature controls for your ingredients, you will produce a consistently tender crumb that holds its shape beautifully. The science behind the perfect crumb is accessible to any baker who prioritizes precision over guesswork.
We encourage you to experiment with different frosting techniques or simple flavor swaps once you have mastered this foundational small cake method. The data from our bake-offs confirms that this ratio of flour, fats, and leavening provides the most reliable result for 4-inch pans available today. Share your results with us and let us know how your precision baking journey is progressing.